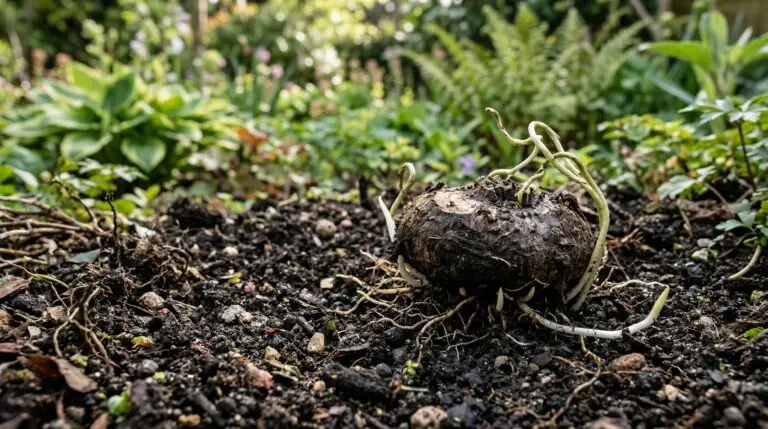
Anemones bring delicate, poppy-like blooms to the spring garden, bridging the gap between early bulbs and early summer perennials. Before you start planting anemone bulbs, you need to understand that they are actually corms, which are specialized swollen underground stems. When you open a bag of anemone corms, they look like dried, shriveled acorns or pieces of rough gravel. This dry state is perfectly normal and allows them to survive dormancy during hot, dry summers. Because they look so lifeless out of the package, many gardeners worry they bought a bad batch, but these hard little nuggets hold an incredible amount of stored energy. You want to get them into the ground at the right time so they can establish roots before the heavy winter weather arrives.
The decision of when to plant anemones depends entirely on your local climate and how cold your winters get. In regions where the ground freezes solid for months, anemone fall planting is risky because the corms will rot or freeze in the icy soil. Gardeners in those colder areas should store their corms indoors through the winter and plant them as soon as the soil can be worked in early spring. If you live in a milder climate where the ground rarely freezes deeply, planting in the fall allows the corms to develop a robust root system over the winter. You should wait to plant until the intense heat of late summer has passed and the daytime temperatures consistently stay below sixty degrees Fahrenheit. Planting too early in warm soil can encourage the corms to rot before they even have a chance to sprout.
Waking up the sleeping corms
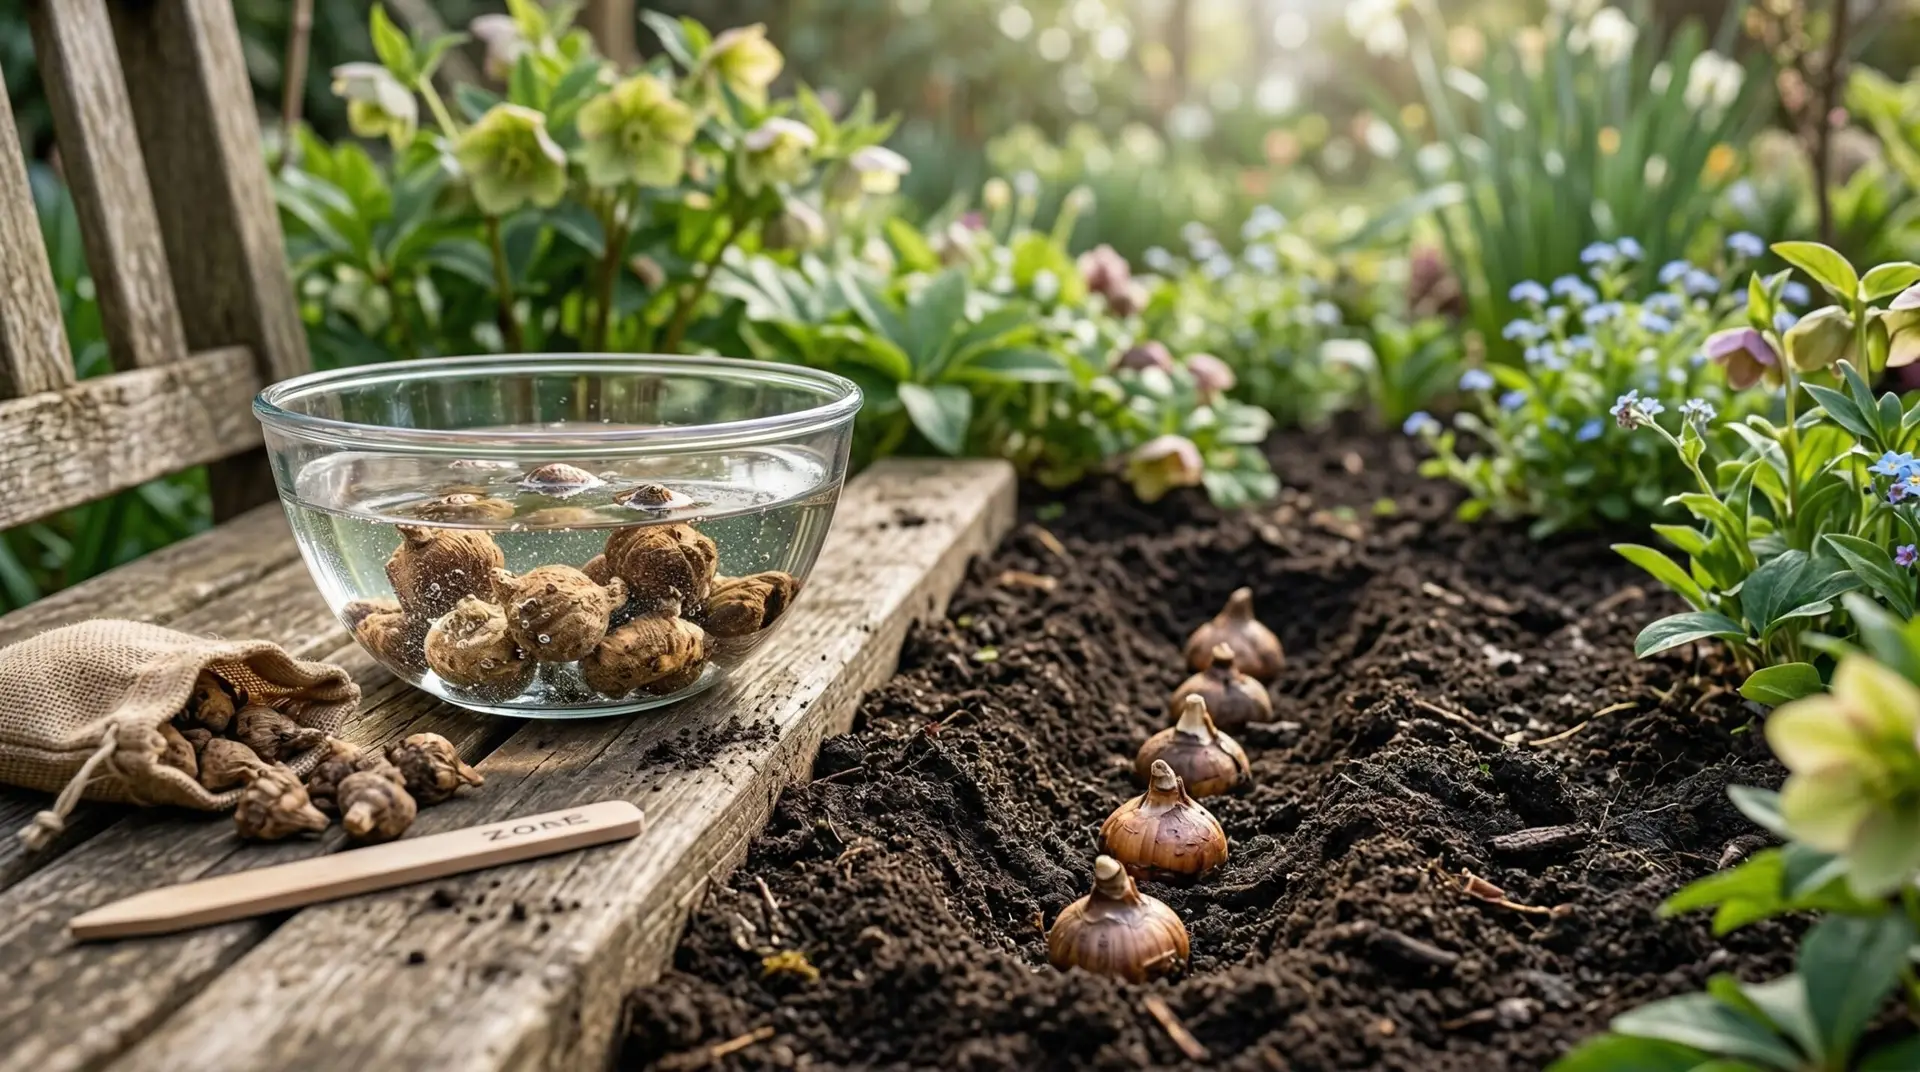
Because anemone corms arrive in a state of extreme dehydration, you need to rehydrate them before they go into the ground. If you plant them dry, they will struggle to pull enough moisture from the surrounding soil to break their dormancy, resulting in poor or patchy germination. You will need a simple bowl or bucket and some room temperature water to begin the soaking process. Drop the dry corms into the water and leave them undisturbed for about four to six hours, keeping the container out of direct sunlight. As they soak, the corms will absorb water and swell to nearly double their original size, transforming from shriveled stones into plump, rounded shapes. You might notice a few corms floating at the top of the water initially, but they usually sink as they take on moisture. Do not leave them in the water for much longer than six hours, as depriving them of oxygen for an extended period will cause them to turn mushy and rot.
Once the corms are fully plumped, you are ready to move out to the garden and prepare the planting area. Anemones require excellent drainage to thrive, as sitting in cold, wet soil is the fastest way to kill the newly awakened corms. You can test your soil drainage by digging a hole about a foot deep, filling it with water, and watching how fast it drains. If the water is still sitting in the hole an hour later, you have poorly drained soil and will need to amend the bed with coarse sand and compost or choose a raised bed instead. Working some loose compost into the top few inches of your planting area will provide the light, airy texture the roots need to spread easily. You will want a hand trowel or a specialized bulb planter to make the individual holes or a larger shovel if you prefer to excavate a whole trench for mass planting.
Placing the corms in the ground
The physical act of planting anemone corms often trips people up because it is hard to tell which end is the top and which is the bottom. Unlike a tulip bulb that has an obvious pointed tip and a flat basal plate, an anemone corm is oddly shaped and lumpy. If you look closely at the plumped corm, you might see small, pointy nodes on one side and a smoother, flatter surface on the other. The pointy nodes are actually the remnants of last year’s roots, meaning that pointy side should face down into the soil. If you stare at the corms and still cannot figure out which way is up, simply plant them on their sides. The shoots possess a natural response to gravity and will find their way to the surface regardless of how they are oriented in the hole.
You should plant the corms about two to three inches deep and space them roughly four to six inches apart. This spacing gives the foliage enough room to spread out while still creating a dense, full display of flowers when spring arrives. If you are planting them in a mixed border, they look beautiful layered in front of taller spring bloomers like daffodils that will bloom around the same time. Cover the corms gently with the excavated soil and press down lightly with your hands to ensure there are no large air pockets around the roots. Give the newly planted area a thorough watering to settle the soil, but do not water again until you see green shoots emerging from the ground. The autumn rains usually provide all the moisture the corms need during their underground establishment phase.
Managing winter growth and spring expectations
In milder climates where you planted in the fall, you might see green, parsley-like foliage push through the soil before winter officially begins. This early emergence is completely normal and indicates that your corms have successfully broken dormancy and are building their root systems. The foliage can handle light frosts without any trouble, but if a hard freeze threatens your area, you will need to protect the tender leaves. Covering the bed with a layer of frost cloth or a thick blanket of straw will insulate the plants until the severe cold passes. Removing the protective layer as soon as the temperatures rise again prevents the foliage from suffocating or developing fungal issues under the cover. Similar to ranunculus, anemones prefer cool growing conditions and will steadily gather strength during the chilly winter months.
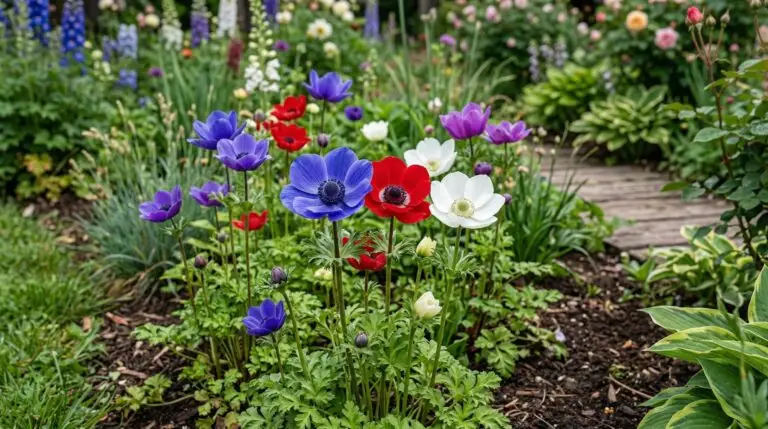
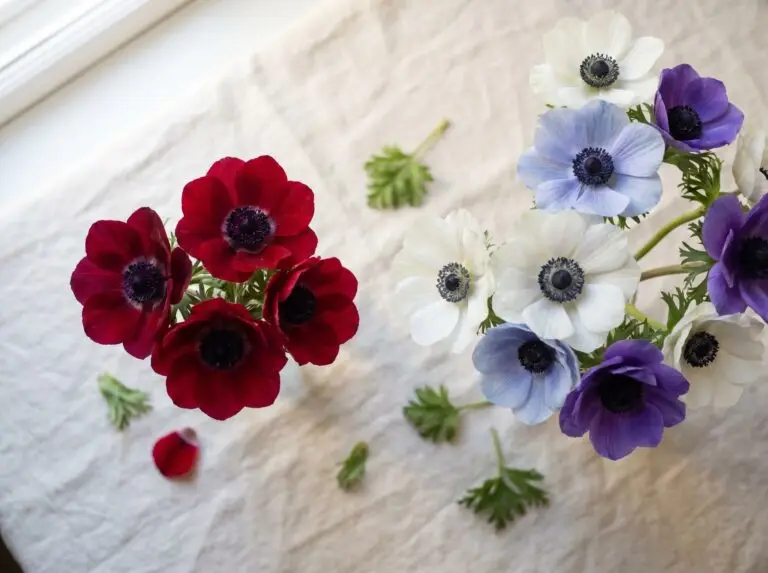
When spring arrives and the days begin to lengthen, the plants will send up tall, wiry stems topped with tightly closed buds. You will know your fall planting was a success when those buds open to reveal wide, delicate petals surrounding dark, fuzzy centers. In their first year, you can expect each healthy corm to produce several successive blooms over a period of four to six weeks. The flowers will open wide during the sunny days and close up at night or during heavy rainstorms to protect their pollen. As the temperatures climb in early summer, the foliage will naturally begin to yellow and die back as the plants return to their dormant state. Leaving the leaves intact until they are completely brown allows the corms to draw energy back down into the earth, setting the stage for another beautiful display the following year.
More About Anemone
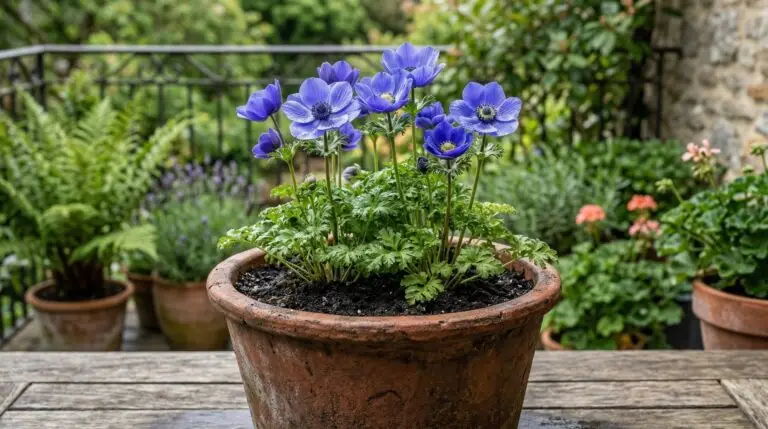
How to grow anemones in containers for a colorful spring balcony garden

Naturalizing anemones in woodland gardens for wild-looking spring carpets

Anemone flower meaning and the mythological story behind the windflower
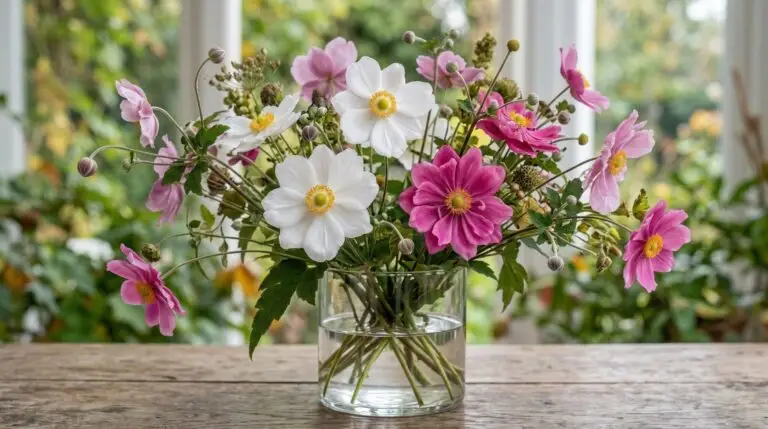
Growing anemones as cut flowers for endless spring and fall arrangements

Anemone and ranunculus planted together for the ultimate spring flower garden
Why your anemone corms did not sprout and how to succeed next time
Anemone meaning, from anticipation and protection to forsaken love

Anemone wedding bouquets that bring effortless romance to any ceremony