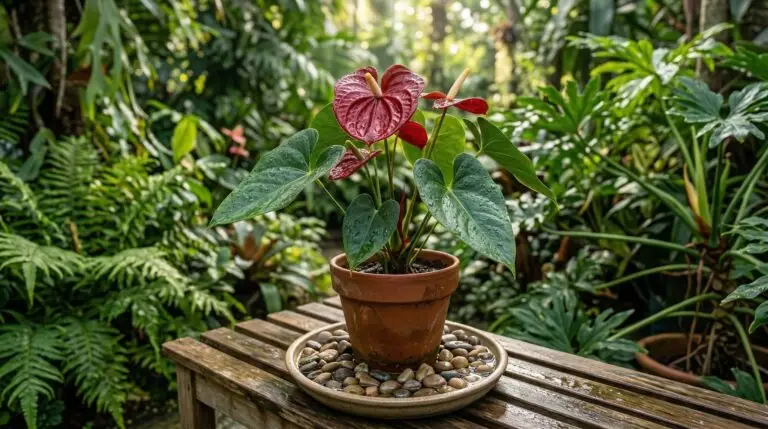
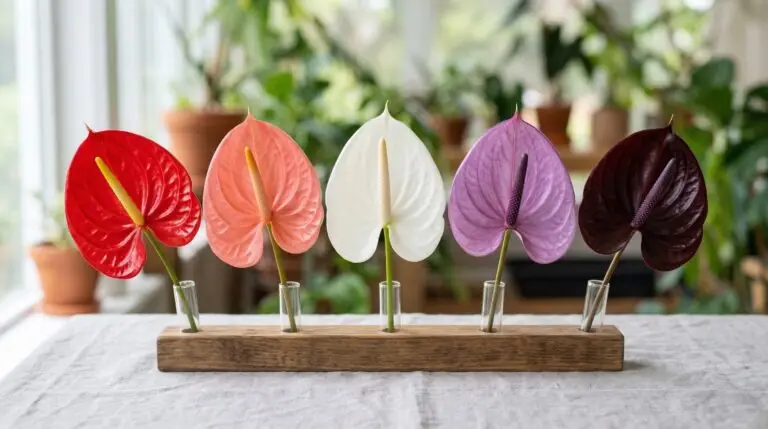
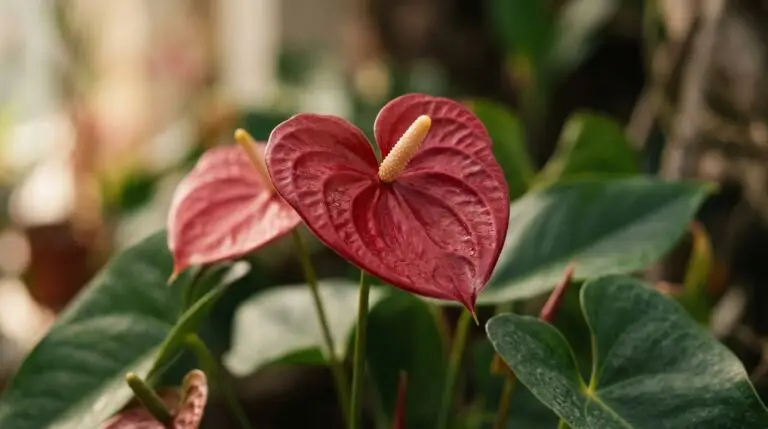
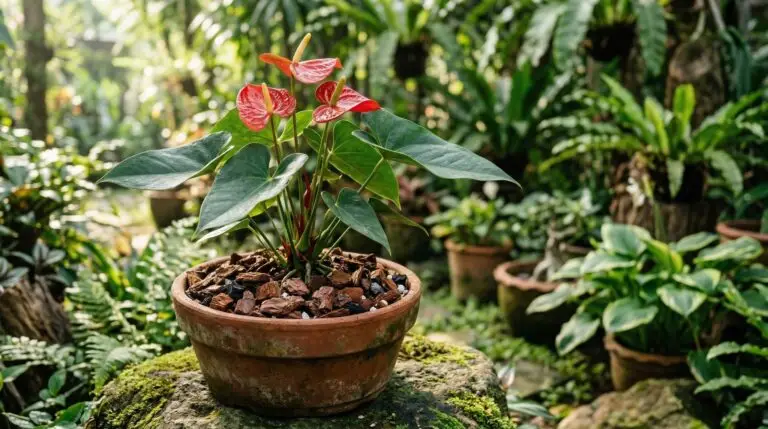
I have observed anthuriums growing in both humid conservatory environments and dry living rooms over the past thirty years. Most of the plants cultivated for indoor growers belong to the species Anthurium andraeanum or its many complex hybrids. People often assume the brightly colored, waxy heart shape is the flower, but botanically this structure is a modified leaf called a spathe. The true flowers are microscopic and line the fleshy spike, known as a spadix, protruding from the center. Understanding this basic anatomy helps clarify why the colorful displays last for months at a time. Because the spathe is essentially a durable leaf, it does not wilt and drop after a few days like a traditional soft-petaled blossom.
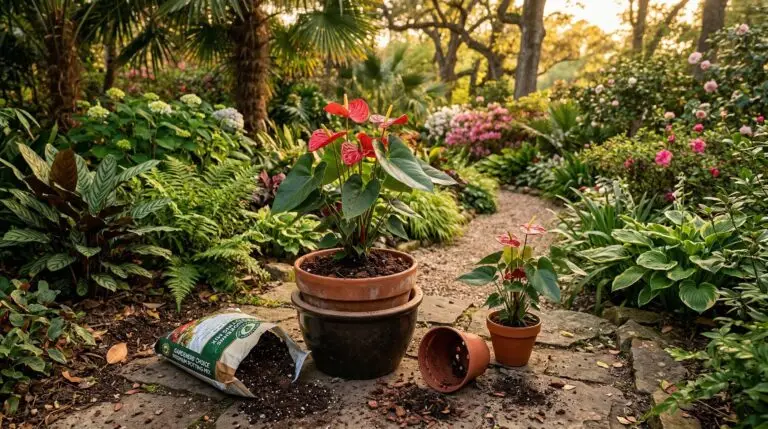
Achieving year-round blooms requires shifting your perspective from treating the plant as a terrestrial specimen to understanding its natural habit as an epiphyte. In their native Central and South American habitats, these plants often grow attached to tree branches rather than rooted in the ground. This epiphytic lifestyle means their thick, fleshy roots have evolved to absorb moisture rapidly from passing rain showers while demanding constant air circulation. When we force these specialized roots into dense, heavy potting soil, the plant expends all its energy fighting rot rather than producing new spathes. Proper anthurium indoor care begins with replacing standard commercial soil with a highly porous, well-aerated mixture.
Managing light exposure for consistent spathe production
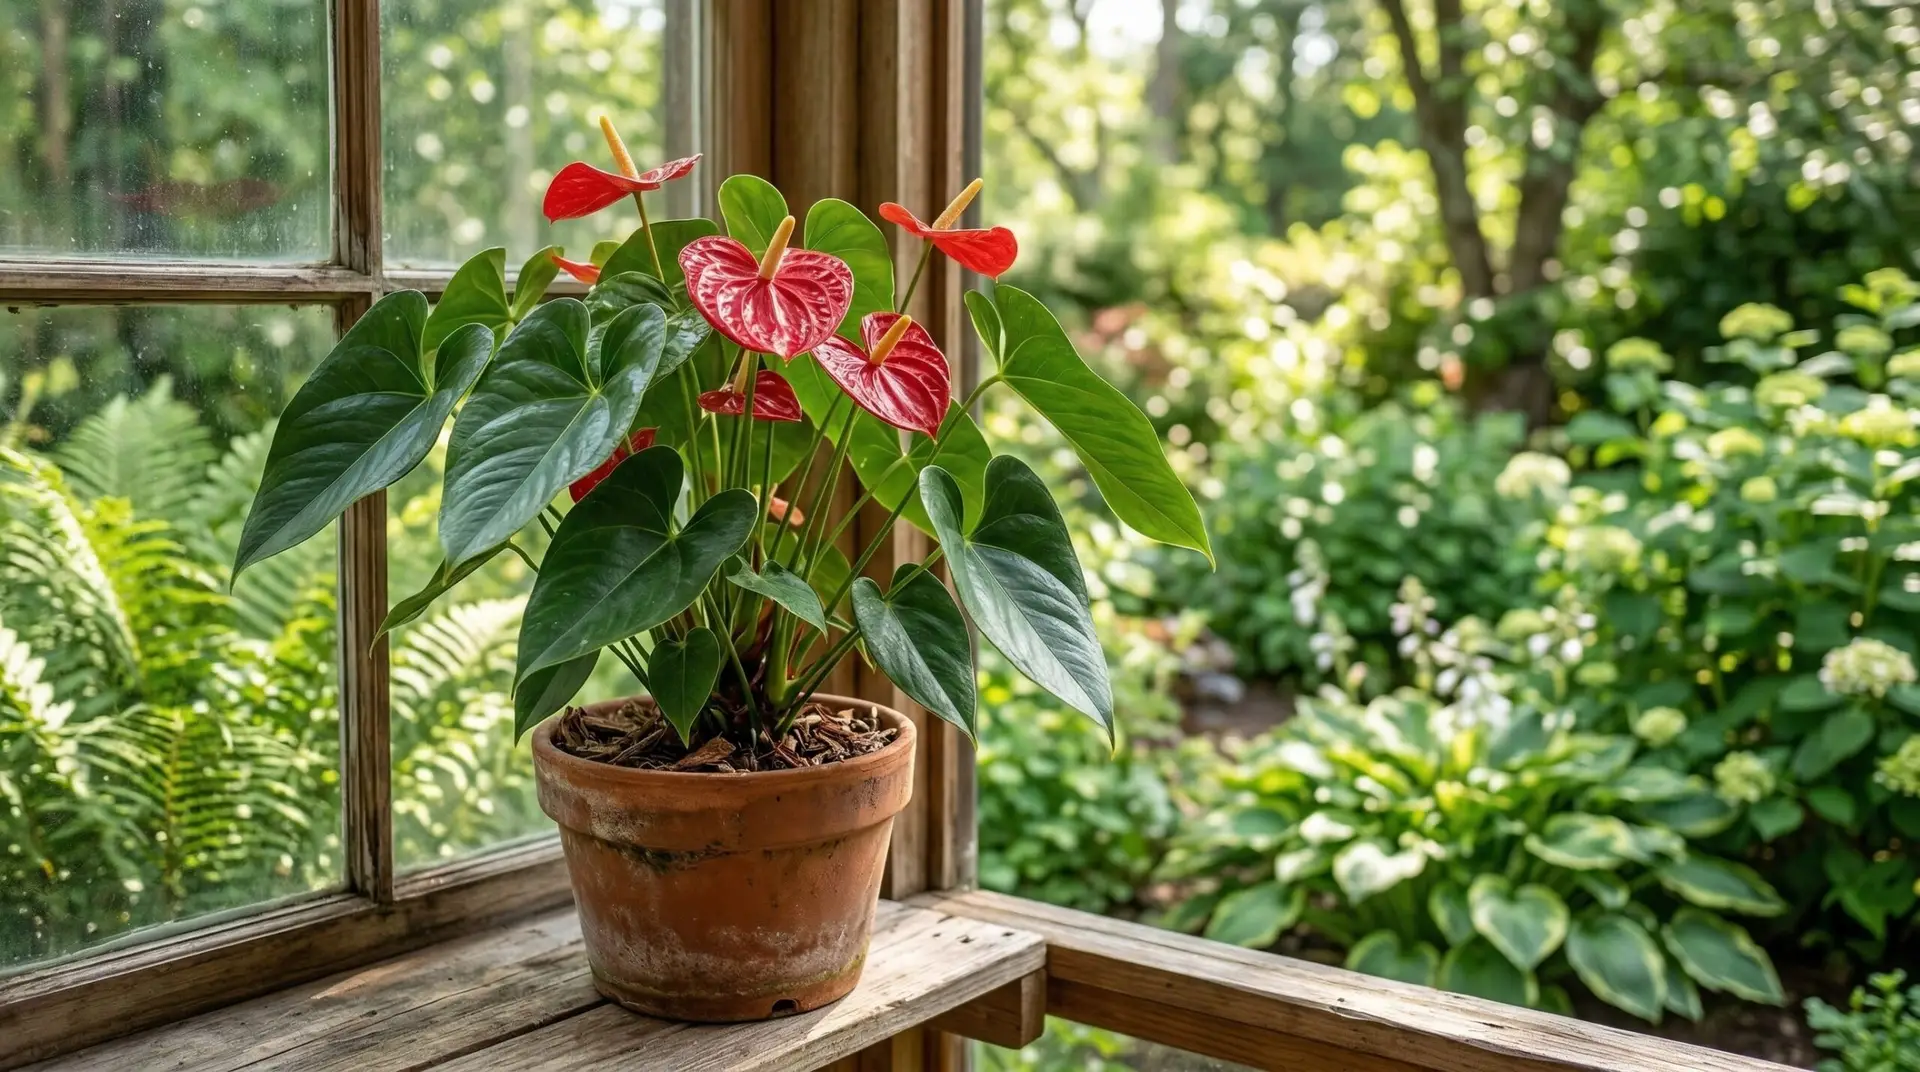
Light dictates the blooming cycle of an anthurium more strictly than any other environmental factor. A plant kept in a dimly lit corner will survive for years, but it will revert to producing only green foliage to maximize photosynthesis. To trigger the development of new spathes, the plant requires bright, indirect sunlight for at least six to eight hours each day. I usually recommend placing the pot within three feet of an east-facing or west-facing window where the light is plentiful but the harsh midday rays are obstructed. Direct afternoon sunlight will quickly scorch the leaves, leaving permanent bleached patches and crisp brown edges. If you notice the foliage becoming pale yellow overall, the light is too intense, whereas dark green, elongated leaves indicate the plant needs to be moved closer to a window.
During the shorter days of winter, maintaining adequate light levels becomes the primary challenge for indoor growers. The angle of the sun drops, and the total daily light integral, which is the cumulative amount of light the plant receives over twenty-four hours, decreases significantly. You may need to relocate your plant to a southern exposure from November through February to compensate for this seasonal shift. Supplemental LED grow lights offer a highly effective alternative if natural light is insufficient in your home. Positioning a full-spectrum bulb about twelve to eighteen inches above the canopy for ten hours a day will easily sustain anthurium blooming through the darkest months. Many modern LED fixtures are unobtrusive and can be integrated seamlessly into your living space without looking like commercial greenhouse equipment.
Formulating the ideal substrate and watering routine
Because anthuriums are epiphytes, their root systems behave much like those of a moth orchid, requiring frequent flushes of water followed by rapid drainage. A standard peat-based potting mix holds moisture too long and suffocates the roots. I construct a custom blend using equal parts medium-grade orchid bark, coarse perlite, and high-quality peat moss or coco coir. You can easily source these individual ingredients at local garden centers and mix them in a large bucket before potting. This chunky mixture provides the acidic pH range of 5.5 to 6.5 that these plants prefer while ensuring water runs out the drainage holes almost immediately. The bark and perlite create large air pockets throughout the root zone, allowing the thick roots to breathe and expand naturally.
The watering technique requires just as much attention as the potting medium. You should wait until the top two inches of the substrate feel dry to the touch before watering again. Checking the weight of the pot by lifting it is a reliable method to confirm if the inner core of the root ball has dried appropriately. When you do water, take the plant to a sink and pour a generous volume over the entire surface, allowing the excess to drain away completely. Never let the pot sit in a saucer of runoff water, as the stagnant moisture will rapidly induce root rot. During periods of active growth and blooming, you might need to water every five to seven days, depending on your household temperatures. In cooler winter months, the plant uses less water, so you must extend the interval between waterings to prevent the roots from staying cold and damp.
Temperature, humidity, and nutritional requirements
Anthuriums are strictly tropical plants that suffer physiological damage when exposed to temperatures below sixty degrees Fahrenheit. They thrive in the standard indoor range of sixty-five to eighty degrees, provided the temperature remains relatively stable day and night. Drafts from heating vents, air conditioning units, or poorly sealed windows will cause the developing spathes to deform or abort entirely. Humidity is another vital component of successful anthurium care, as dry air leads to brown tips on the leaves and stunted spathe development. While they tolerate the average home humidity of forty percent, raising the ambient moisture to sixty percent or higher will noticeably increase the size and longevity of the blooms. Running a small evaporative humidifier near the plant is the most reliable way to achieve this, as misting provides only a temporary localized effect. Placing the plant on a wide tray filled with pebbles and water can also help, provided the bottom of the pot rests entirely above the water line.
Continuous blooming extracts a heavy nutritional toll on the plant, necessitating a consistent but gentle feeding schedule. I advise using a balanced, water-soluble fertilizer diluted to one-quarter of the manufacturer’s recommended strength. Apply this weak solution every time you water during the spring and summer months. Some growers switch to a fertilizer with a slightly higher phosphorus content to encourage flowering, similar to the regimen used for a heavily blooming begonia, but a standard balanced formula is usually sufficient. Over-fertilizing is a common mistake that results in toxic salt accumulation in the potting mix, which burns the root tips and immediately stops the blooming cycle. To prevent this buildup, flush the pot with plain, unfertilized water once a month to wash away excess mineral deposits. If you notice a crusty white residue forming on the surface of the bark or the rim of the pot, you must flush the soil immediately.
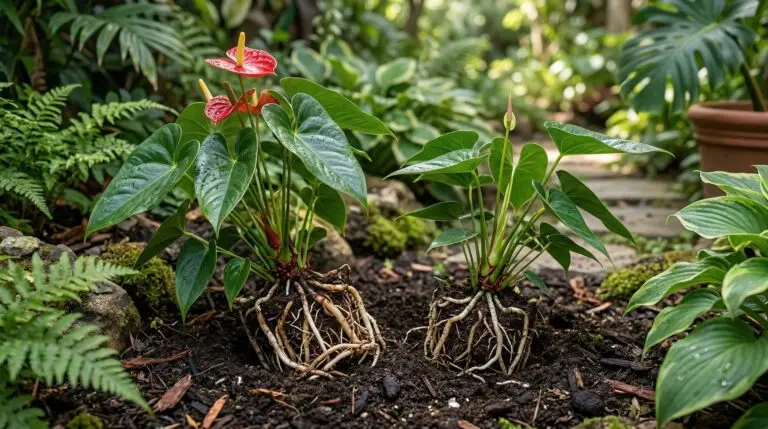
Managing growth habits and repotting
As anthuriums mature, they naturally develop an elongated, creeping stem that pushes upward out of the soil. You will notice thick aerial roots emerging from the nodes along this exposed stem, reaching into the air for moisture. This is normal botanical behavior, not a sign of poor health or a defect in your care routine. Many growers find this leggy appearance unsightly and attempt to bury the stem deeply in a larger pot. Burying the stem in dense soil often causes rot, so it is better to gently pack slightly damp sphagnum moss around the exposed aerial roots. This technique, called top-dressing, protects the new roots from drying out and provides a secondary zone for the plant to absorb water and nutrients. Over time, these moss-covered aerial roots will harden and anchor the heavy upper foliage securely.
Repotting should only occur when the plant has completely exhausted its current substrate or the root mass is physically distorting the plastic nursery pot. Anthuriums bloom most prolifically when their roots are slightly confined, so moving them to a significantly larger container will often halt flower production for several months. When repotting becomes necessary, choose a new container that is only one to two inches wider than the previous one. Carefully tease away the old, broken-down bark from the root ball without snapping the brittle primary roots. Settle the plant into the new pot and fill the gaps with your fresh, chunky bark mixture, tapping the sides to eliminate large voids. Wait at least a month after repotting before applying any fertilizer, as the fresh root tips are highly sensitive to chemical burns. With fresh substrate and a return to your established watering and lighting routines, the plant will quickly resume its cycle of pushing out new, brightly colored spathes.
More About Anthurium
Anthurium versus peace lily and which tropical houseplant suits your home better
Anthurium flower meaning and why it is the perfect gift for lasting love
How to repot anthurium plants and when to know it is time for a bigger pot
Best soil mix for anthurium plants that prevents root rot and promotes growth
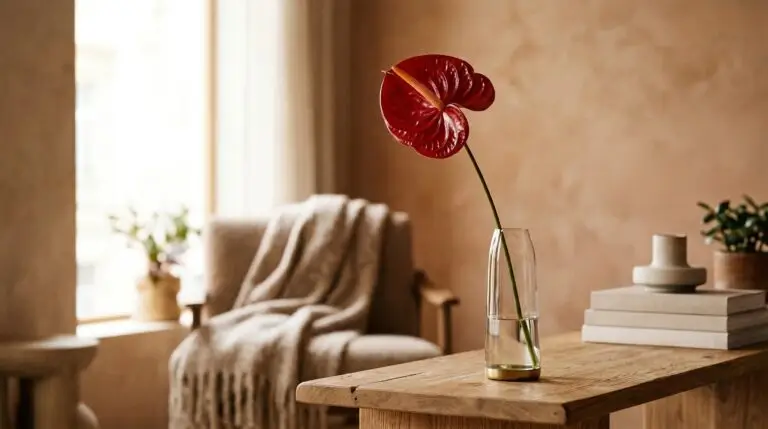
Using anthurium flowers in modern minimalist home decor and arrangements
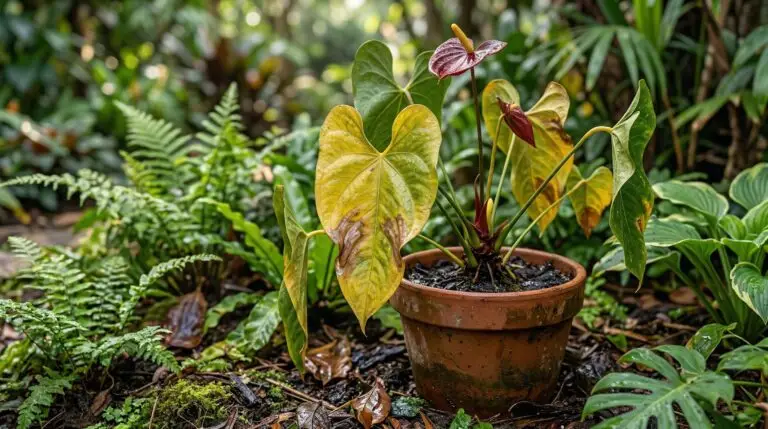
Why your anthurium leaves are turning yellow and brown and what to do about it
How to propagate anthurium by division and stem cuttings for more plants