Camellias are long-lived evergreen shrubs that often outlast the gardeners who planted them, growing slowly but persistently into small trees if left entirely to their own devices. I have spent many seasons walking through historic botanical gardens assessing old camellia specimens that have grown completely out of scale with their surroundings. The anxiety most gardeners feel about pruning these plants stems from a fear of removing the floral display they wait all year to see. Unlike herbaceous perennials that forgive a poorly timed cut within a few weeks, a woody shrub like a camellia records your pruning decisions in its architecture for years. Understanding how and when to prune camellia shrubs requires a working knowledge of their growth cycles and the distinct differences between the common species. We cultivate these plants primarily for their winter and spring blossoms, making bud preservation the central goal of any structural intervention.
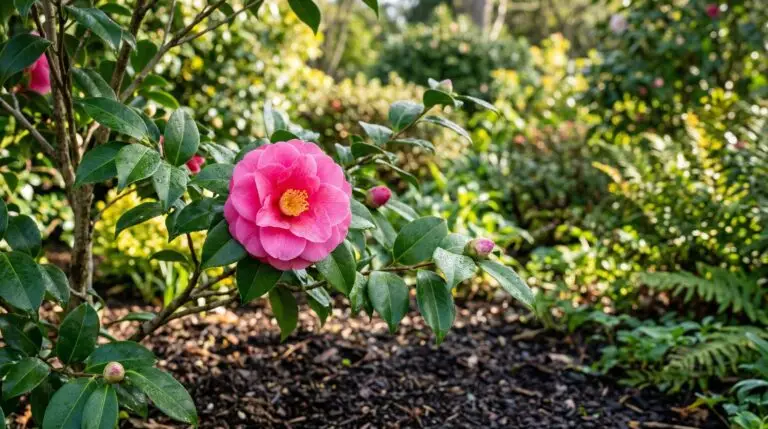
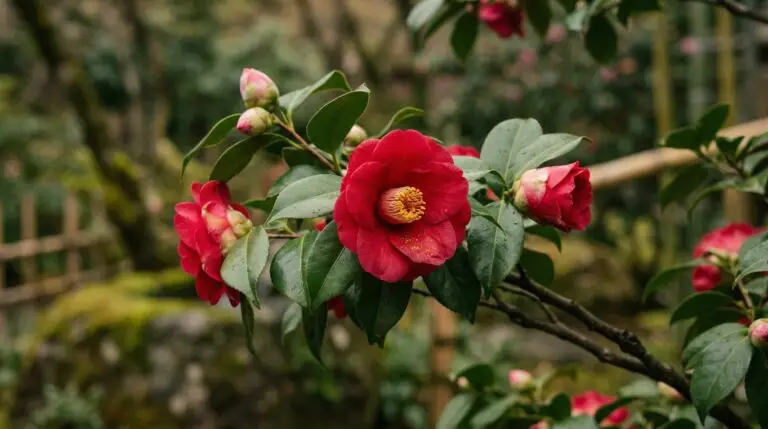
The two species you are most likely to encounter in American gardens are Camellia japonica and Camellia sasanqua, and they operate on slightly different schedules. Camellia japonica produces large, heavy flowers in late winter to early spring and has a dense, upright growth habit that often requires thinning to allow air circulation. Camellia sasanqua blooms earlier, typically in autumn or early winter, with a naturally looser, more spreading structure that lends itself well to informal hedges or wall training. Both species set their flower buds on old wood, meaning the buds form during the summer months on the fresh vegetative growth produced earlier that spring. If you cut the plant back in late summer or autumn, you are severing the exact branches holding the dormant floral buds for the upcoming season. Recognizing this cycle is the foundation of any reliable camellia pruning guide, dictating exactly when you should pick up your shears.
Understanding the post-bloom pruning window
The single most essential rule for pruning camellias is to time your cuts immediately after the last flowers fade but before the new vegetative buds break open. For spring-blooming varieties, this window usually opens in late winter or early spring, depending heavily on your local climate and seasonal temperature fluctuations. Autumn-blooming sasanquas finish their display by mid-winter, giving you a slightly earlier opportunity to shape them before the spring flush begins. Similar to managing an azalea, waiting too long into the late spring or summer guarantees you will cut away the developing floral buds. You have a window of roughly three to four weeks where the plant is transitioning out of its reproductive phase and preparing to push new foliage. Making your cuts during this dormant transition allows the plant to direct its stored root energy directly into the buds located just below your pruning cuts.
When you approach the shrub during this post-bloom window, your first priority is always basic sanitation and structural triage. You should begin by removing any dead, diseased, or broken wood, cutting these compromised branches back to a healthy lateral branch or flush with the main trunk. Camellias are highly susceptible to scale insects and fungal diseases like dieback, both of which thrive in the stagnant air trapped within a congested canopy. Thinning the interior of the plant by removing crossing branches allows sunlight to penetrate the center of the shrub and encourages better air circulation. You want to selectively remove the weaker of any two branches that are rubbing against each other, as the friction creates wounds that invite pathogens. A well-pruned camellia should have an open enough interior that a bird could fly through it, though achieving this requires careful, deliberate cuts rather than sheer volume removal.
Shaping young plants and routine maintenance
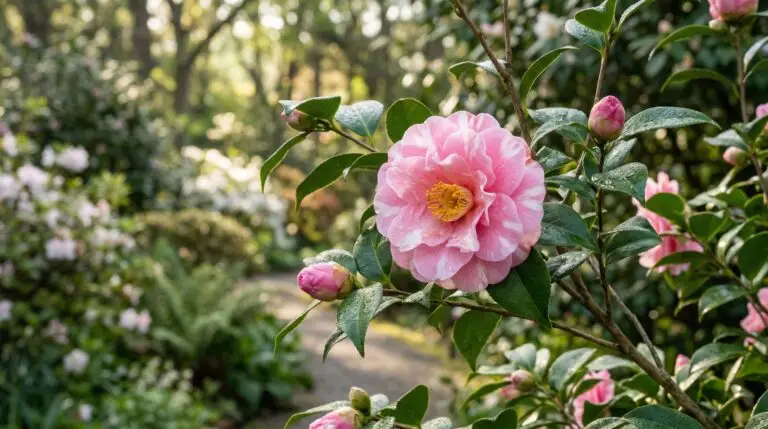
Managing a young camellia is an exercise in guiding its natural architecture rather than forcing it into an unnatural shape. These shrubs exhibit strong apical dominance, meaning the terminal bud at the very tip of a branch suppresses the growth of the lateral buds located further down the stem. If you allow a young plant to grow unchecked, it will often develop long, leggy branches with foliage concentrated only at the outermost edges. You can encourage a denser, bushier habit by pinching out the terminal vegetative buds or making shallow heading cuts just above a healthy leaf node. This disruption of the apical dominance forces the dormant lateral buds to break and produce multiple new branches where there was previously only one. Routine tip pruning during the early years establishes a strong, well-branched framework that will support the heavy flowers characteristic of mature japonica cultivars.
As the plant matures, your routine maintenance will shift from structural development to size control and aesthetic refinement. When reducing the overall height or width of a mature shrub, you must use drop-crotch pruning techniques rather than blindly shearing the exterior. Drop-crotch pruning involves following a long branch back inside the canopy and cutting it off just above a shorter, outward-facing lateral branch. This method reduces the size of the plant while maintaining its natural, informal silhouette and hiding the pruning cuts beneath the remaining foliage. Shearing a camellia with hedge trimmers, much like improperly shearing a forsythia, results in a dense outer shell of weak twiggy growth that completely blocks light from the interior. Taking the time to use bypass hand pruners for individual, thoughtful cuts ensures the plant remains healthy and structurally sound for decades.
Renovation pruning for overgrown shrubs
Horticulturists frequently encounter heritage camellias that have been neglected for decades, resulting in massive, tree-like structures with bare lower trunks and a canopy completely out of reach. Renovating these overgrown specimens requires a severe approach often called hat-racking, which involves cutting the primary scaffold branches back to thick stubs. Camellias possess a remarkable ability to generate adventitious buds from old, mature wood, making them one of the few broadleaf evergreens that tolerate this level of drastic reduction. You should execute a severe renovation only in late winter, just before the spring sap begins to flow, to give the plant the entire growing season to recover. The shrub will respond by pushing a dense thicket of vigorous, whippy shoots from the dormant buds buried beneath the bark of the remaining stumps. You will lose the floral display for at least one to two years, but you will successfully reset the structural foundation of a plant that might otherwise require removal.
Managing the aftermath of a severe renovation requires as much attention as the initial pruning event itself. The thicket of new shoots that emerges from the old wood will be highly congested and weakly attached to the main trunk during its first year. You must wait until the following late winter to thin these new shoots, selecting the strongest and best-positioned stems to become the new scaffold branches while removing the rest. Attempting to thin the new growth too early in the summer can shock the plant, as it desperately needs that fresh foliage to photosynthesize and replenish the root reserves depleted by the hard pruning. If the idea of a total renovation is too daunting, you can achieve similar results over a three-year period by removing one-third of the oldest branches all the way to the ground each late winter. This phased approach maintains a continuous floral display and reduces the physiological stress on the plant while gradually replacing the entire canopy with fresh, vigorous wood.
Training camellias for espalier
Beyond standard shrub forms, camellias are exceptional candidates for espalier, a specialized pruning and training technique where the plant is grown flat against a wall or trellis. Camellia sasanqua cultivars are particularly suited for this application because their flexible, slender stems are easily manipulated, and their open growth habit naturally lends itself to a two-dimensional plane. Establishing an espalier begins with planting a young specimen close to the support structure and selecting a central leader along with several strong lateral branches. You must tie these lateral branches to your guide wires or trellis while the wood is still young and pliable, usually during the active spring growth phase. Any branches growing directly outward away from the wall or backward into the structure must be pruned away entirely to maintain the flat profile. The radiant heat absorbed by a brick or stone wall can actually protect the early buds of an espaliered camellia from late frosts, extending the bloom quality in marginal climates.
Maintaining an established espalier requires vigilant pruning throughout the growing season to keep the design crisp and the vegetative growth in check. Unlike standard free-standing shrubs, an espaliered camellia needs summer maintenance to remove the vigorous water sprouts that inevitably shoot straight out from the trained horizontal arms. You can pinch these errant shoots back to one or two leaves, which often encourages the development of tight floral spurs close to the main framework. The goal is to maximize the surface area exposed to sunlight while strictly enforcing the architectural boundaries you have established on the trellis. When the post-bloom window arrives in late winter, you will perform your primary structural pruning, replacing any aging horizontal arms with younger, more vigorous lateral shoots.
The physical act of pruning a camellia requires sharp, well-maintained tools to prevent crushing the stems and tearing the bark. You should routinely disinfect your bypass pruners and loppers with a ten percent bleach solution or rubbing alcohol between cuts, especially if you are working on older plants where fungal pathogens might be present. Clean cuts heal rapidly, allowing the plant to seal off the exposed wood before opportunistic diseases can take hold in the damp spring weather. Take a walk around your garden this week to assess the current bud development on your plants, noting which ones are finishing their bloom cycle and entering the ideal pruning window. Making deliberate, well-timed cuts now will ensure your shrubs maintain a healthy structure while setting a dense crop of buds for next winter.
More About Camellia
Camellia japonica versus camellia sasanqua and choosing the right one for your garden
Best camellia varieties for Southern gardens from fall through spring blooms
Common camellia diseases including petal blight and scale and how to treat them
Camellia flower meaning in Japanese tea ceremony culture and garden traditions
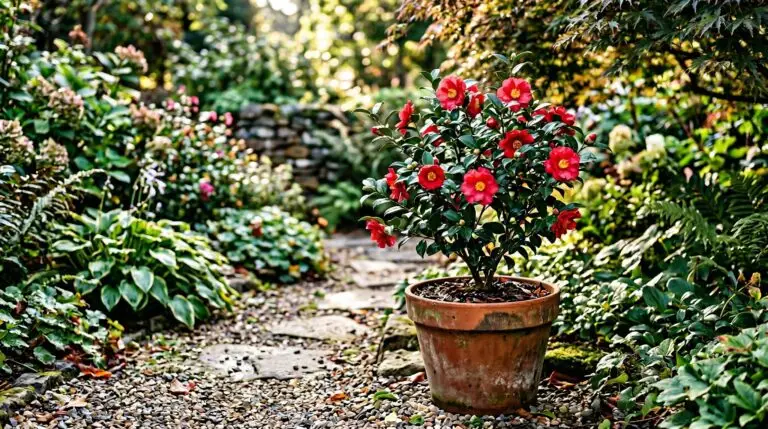
Growing camellias in containers for patios and northern gardeners who want blooms
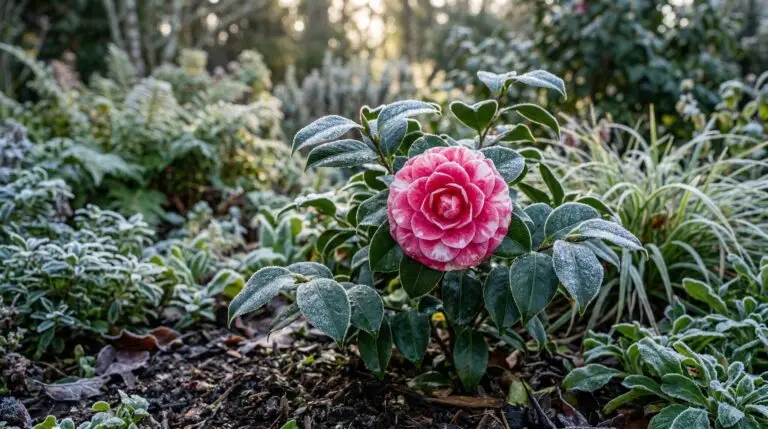
How to grow camellias in cold climates with the right varieties and winter protection
Using camellia flowers for floating arrangements and simple winter table decor
Why camellia buds drop before opening and how to prevent bud blast