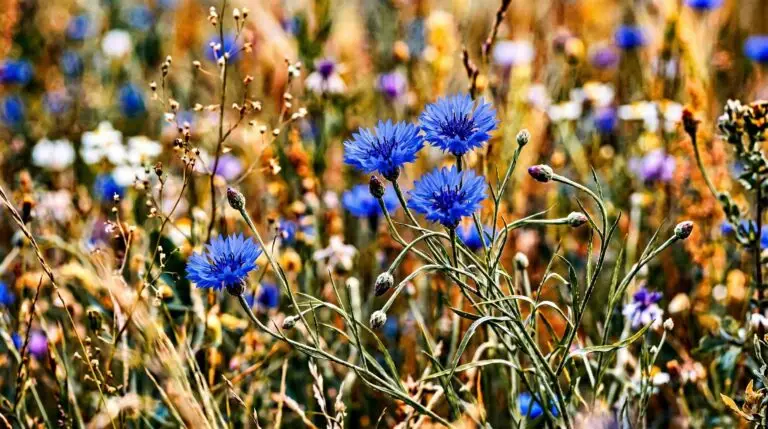
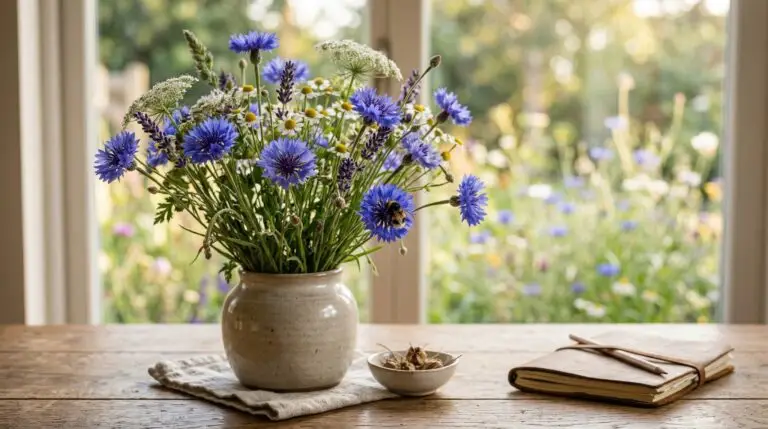
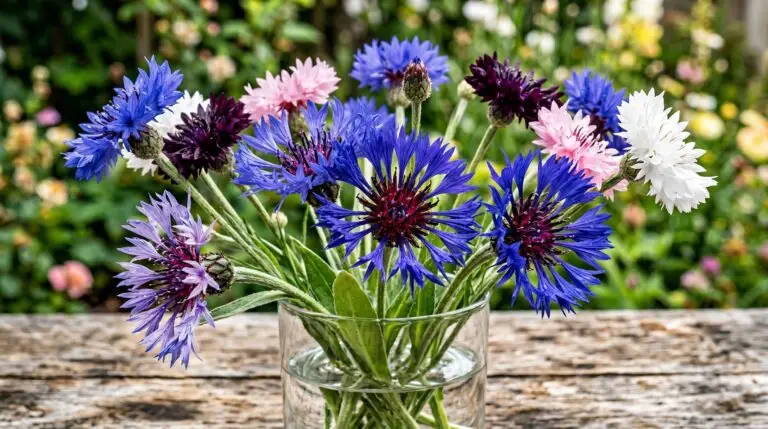
Before you cut a single blue bloom from your garden, you need a clear plan for drying cornflowers. Enthusiasm often leads gardeners to harvest armfuls of flowers without preparing a proper place to process them, resulting in wilted or moldy blooms. Your first decision is determining exactly how you want to use the dried cornflower material. If you want long stems for everlasting arrangements, you will need a dark, dry space with good airflow to hang them. If your goal is to harvest loose petals for potpourri blending, you will need airtight containers and perhaps a different drying method entirely. Thinking through your end product dictates how you harvest, what supplies you need to buy, and how much time you must commit to the project.
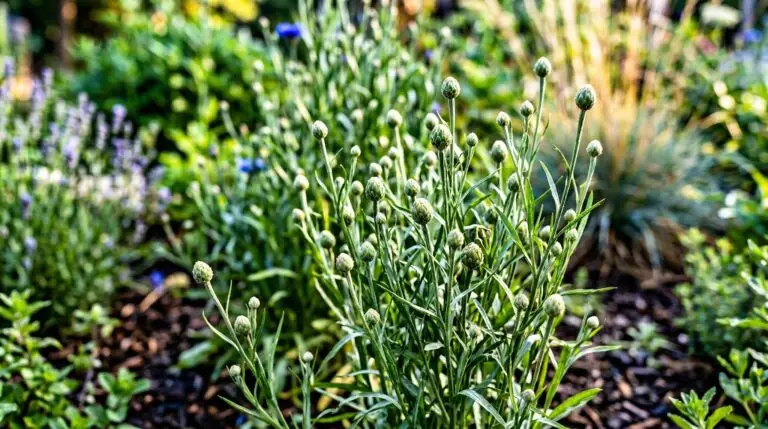
The timeline for creating everlasting flowers cornflower projects begins long before the actual crafting stage. You must monitor your garden daily to catch the flowers at their peak, right when the buds are fully open but before the centers begin to brown. Harvesting requires a specific time commitment, ideally in the late morning after the dew has completely evaporated but before the harsh afternoon sun fades the petals. Plan to dedicate about thirty minutes every few days during the peak blooming season to gather the best specimens. You will also need to prepare your supplies ahead of time so you are ready the moment the flowers are cut. Purchase your cotton twine, rubber bands, and any drying agents at least two weeks before your anticipated harvest dates.
Assessing your harvest and preparing your drying space
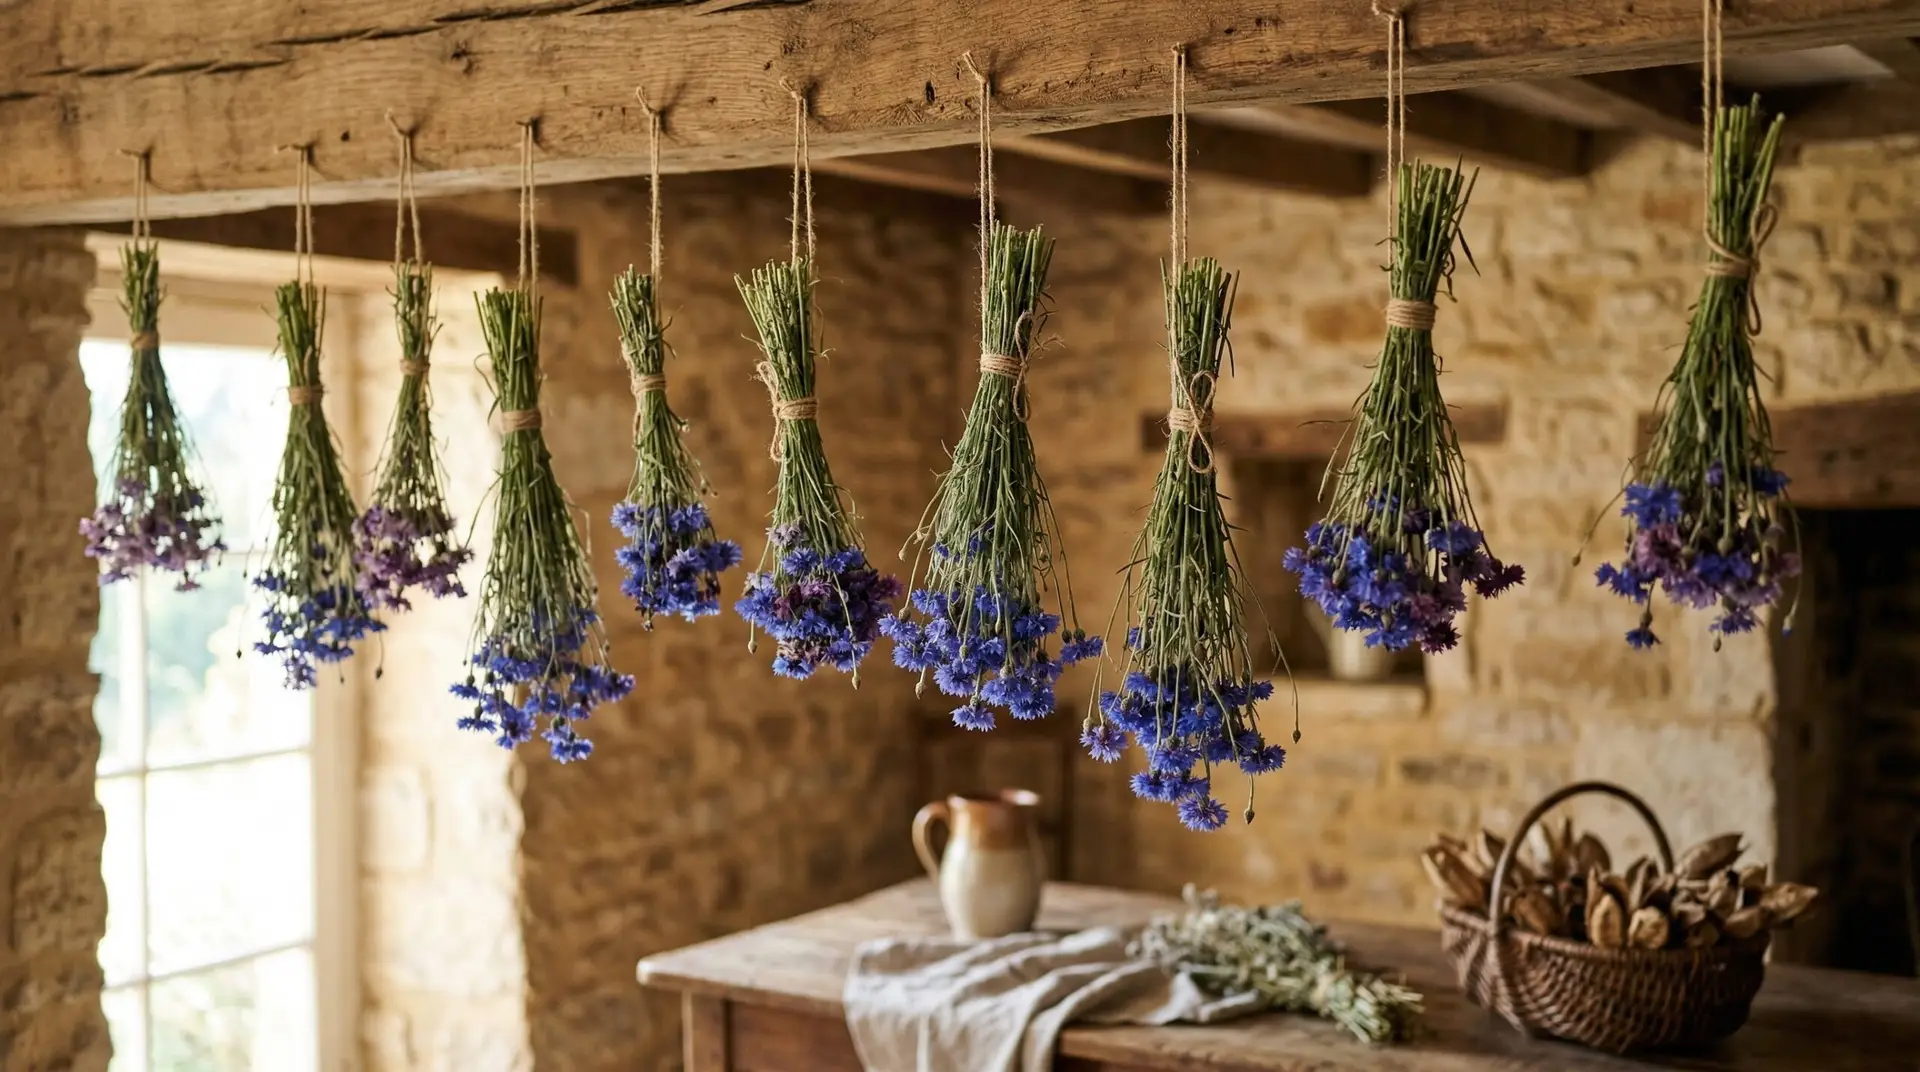
Evaluate your available space honestly before committing to a large-scale drying operation. A successful air drying technique requires a room that remains consistently dark, dry, and well-ventilated, which often rules out damp basements or bright sunrooms. An unused closet, a dry attic, or a spare bedroom with the curtains drawn will provide the ideal environment for preserving the distinct blue color. If you lack this kind of space, you should plan to process smaller batches using alternative methods rather than risking a large harvest to humidity and mold. You must also consider the temperature of your chosen room, as excessive heat can cause the petals to shatter while freezing temperatures will halt the moisture evaporation process. Setting up a dedicated drying rack or installing simple hooks along a ceiling beam will keep your workspace organized and efficient.
Once your space is ready, you can begin the methodical process of harvesting and preparing the stems. Strip all the foliage from the lower two-thirds of each stem immediately after cutting, as leaves hold excess moisture and slow down the overall drying time. Group the cleaned stems into small bundles of six to eight flowers, securing them tightly with a rubber band. The stems will shrink significantly as they lose water, and a rubber band will contract with them, preventing the bundle from slipping apart and falling to the floor. Hang these bundles upside down from your hooks or racks, leaving at least three inches of space between each bunch to allow for adequate air circulation. This initial preparation requires careful handling, but doing it correctly prevents the common problem of crushed or misshapen flower heads.
Choosing between air drying and silica gel methods
The traditional air drying technique is the most cost-effective approach for preserving whole stems for everlasting arrangements. This method requires zero financial investment beyond some basic string, but it demands patience, as the flowers will take two to three weeks to dry completely. You will know they are ready when the stems snap cleanly like a dry twig and the petals feel papery to the touch. Air-dried cornflowers tend to shrink slightly and take on a more rustic, textured appearance, which works well for casual displays. They pair exceptionally well with other air-dried botanicals, and you can easily combine them with Love-in-a-Mist seed pods for a highly textured, long-lasting display. You should check your hanging bundles every few days to ensure no mold is developing and to verify that the air circulation remains adequate.
If your project requires perfectly preserved, three-dimensional blooms with their original bright color intact, the silica gel method is your best option. This approach requires a moderate upfront budget to purchase a few pounds of reusable silica gel crystals and several airtight plastic containers. The process is much faster than air drying, typically taking only three to five days to draw all the moisture out of the flower heads. You must carefully bury the freshly cut blooms in the silica crystals, making sure the gel fills every crevice between the petals to maintain the shape of the flower. This method is highly labor-intensive and requires careful attention, as leaving the flowers in the desiccant for too long will make them brittle and prone to shattering. However, the resulting blooms look almost identical to fresh flowers and are perfect for delicate craft projects or shadow box displays.
Executing your dried flower craft projects
Creating a dried flower wreath requires a clear plan for your materials and a solid understanding of the fragile nature of dried stems. You will need a grapevine or wire wreath base, floral wire, and a pair of sharp snips, all of which should be gathered on your work table before you begin handling the flowers. Start by creating small, mixed bundles of your dried materials, wiring them tightly together before attaching them to the main wreath base. Dried cornflower heads add clear pops of blue that contrast well with the muted tones of other dried herbs, and mixing them with Yarrow provides a sturdy yellow base that supports the more delicate blue petals. Work methodically around the circle, overlapping each new bundle over the stems of the previous one to hide your mechanics. Expect this assembly process to take two to three hours, and plan to work in an area where you can easily sweep up the inevitable shattered petals and debris.
If you prefer to use the blooms for potpourri blending, your focus shifts entirely to scent and texture combinations. Dried cornflower petals offer very little fragrance on their own, but they provide an essential visual element with their striking color. You will need to strip the dried petals from the calyx, a task that requires gentle fingers and about an hour of focused time for a large harvest. To build a successful potpourri, combine your blue petals with highly aromatic plants, using a base of Lavender buds to provide the dominant scent profile. Store your finished blends in airtight glass jars for at least four weeks to allow the added essential oils or natural fragrances to cure and permeate the entire mixture. This curing phase is a mandatory step that many beginners skip, resulting in potpourri that loses its scent within days of being displayed.
Preserving color and maintaining your dried arrangements
The maintenance commitment for everlasting arrangements is low, but ignoring a few basic rules will ruin your hard work. The greatest enemy of a dried cornflower is direct sunlight, which will bleach the bright blue petals to a dull gray within a matter of weeks. You must display your wreaths and arrangements in interior rooms away from bright windows to preserve their color for the maximum lifespan. Humidity is the second major threat, as dried plant material acts like a sponge and will absorb moisture from the air, leading to drooping stems and eventual decay. Keep your projects out of bathrooms, kitchens, or any area where steam and condensation regularly occur. To clean your arrangements, simply use a soft makeup brush or a hairdryer set on the lowest, coolest setting to gently blow away accumulated dust every few months.
Setting yourself up for success begins with a simple action plan you can execute this week. Start by identifying the exact location in your home where you will dry your flowers, verifying that it meets the requirements for darkness and airflow. Next, take inventory of your supplies and order your twine, rubber bands, or silica gel so they arrive well before your garden reaches peak bloom. Walk through your garden to assess the current stage of your plants, noting which stems are closest to opening. By preparing your workspace and gathering your materials now, you will be completely ready to preserve your harvest the moment the flowers are perfect.
More About Cornflowers
Cornflower companion plants: what to grow, and what to avoid
Cornflower meaning and the bachelor button tradition behind the name
Cornflowers for wildlife gardens attracting bees goldfinches and beneficial insects
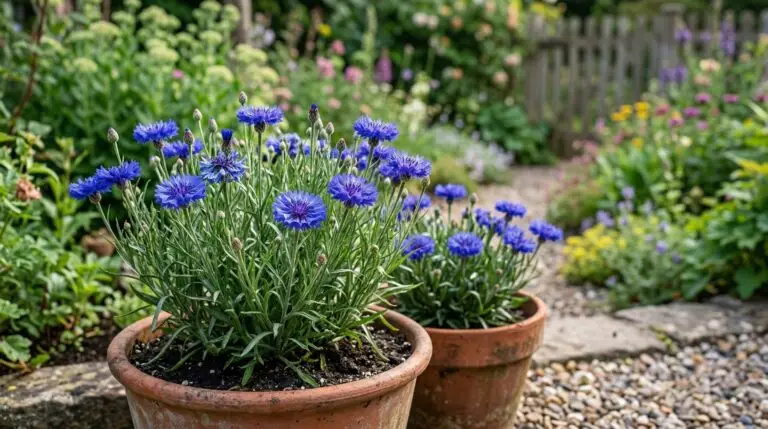
Growing cornflowers in containers for a wildflower look on balconies and patios
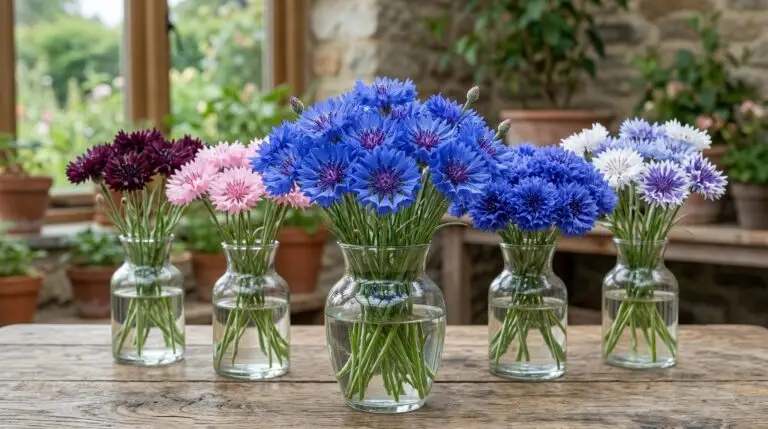
Best cornflower color varieties from classic blue to black and pink for cutting gardens
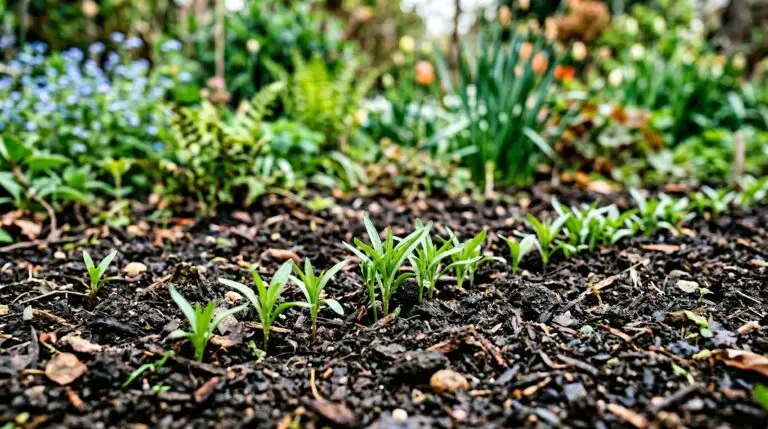
How to grow cornflowers from seed for a wildflower meadow that reseeds every year
Perennial cornflower species that come back year after year unlike the annual bachelor button
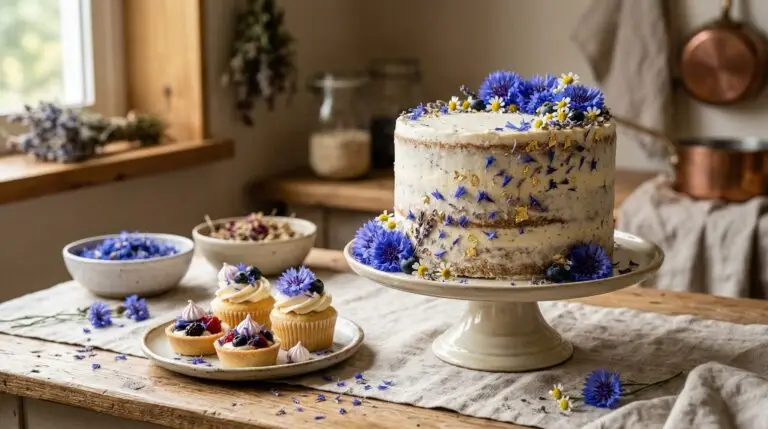
Edible cornflowers for cake decorating cocktails and salad garnishes