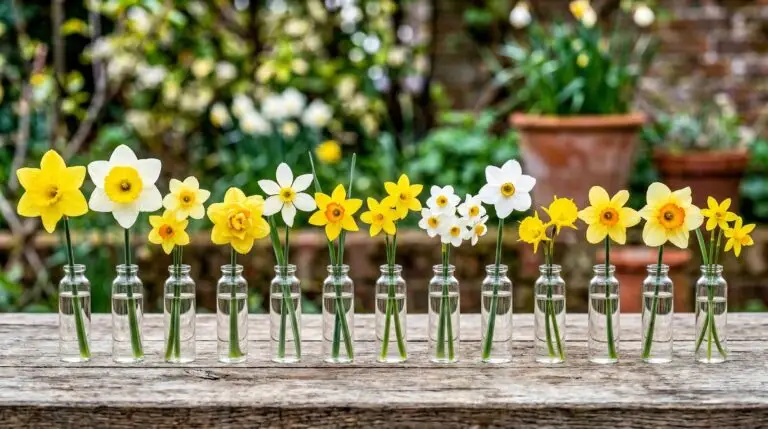
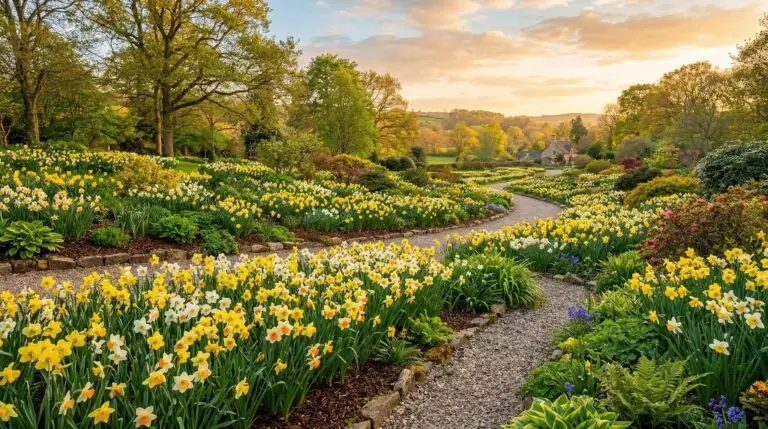
There is a specific kind of impatience that sets in around late February when the garden is nothing but mud and dead stalks. Staring at the bare ground waiting for the first green shoots to appear can feel like an eternity. Growing daffodils in pots brings that spring color right up to the back door where it can be appreciated every time you step outside. Container gardening offers a level of control that the open ground simply does not provide, especially for dealing with heavy clay soil or hungry rodents. Potted bulbs can be moved around to catch the best light or placed right on the patio table for a close-up display. The trick to getting those heavy-blooming pots is understanding how these bulbs behave when their roots are confined to a small space.
Selecting the right containers and soil
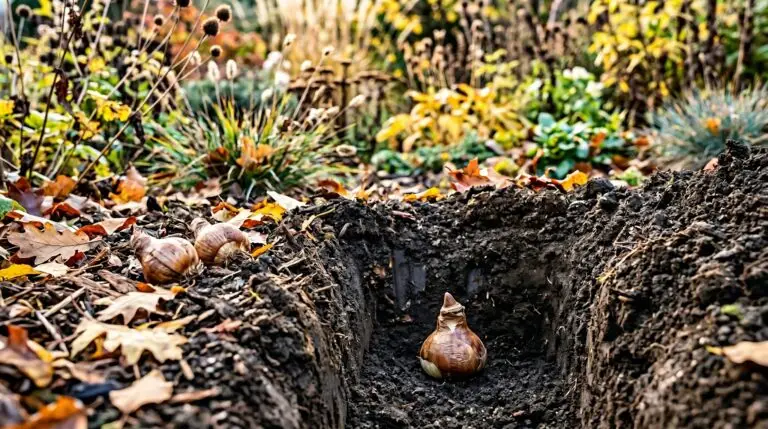
The most common mistake made with container daffodils is choosing a pot that is too shallow to support a healthy root system. Daffodil bulbs need at least six inches of soil beneath them to root properly, meaning the container itself should be a minimum of ten to twelve inches deep. Standard terra cotta pots look classic on a porch, but they dry out quickly and can crack if left outside during a hard freeze. Affordable plastic nursery pots or sturdy resin planters often work better for overwintering bulbs outdoors, and they can easily be slipped inside a decorative cachepot when the flowers start to open. Drainage is absolutely non-negotiable because bulbs sitting in soggy, freezing soil will rot before they ever sprout. A standard, inexpensive potting mix works perfectly fine, provided you skip the moisture-retaining varieties that hold onto too much winter rain. Mixing in a handful of perlite or coarse sand helps ensure the water drains straight through the bottom of the pot.
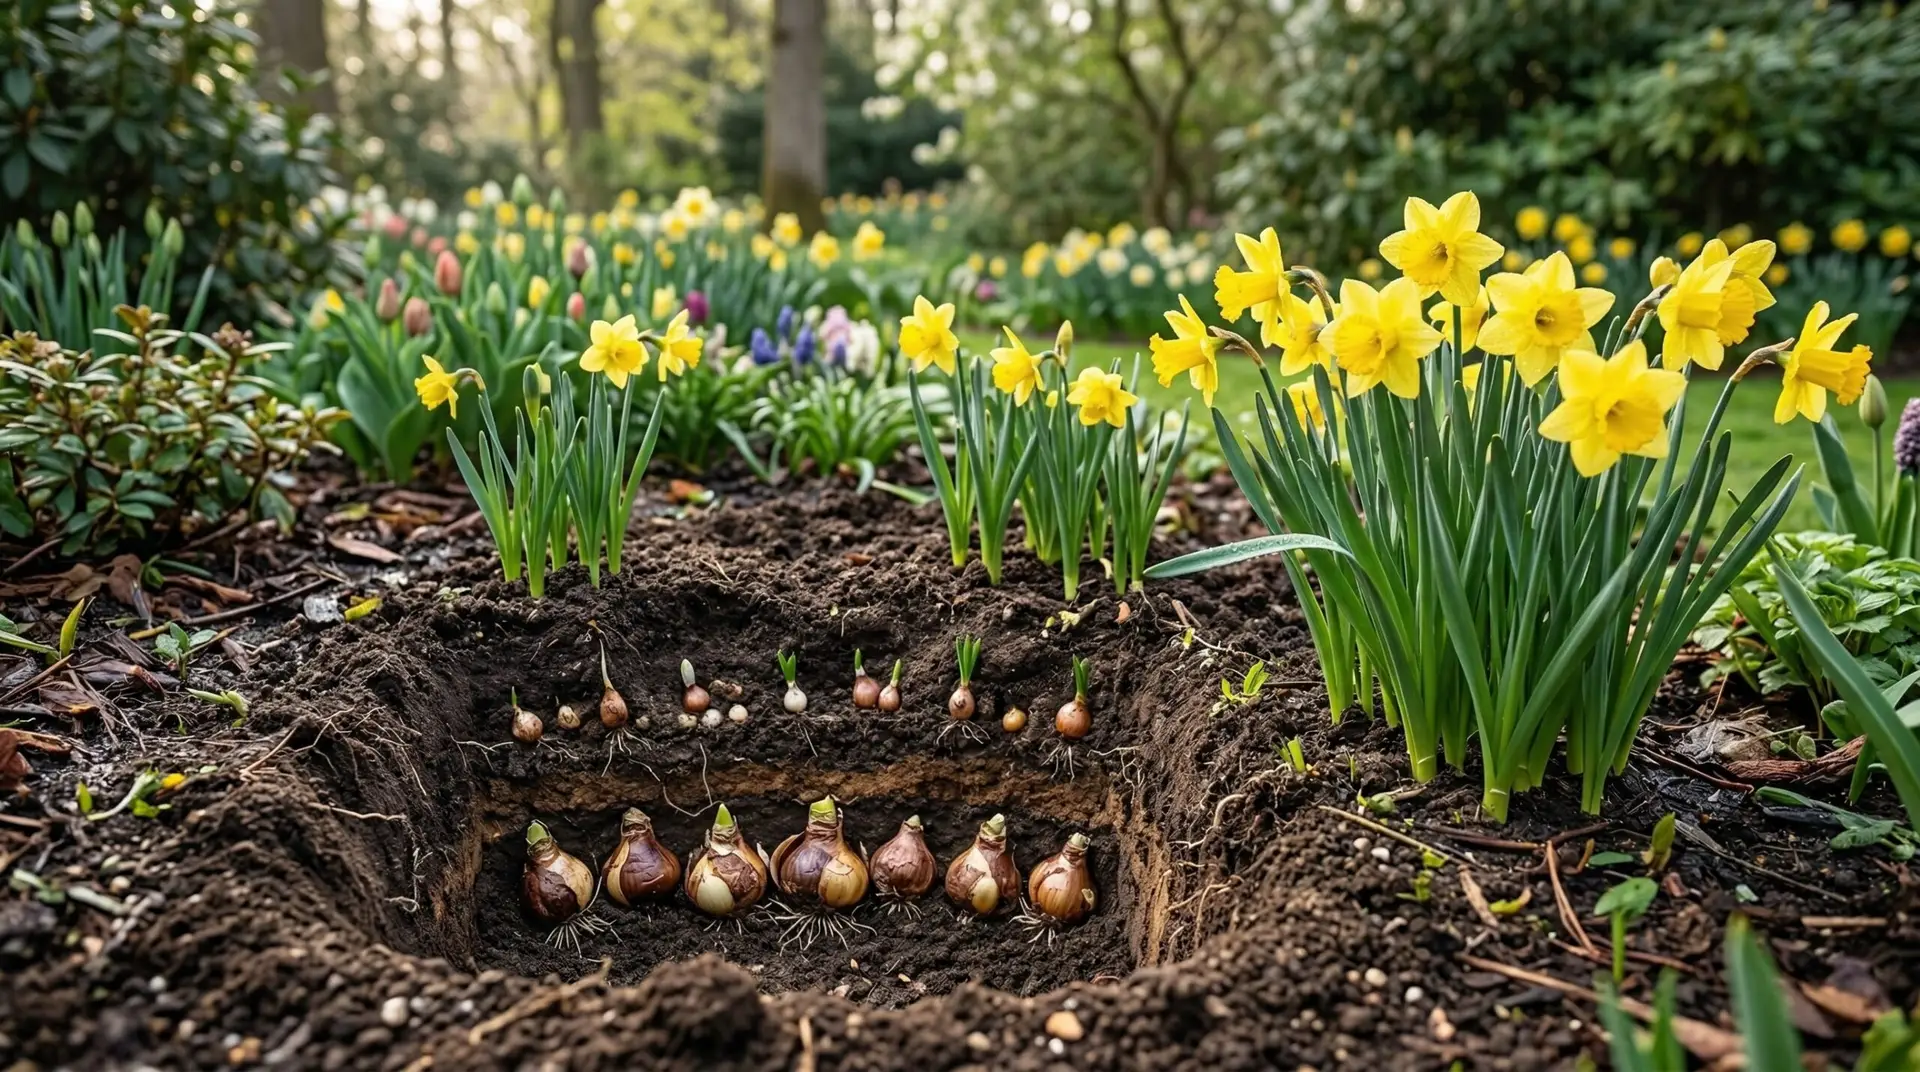
Planting with the bulb lasagna technique
Planting a single layer of bulbs looks nice, but the show is over quickly once those specific flowers fade. The bulb lasagna technique extends the bloom time by layering different types of bulbs in the same pot based on their size and schedule. Large, late-blooming daffodil bulbs go at the very bottom, covered by a few inches of soil. A middle layer might include mid-season flowers like a classic tulip, which will push its way right past the daffodils without any trouble. The top layer gets the smallest, earliest bloomers, such as a delicate snowdrop or crocus, planted just a couple of inches below the surface. As the season progresses, the early flowers finish just as the middle layer begins, followed finally by the tall daffodils patio guests will admire. Crowding the bulbs much closer than you would in the ground creates that lush, overflowing look that makes container plantings so appealing.
Managing winter chill and forcing timelines
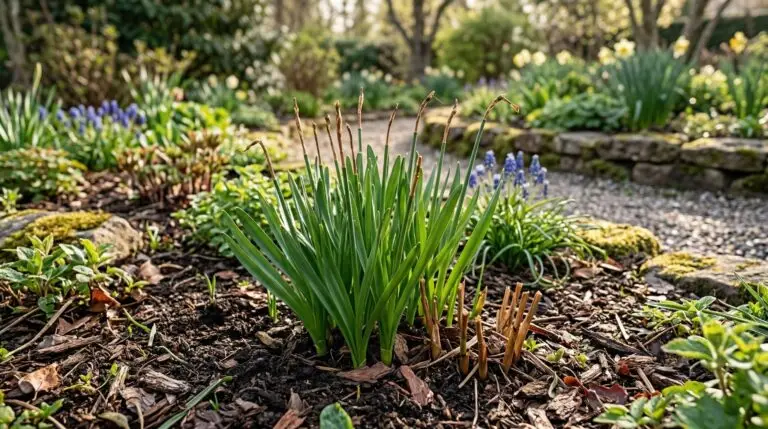
Daffodils are stubborn creatures that flatly refuse to bloom unless they experience a sustained period of cold weather. They need twelve to fifteen weeks of temperatures consistently between thirty-five and forty-five degrees Fahrenheit to develop their flower buds. Gardeners in northern zones can simply plant their pots in autumn and leave them outside against a protected wall to naturally endure the winter chill. In the South, the approach changes entirely because the winters are often too mild to satisfy this requirement. Southern gardeners usually need to buy pre-chilled bulbs or store their unplanted bulbs in a spare refrigerator away from ripening fruit for three months before potting them up. Once the chilling period is complete and the pots are brought into the warmth of the spring sunshine, the forcing timeline kicks in rapidly. Green shoots will emerge within a week or two, and flowers typically follow about three to four weeks later.
Watering and feeding for strong stems
Potted bulbs have very different moisture needs depending on what stage of growth they are in. After the initial autumn planting, the soil needs a thorough soaking to wake the bulbs up and encourage root growth before the deep freeze sets in. During the dead of winter, pots left outdoors rarely need supplemental water because natural precipitation and cold temperatures keep the soil adequately damp. The critical watering phase begins the moment those green tips break the surface of the soil in early spring. Potted plants dry out much faster than garden beds, especially when placed on a windy patio or a sunny concrete porch. Check the soil every few days and water deeply whenever the top inch feels dry to the touch to keep the stems from wilting. A light application of a low-nitrogen liquid fertilizer right as the buds begin to swell helps support large, long-lasting blooms.
Handling the pots after the flowers fade
The reality of growing spring bulbs is that the foliage looks terrible for several weeks after the flowers drop their petals. Those long, strappy leaves are busy photosynthesizing to store energy for next year, and cutting them off too early guarantees a pot full of blind, flowerless bulbs the following spring. Leaving a pot of decaying foliage on the front porch is not very attractive, which is the exact moment the mobility of container gardening becomes a massive advantage. Simply pick up the pot and move it to a hidden corner of the yard behind a shed or under a bush while the leaves turn yellow and dry out naturally. Once the foliage is completely dead and pulls away with a gentle tug, the bulbs have finished their work. You can either leave them in the dry soil in a shaded spot until autumn watering resumes, or dig them up and transplant them out into the garden beds. Starting fresh with new bulbs in the pots next fall is often the most reliable way to guarantee another heavy-blooming patio display.
More About Daffodils (Narcissus)
Designing a succession of daffodils that bloom from February through May
Naturalizing daffodils in lawns and woodland areas for wild spring beauty year after year
Daffodil meaning, from new beginnings to the Narcissus myth, honestly explained
Why daffodils stop blooming after the first year and how to get flowers back
How to force daffodil bulbs indoors for cheerful winter blooms on your windowsill
How to plant daffodil bulbs in fall for a golden carpet of spring flowers
What to do with daffodil foliage after blooming and why you must leave it alone

Daffodils as deer-proof and squirrel-proof bulbs that nothing wants to eat