How to Grow and Care: Phlox
Contents
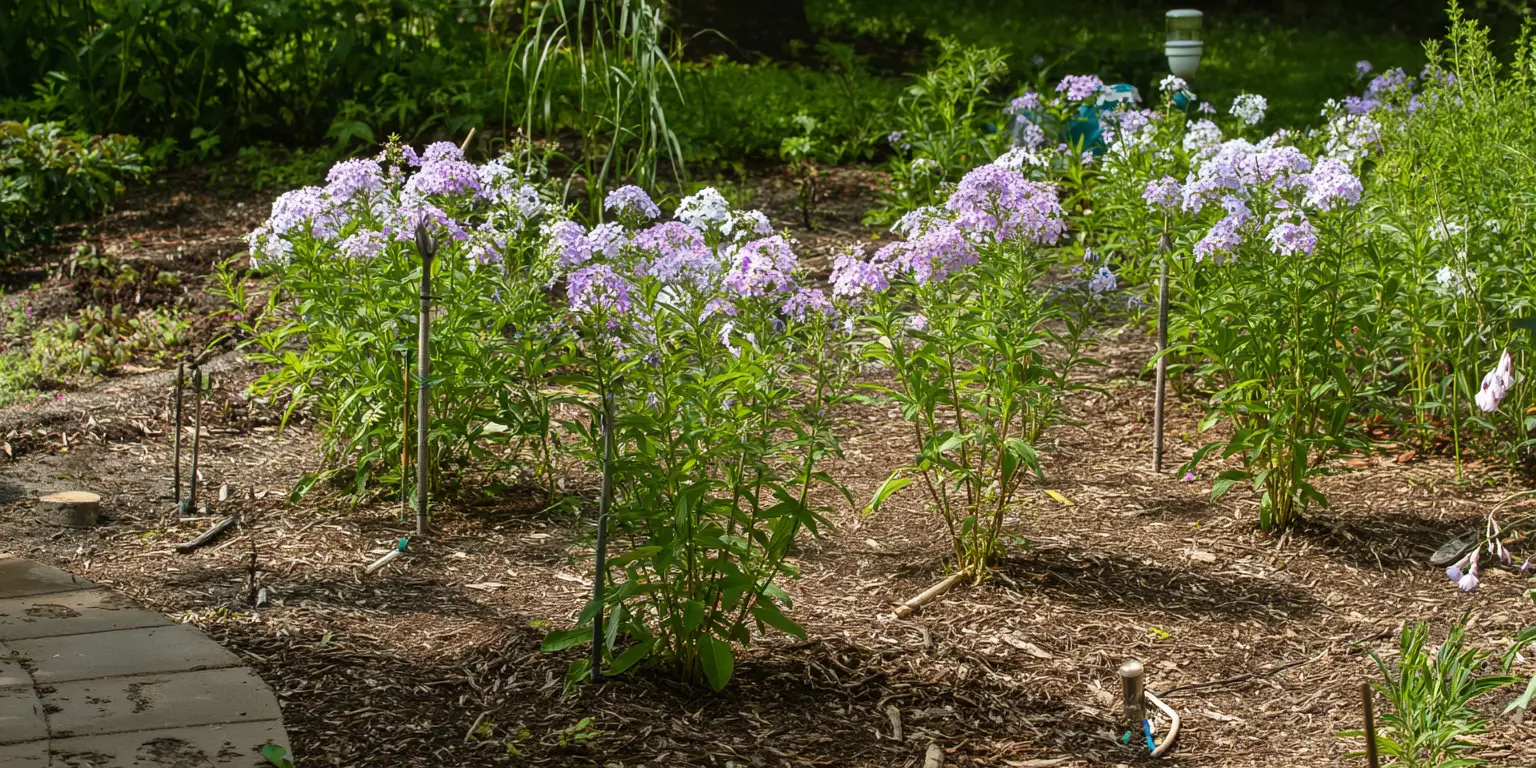
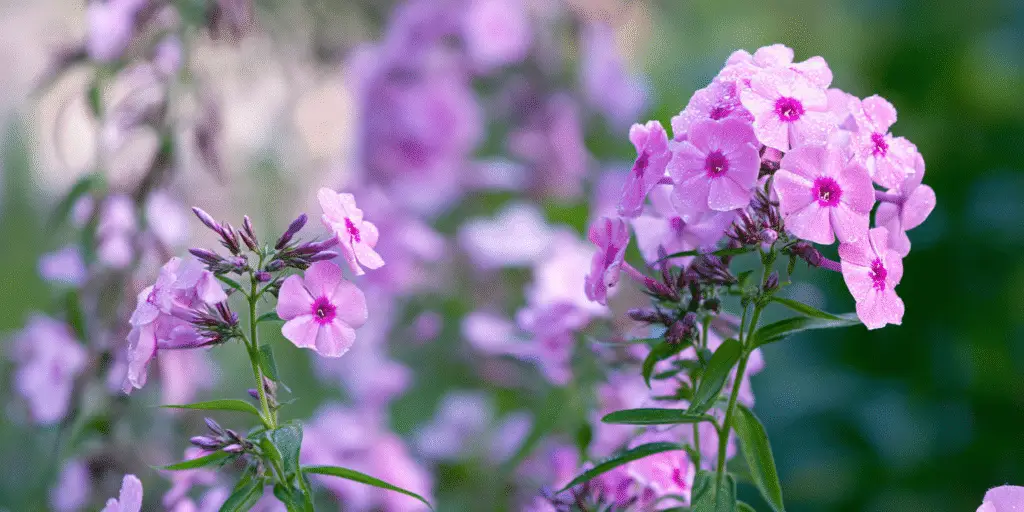
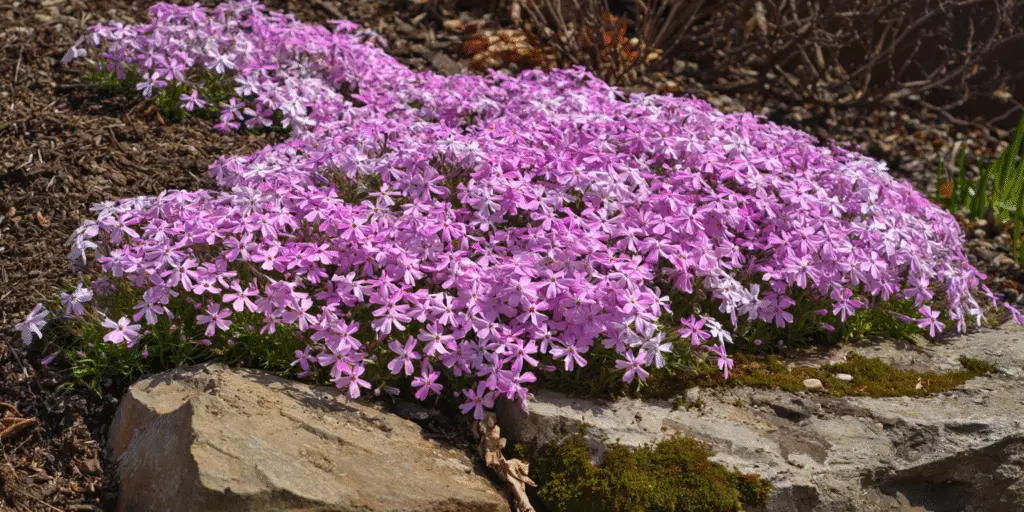
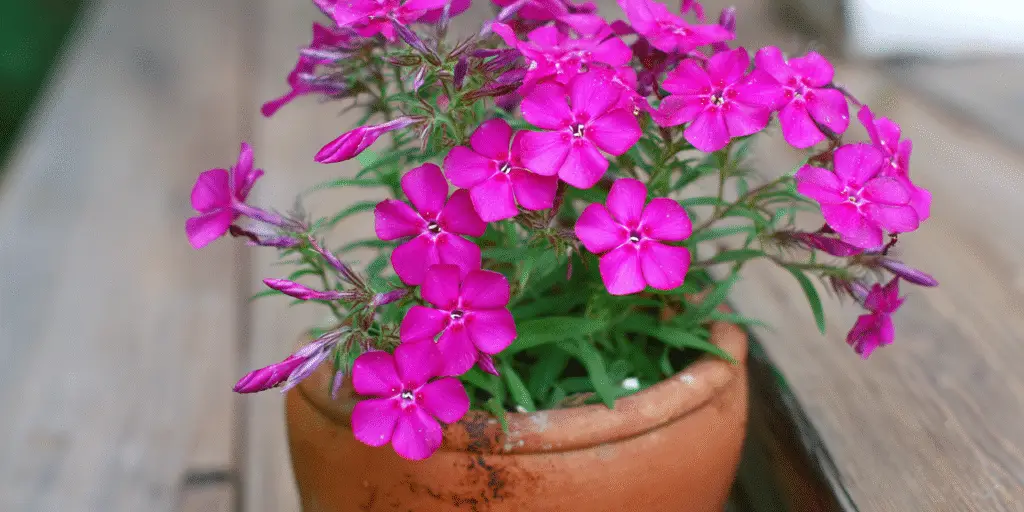
Phlox is a North American genus of mostly perennial flowering plants prized for carpets of spring bloom and tall, fragrant summer clusters. The showiest garden species are Phlox paniculata (garden phlox), Phlox subulata (moss or creeping phlox), and Phlox divaricata (woodland phlox). You may also see P. stolonifera sold as creeping phlox in shade gardens. Garden phlox provides upright color in mid to late summer. Creeping phlox spreads into a low, evergreen mat that smothers slopes in spring. Woodland phlox brings soft pastel flowers to dappled shade.
Garden phlox is generally hardy in USDA Zones 4 to 8. Creeping phlox succeeds in Zones 3 to 9. Woodland phlox usually grows in Zones 3 to 8. Match the species to your site and climate for the least fuss.
Full sun gives the most flowers for garden phlox in the North. In hot and humid regions, the plants benefit from light afternoon shade to reduce stress and mildew. Creeping phlox prefers full sun. Woodland phlox prefers partial shade under open trees.
Plant in well‑drained, fertile soil. Space widely for air flow. Water the soil, not the foliage. Mulch to steady moisture and temperature. Deadhead for tidy plants and longer color. Choose disease‑resistant garden phlox cultivars. Anchor your design with color families already covered on your site such as pink, purple, blue flowers, and white flowers for easy reader browsing later.
Soil & Bed Preparation
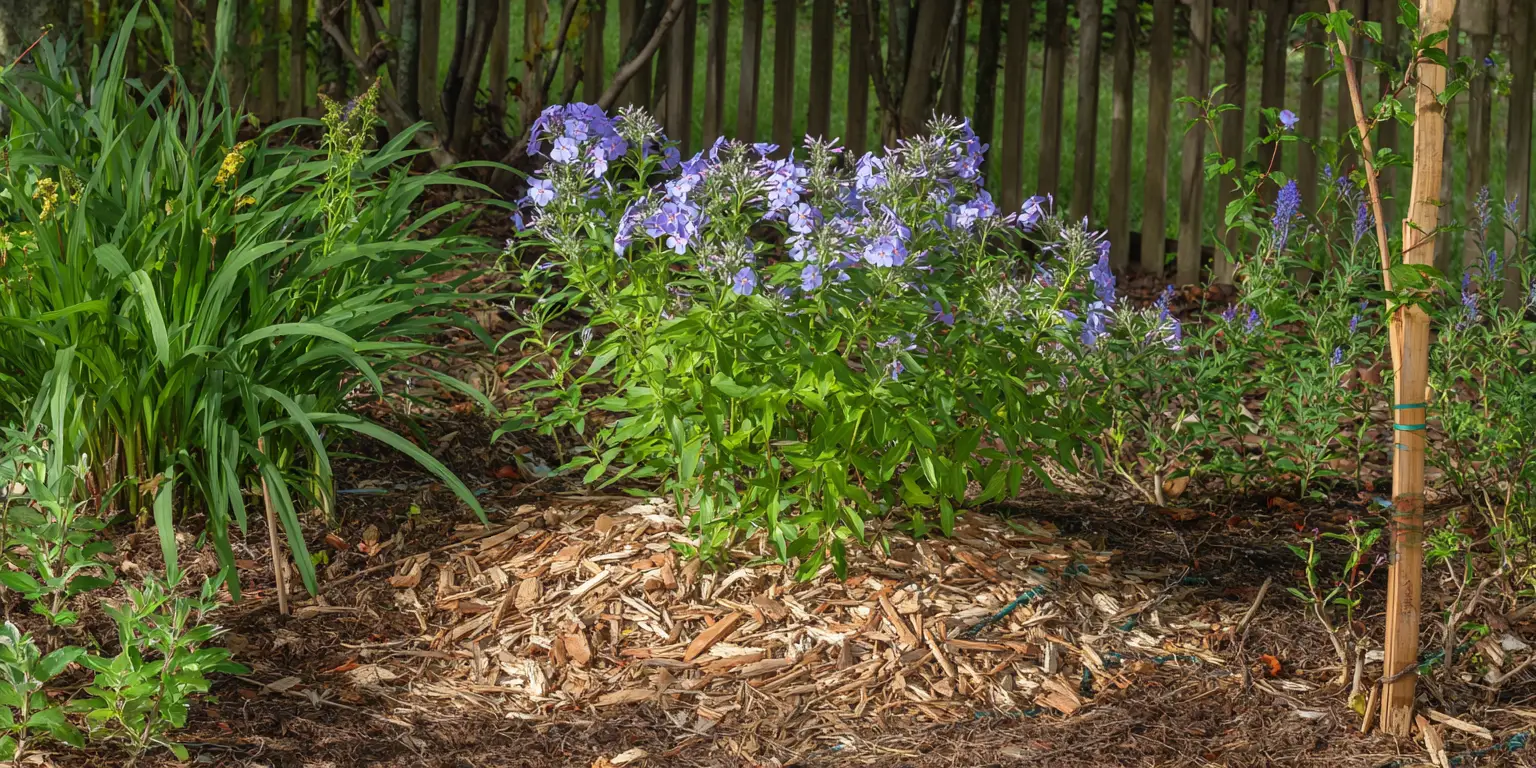
Phlox thrives in soil that drains well yet holds moisture. Loams with generous organic matter are ideal for garden phlox. Creeping phlox tolerates sandy and gravelly soils and even shallow, rocky pockets if water does not stand. Woodland phlox likes a leaf‑rich, humus‑laden soil that mimics open woods. If your soil puddles after rain, improve drainage with compost and raised beds. Poorly drained clay invites root rot and powdery mildew on stressed plants, especially in humid summers. Extension guidance consistently steers gardeners to moisture‑retentive but free‑draining soil for phlox and warns against cramped, still air near fences where disease builds.
Soil pH targets: Phlox tolerates a broad pH range, but slightly acidic to neutral soil is reliable for home gardens. Aim for pH about 6.0 to 7.0. Test first and amend only as needed. Liming acidic soil moves pH up over several months. Elemental sulfur lowers alkaline pH gradually. Compost improves structure in both clay and sand and buffers pH swings. If you choose creeping phlox for a rock garden, it accepts more acidic conditions and still blooms well.
How to test and correct: Send a soil sample to your state lab for a complete report every three to five years. Incorporate two to three inches of finished compost into the top 8 to 12 inches before planting in new beds. In heavy clay, mix in coarse organic matter, plant on slight mounds, and avoid working wet soil that smears and seals pores. In very sandy sites, add compost to increase water holding. Retest after a season if you make major changes.
Raised beds versus in‑ground: Raised beds warm earlier in spring and shed water faster, which helps on clay sites and in long rainy spells. They also improve air flow around plant crowns. In free‑draining native loam there is no need to raise a bed for phlox. On slopes, creeping phlox knits soil and can anchor edges of a raised bed.
Drainage Test and pH Targets:
Dig a hole about 12 inches wide and 12 inches deep, fill with water, let it drain, then refill the next day. Well‑drained soil should empty within roughly 8 hours after the second fill. If water lingers longer, elevate the bed or amend more aggressively. Aim for soil pH near 6.0 to 7.0 for general phlox planting. If your test reveals extremes, adjust gradually and recheck.

Planting Calendar by USDA Zone
Zones 3 to 5: Plant container‑grown phlox in late spring after soils warm and danger of hard frost has passed. You can also plant in late summer to early fall, but finish at least six weeks before the first hard freeze so roots establish before winter. Divide or plant bare‑root garden phlox early in spring as new growth appears. Mulch plants well in late fall to prevent freeze–thaw heaving. Creeping phlox divisions take best in spring in cold zones.
Zones 6 to 7: Spring planting runs from early to mid spring once the soil is workable. Fall planting is excellent in these zones. Install container plants from early fall into mid fall, still allowing four to six weeks before your first hard freeze. Dividing garden phlox is often easiest in early fall after bloom or in very early spring. Avoid setting new plants during peak summer heat.
Zones 8 to 9: Favor fall planting for both garden and creeping phlox. Soil is warm, roots grow fast, and plants face less stress. In these warmer zones, give garden phlox morning sun with afternoon shade and steady moisture. Avoid late spring installations that run directly into heat. If you must plant in spring, do it early and provide frequent water and light shade cloth during heat spikes the first season.
Regional caveats:
Hot humid coasts increase mildew pressure on garden phlox; maximize spacing and morning sun. Arid regions dry the soil fast; mulch and drip irrigation help. High elevation sites experience intense sun and cool nights; garden phlox still wants full sun for bloom but will appreciate organic matter and regular irrigation.
Planting: Depth & Spacing
Bare‑root or divisions: For garden phlox divisions, set the crown about 1 to 1.5 inches below the final soil surface. Each division should have several vigorous shoots with attached roots. Space plants at least 18 inches apart for air circulation. In humid regions and crowded borders, stretch spacing to 24 inches. Water the soil thoroughly after planting to settle it around roots.
Container‑grown: Slide the plant from its pot, tease apart any circling roots, and set the top of the root ball level with the surrounding soil for creeping or woodland phlox. For garden phlox, set the crown slightly below the soil line as above to anchor stems. Backfill with amended native soil rather than pure potting mix so roots do not stall in a soft pocket. Firm gently and water deeply.
Bulbs or tubers: Phlox are not bulbs, tubers, corms, or rhizomes. They are fibrous‑rooted herbaceous perennials. Plant crowns at the correct level and avoid burying stems deeply to prevent rot.
Transplant shock and acclimation: Water containers well the day before planting. Plant during a cool morning. Shade new transplants for a few days with a breathable fabric if sudden heat arrives. Keep the root zone evenly moist for the first several weeks. If dividing garden phlox, reduce the number of stems to five or six on a clump and pinch growing tips once they reach about 6 inches to encourage sturdy branching in year one. Clean pruners before and after use to reduce disease spread.
Spacing quick guide:
Garden phlox: 18 to 24 inches apart for mature clumps 2 to 4 feet tall.
Creeping phlox: 12 to 18 inches apart to knit a continuous mat 2 to 3 feet wide over time.
Woodland phlox: 12 to 15 inches apart in dappled shade to form loose sweeps.
Watering & Mulching
Establishment watering: Keep new phlox evenly moist through their first season. Water the soil at the base rather than the foliage. Morning irrigation helps leaves dry quickly if they get splashed. Deep, less frequent watering encourages deeper roots. In sandy beds, more frequent irrigation with smaller volumes prevents stress.
Mature watering: Once established, garden phlox prefers consistent moisture and good drainage. Do not allow long dry periods followed by heavy drenching because that pattern stresses plants and favors mildew. Creeping phlox is more forgiving of short dry spells after it is established and will hold on in thin soils if sun and drainage are right. Woodland phlox wants even moisture under trees but sulks in standing water. If overhead watering is your only option, water early morning so plants dry fast in sun.
Mulch strategy: After the soil warms in early summer, spread 2 to 3 inches of shredded bark, pine needles, or chopped leaves around plants to conserve moisture and suppress weeds. Keep mulch a finger’s width away from stems and crowns to avoid rot. In cold winter zones, switch to a winter protection layer after the soil freezes by adding dry straw, leaves, or pine needles to a depth of about 4 to 6 inches. Remove spring covers gradually as temperatures stabilize.
Heat spikes and drought: In heat waves, give garden phlox temporary afternoon shade and water in the morning. Mulch moderates root temperatures and slows evaporation. If your water is very hard and leaves deposit spots, focus water at the soil line and avoid routine foliar sprays. Drip or a soaker hose is ideal.
Feeding
When to feed: If you incorporate compost at planting and refresh it each spring, you may not need fertilizer. Where soils are average to lean, feed garden phlox lightly in early spring as new growth emerges. A second light application just before flowering can help in nutrient‑poor soils. Creeping and woodland phlox usually need only compost and leaf mold in spring.
How much and what N‑P‑K: A balanced slow‑release or granular fertilizer around 10‑10‑10 used sparingly is sufficient for garden phlox in spring. Spread a light dose on moist soil and water it in. Do not overfeed with high nitrogen because soft, lush growth is more prone to mildew and flops. Always follow your soil test first. Where phosphorus is high, a product with lower middle numbers is better to protect waterways.
Organic options: One to two inches of finished compost or well‑rotted manure topped with mulch supplies a gentle, steady feed and improves structure for water and air. Supplemental organic meals can be used at label rates in spring if soil tests support the need. Covering bare soil with living roots and organic mulch builds soil biology that feeds plants over time.
When to skip fertilizer: Skip feeding if growth is vigorous, foliage is a healthy deep green, and blooms are abundant. Skip summer fertilizing during drought stress. Avoid late fall fertilizing which can push tender growth before cold weather.
Soil biology and retesting: Refresh compost each spring. Retest soil every three to five years to track pH and nutrients. Adjust inputs to the test rather than guessing.
Pruning & Support
Deadheading specifics: Removing spent flower clusters keeps garden phlox neat and can extend bloom into late summer. Clip the old panicles back to a strong leaf or side shoot. Deadheading also prevents unwanted seedlings from inferior open‑pollinated crosses. Creeping phlox benefits from a light trim after flowering. Shear back by about one third to keep mats dense and to prompt fresh growth.
Early summer thinning and pinching: When garden phlox stems are about 6 inches tall, thin to five or six of the strongest per clump and pinch the tips once. This makes sturdier, bushier plants with larger flower heads and better air circulation. Good air movement is a main defense against powdery mildew. If mildew appears later, remove the worst leaves and avoid overhead water in the evening.
Staking tall phlox: Some cultivars reach 3 to 4 feet and can lean in wind or after heavy rain. Use discreet stakes or a grow‑through ring early in the season before stems harden. Tie loosely with soft ties so stems can move without snapping. Proper spacing lowers the chance of flopping because stems develop thicker walls in brighter light with more room.
Tool hygiene: Clean shears between plants to avoid moving disease. Wipe blades with 70 percent isopropyl alcohol or dip in a fresh 10 percent bleach solution and rinse, then dry and oil to limit corrosion. Keep cuts neat and avoid shredding stems.
Overwintering
In‑ground plants: In Zones 3 to 5, cut garden phlox to ground level after a hard frost and remove the debris. This interrupts the mildew cycle and reduces overwintering spores. After the soil freezes, apply 4 to 6 inches of loose mulch to buffer freeze–thaw heaving. In spring, pull mulch back gradually as growth resumes. In Zones 6 to 8, a lighter winter mulch is usually enough to prevent heaving and weed pressure. Creeping phlox is semi‑evergreen in many climates. It may look ragged after a severe winter but will flush again in spring.
Freeze–thaw management: Heaving lifts crowns and exposes roots. Check beds after midwinter thaws. If crowns rise, re‑firm soil on a mild day and top up mulch. Good fall moisture before the ground freezes also reduces heaving.
Rodent protection: Avoid packing dense mulch against crowns which creates hidden runs for voles. Use coarse mulch and keep stems just clear. Clean up spilled seed near beds which attracts rodents in winter.
When to remove winter cover: As soon as persistent frost passes and new shoots show, remove most of the winter mulch but keep a thin layer to moderate spring temperature swings.
Tender or container plants: Containers expose roots to colder temperatures than in‑ground beds. In cold zones, move hardy phlox containers into an unheated garage, shed, or cold frame where winter temperatures generally stay between about 20 and 45°F (−6.7 to 7.2°C). Check moisture monthly and water lightly if the mix is dry. Another option is to bury the entire pot to the rim in garden soil and mulch over the top. Grouping pots together on the ground in a protected corner and mulching around them is also effective. Return pots outdoors and remove insulation gradually in spring.
Growing Environments
Containers: feasibility and minimum volume: Garden phlox grows in containers if you give enough root room, a sturdy pot, and regular water. As a general rule for flowering perennials, choose a container at least 12 inches wide with drainage holes. Larger pots dry out more slowly and buffer summer heat swings. Creeping phlox will spill over low walls and thrives in troughs and rock garden pots if the mix drains freely.
Drainage and potting mix: Use a high‑quality peat or coir based potting mix with coarse bark and perlite for aeration. Garden topsoil alone is too dense for pots. Always ensure free drainage and never leave containers standing in saucers of water. Set containers where they receive morning sun and good air flow. In hot climates, give garden phlox light afternoon shade to reduce stress.
Microclimate tips: Concrete, stone, and south facing walls reflect heat and can cook roots. Move containers a foot away from masonry or shade the pot itself. On windy balconies, use heavier containers or cluster pots for stability. In drought‑prone areas, a drip emitter on a simple timer saves plants and time.
Companion Planting & Design
Companions that extend color: Combine garden phlox with coneflowers for upright contrast and long summer bloom. Thread in ornamental grasses that move air and break up mildew traps. Early in the year, let daffodils flower through mats of creeping phlox. In partial shade, woodland phlox pairs beautifully with ferns and spring bulbs and then yields the stage to summer perennials.
Plant families and palettes: To help readers explore color themes on your site, note that phlox threads easily through collections like pink, purple, blue, and white flowers. It also belongs in seasonal idea lists such as your wedding flowers guide and plant profiles like lilacs or hydrangea macrophylla where gardeners seek pastel companions.
Airflow and spacing in design: Whether you mass three garden phlox or edge a slope with creeping phlox, plan for air movement. Place tall phlox where breezes reach them and avoid pinning clumps against walls. In humid summers, space generously to lower mildew pressure. In narrow borders, stagger clumps so flower heads do not press together in July.
Pollinator‑friendly options: Garden phlox offers nectar to butterflies and hummingbirds through summer. Creeping and woodland phlox feed early pollinators in spring. If pests like spider mites appear in dry heat, reduce stress first with water and mulch before reaching for any control. Healthy, well‑sited plants resist most problems.
References
- University of Minnesota Extension. Tall garden phlox. – University of Minnesota.
- NC State Extension Gardener Plant Toolbox. Phlox paniculata. – North Carolina State University.
- NC State Extension Gardener Plant Toolbox. Phlox subulata. – North Carolina State University.
- Wisconsin Horticulture, Division of Extension. Woodland phlox, Phlox divaricata. – University of Wisconsin-Madison.
- Penn State Extension. Phlox in the Home Garden. – The Pennsylvania State University.


Written by: Your Flowers Guide editorial team
We are a small independent group of flower lovers who research and review each guide using trusted horticultural and educational sources. Learn more about us