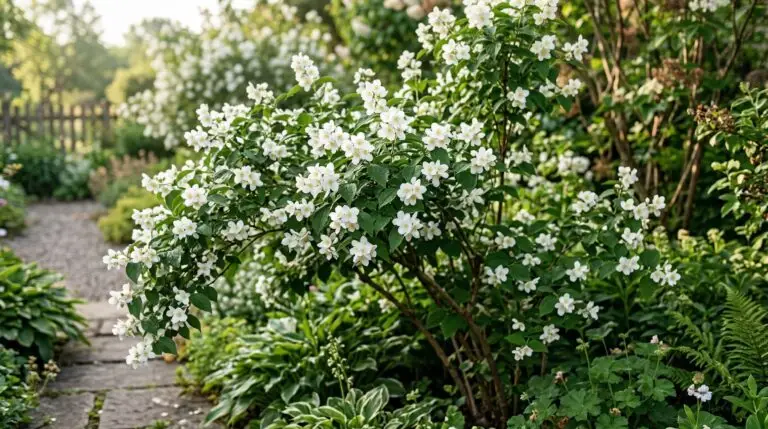
Mock orange is a rewarding shrub that fills the spring garden with a sweet citrus scent, but it has a habit of growing into a dense, unruly thicket if left to its own devices. Many gardeners hesitate to prune because they are afraid of ruining the natural arching shape or accidentally cutting off future flowers. This mock orange pruning guide will walk you through the exact steps to keep your shrub healthy, manageable, and full of blooms year after year. The secret lies entirely in understanding the plant’s growth cycle and timing your cuts correctly. If you prune at the wrong time of year, you will sacrifice the very blossoms that make this plant worth growing. By learning how to thin out the oldest wood and encourage fresh growth, you can maintain a beautiful shrub that fits perfectly in your garden space.
Timing your pruning to protect future flowers
If you are wondering when to prune philadelphus, the rule is to get out your tools immediately after the last blossoms drop to the ground. This shrub produces its flowers on old wood, which means the buds for next spring develop on the stems that grow during the current summer. When you wait until late summer, fall, or winter to prune, you are actively cutting away the branches that hold next year’s flower buds. This same rule applies to many other popular spring bloomers, and you might already follow a similar schedule for your lilac bushes to help them bloom well. As soon as the white petals fade and fall, you have a window of a few weeks to do your shaping and thinning before the plant starts setting new buds. If you miss this window, it is usually better to wait an entire year rather than risk a spring without flowers.
Gathering the right tools and assessing the plant
Before you make a single cut, you need to gather a few specific tools and take a good look at the structure of your shrub. You will need a pair of sharp bypass pruners for stems thinner than a pencil, a sturdy pair of long-handled loppers for branches up to an inch thick, and a small folding pruning saw for the oldest, thickest canes at the base. You must clean your blades with rubbing alcohol before you start, as dirty tools can easily transfer fungal diseases into the fresh cuts. Step back and look at the shrub from all sides to identify dead, broken, or crossing branches that rub against each other. You might notice areas where the center of the plant is completely choked with twiggy growth and dead leaves. This congestion blocks sunlight and air circulation, creating a damp environment that encourages powdery mildew and other foliar diseases.
Using thinning cuts to open the center
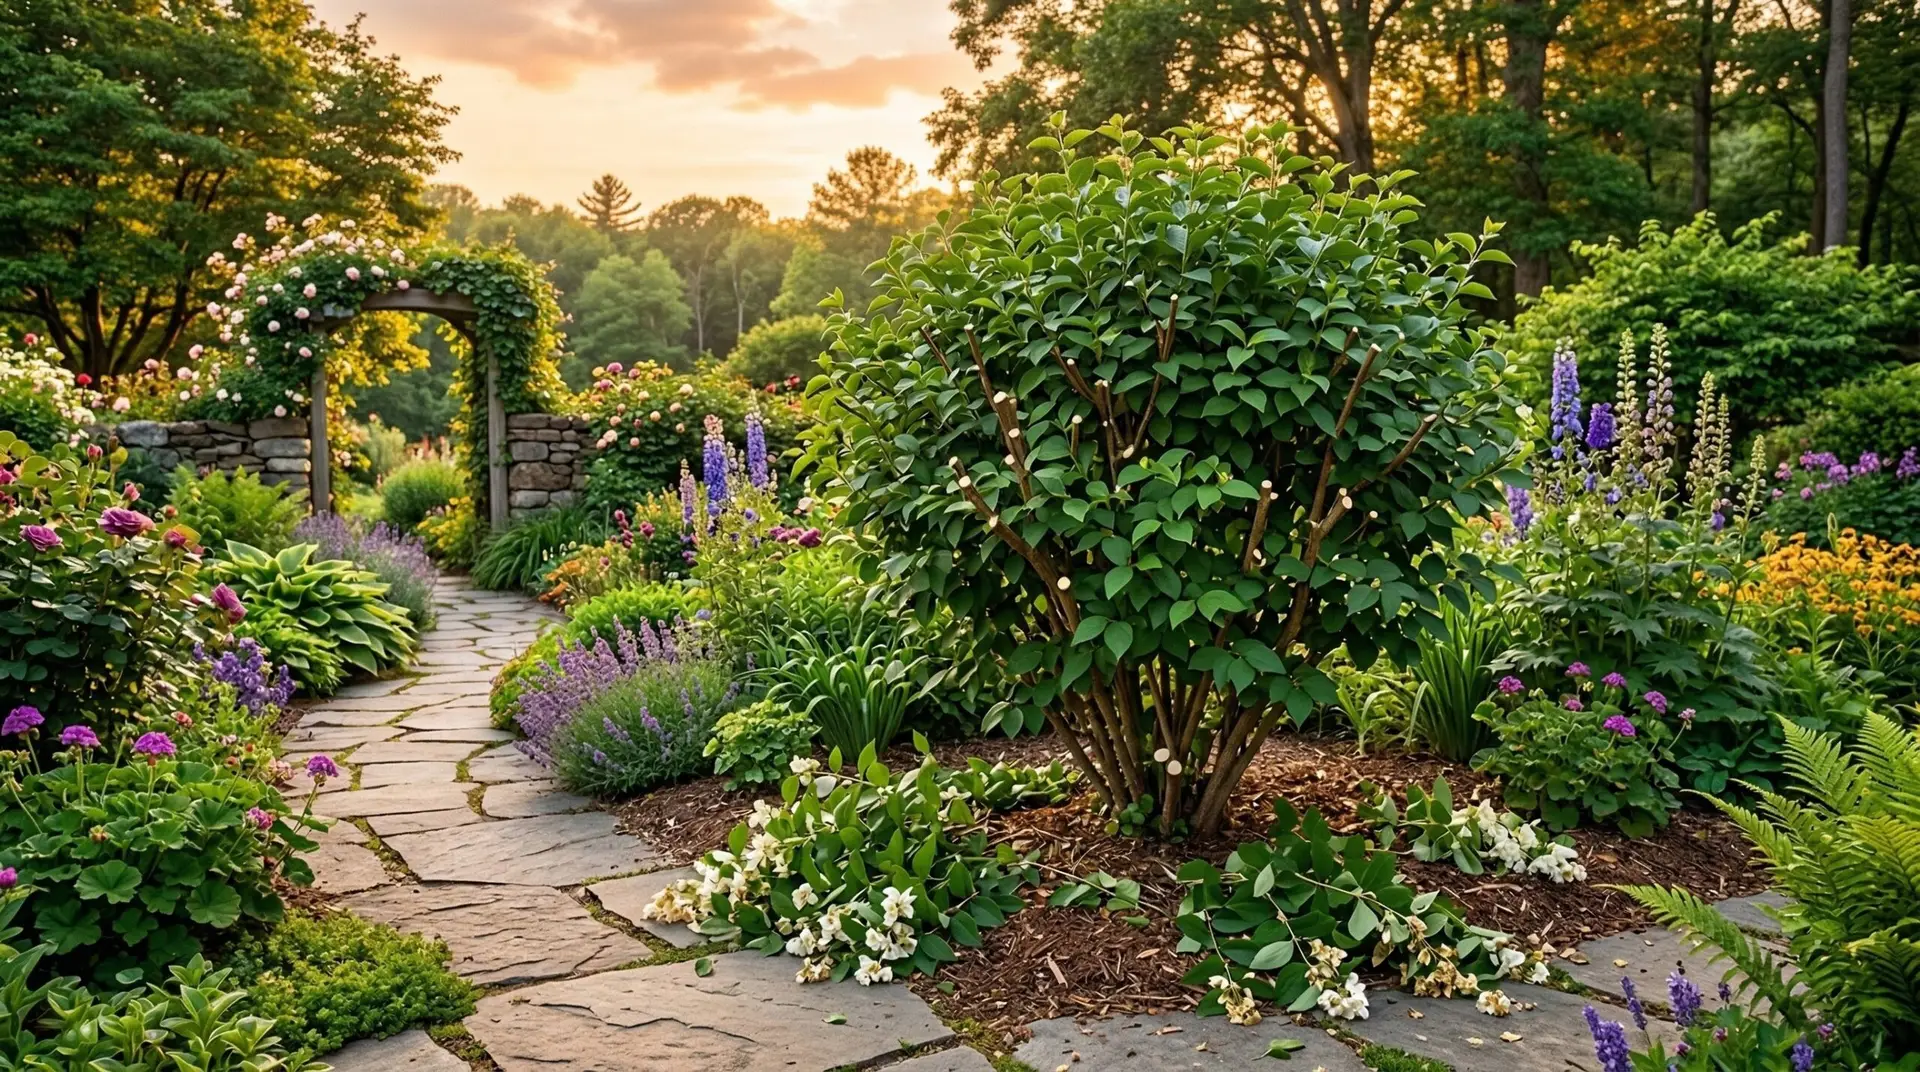
The core of your pruning work will involve thinning cuts rather than simply shearing the outside of the shrub into a tight ball. Shearing creates a dense outer shell of foliage that shades out the interior, leading to a hollow center filled with dead twigs. Instead, you want to reach deep inside the plant and remove entire branches right at their point of origin on a larger stem or at the ground level. Start by cutting out any dead or damaged wood, making clean cuts slightly above a healthy branch junction. Next, look for stems that are crossing through the middle of the shrub and rubbing against their neighbors. Removing these wayward stems opens the interior so sunlight can penetrate and air can flow freely through the leaves. As you remove these branches, the natural fountain-like shape of the mock orange will begin to reveal itself again.
Managing height and encouraging new growth
Once the interior is clean and open, you can address the overall height and shape of the shrub using heading cuts. A heading cut involves snipping off the end of a branch to shorten it, which forces the plant to push out new growth just below the cut. When you shorten a branch, always make your cut about a quarter of an inch above a healthy bud that is facing outward, away from the center of the plant. Cutting above an outward-facing bud means the new stem will grow away from the middle, keeping the interior open and preventing future crossing branches. You might notice that some of the older stems look gray, flaky, and produce very few leaves or flowers compared to the younger branches. These aging stems have lost their vigor and should be removed entirely at the base to make room for fresh shoots. This renewal process is similar to how you would manage forsythia shrubs, which also rely on a constant supply of vigorous new canes to produce the best spring display.
Rejuvenating a severely overgrown shrub
If you have inherited an old, neglected mock orange that has turned into a massive wall of tangled wood, a standard pruning session might not be enough. In these cases, you will need to practice renewal pruning to completely rebuild the structure of the shrub over a period of three years. In the first year, right after flowering, use your pruning saw to cut one-third of the oldest, thickest stems completely down to the ground. Taking out these massive canes will leave noticeable gaps in the shrub, and the plant might look a bit awkward at first. This is a normal part of the process, and the sudden influx of light to the base of the plant will stimulate dormant buds in the root crown to send up fresh, green shoots. You can use this same gradual renewal method on other cane-growing shrubs like bigleaf hydrangeas when they become too woody and unproductive. By removing another third of the old wood in the second year, and the final third in the third year, you will entirely replace the old shrub with vigorous new growth without ever losing a full season of flowers.
After you finish pruning your mock orange, clean up all the debris from the ground to prevent pests from hiding in the dead wood. Give the shrub a deep watering at the base to help it recover from the stress of pruning and support the new growth that will soon emerge. Over the next few weeks, you will see fresh green shoots pushing out from the cuts you made, rapidly filling in any gaps you left behind. As daytime temperatures begin to drop in the fall, those new stems will quietly set the tiny buds that hold next year’s display. When spring arrives, you will be rewarded with a well-shaped, healthy shrub covered from top to bottom in fragrant white blossoms.
More About Mock Orange
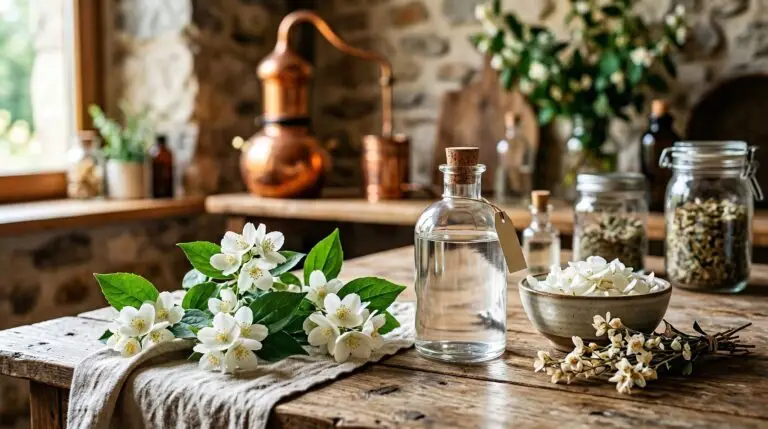
Mock orange flowers for homemade perfume and potpourri with an orange blossom scent

Companion plants for mock orange: what to grow and avoid

Mock orange as a fragrant hedge that fills the neighborhood with perfume in June
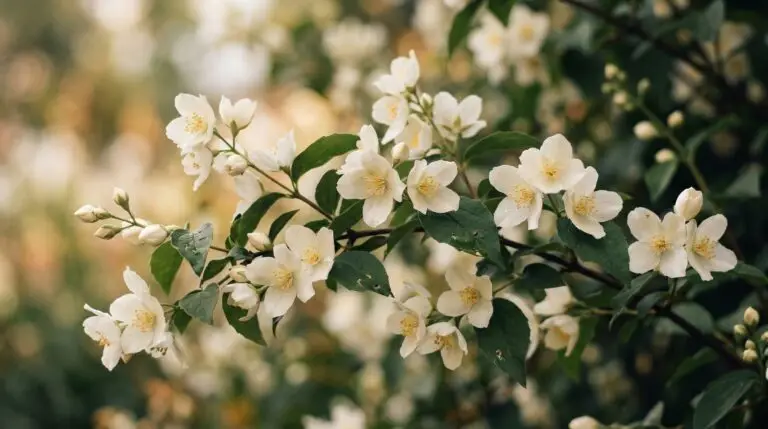
Mock orange flower meaning and why this shrub has fooled people into thinking it is an orange tree
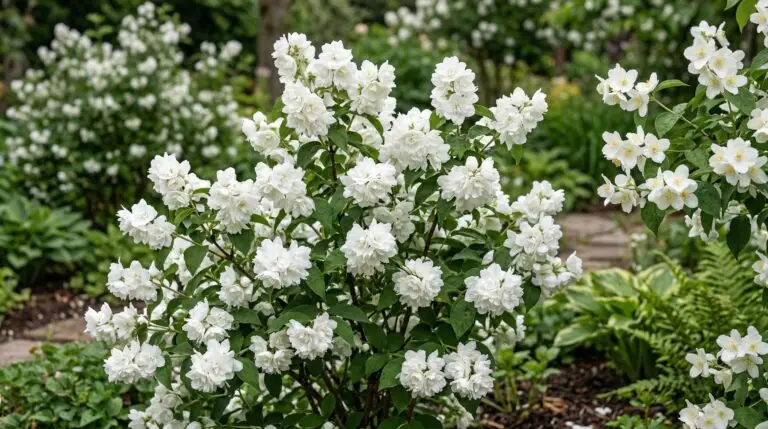
Dwarf mock orange varieties for small gardens that still deliver incredible fragrance
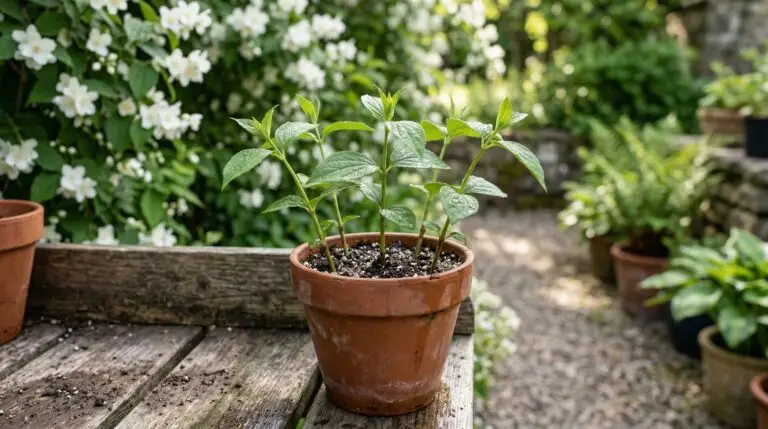
How to propagate mock orange from cuttings for free new shrubs from your favorite plant
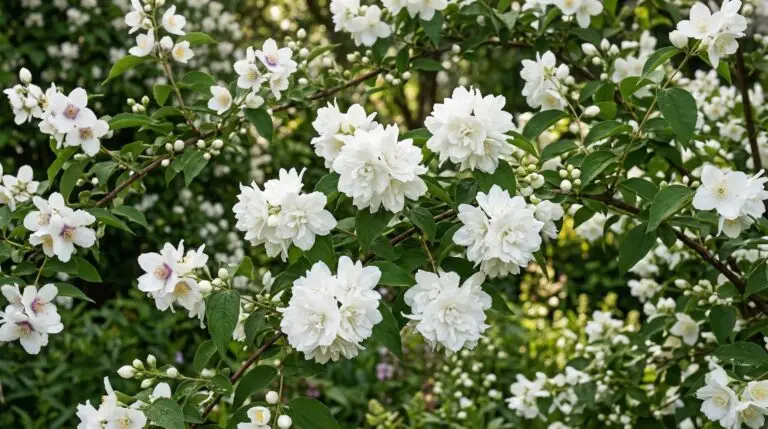
Best mock orange varieties from compact Snowbelle to the intensely fragrant Virginal
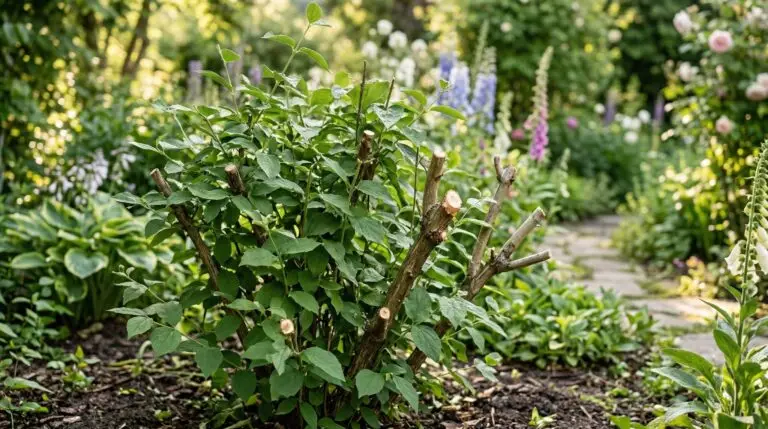
Why mock orange is not flowering and the common reasons this shrub refuses to bloom