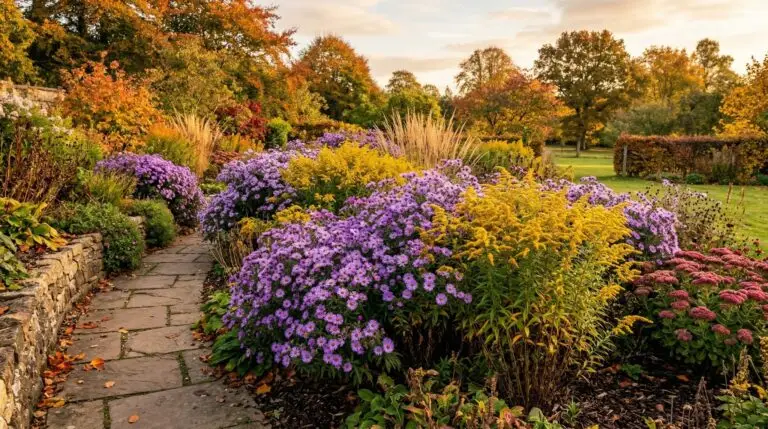
Late August rolls around, and the garden often looks exhausted. The early summer bloomers have gone to seed, the foliage is crispy around the edges, and the yard desperately needs a fresh wave of color. This is exactly when asters earn their keep, pushing out hundreds of daisy-like blooms just as everything else gives up. Buying mature potted asters from the nursery to fill a large space will drain a garden budget fast. The secret to getting that thick, sweeping wildflower meadow look without spending a fortune is growing asters from seed. It takes a bit more patience than buying blooming gallons, but the payoff is a resilient, deep-rooted patch of autumn color that expands every year.
Many gardeners get intimidated by native perennial seeds because they do not sprout as easily as a typical marigold. The truth is that aster seeds just need to be treated the way nature treats them. They drop to the ground in late fall, sit through months of freezing rain and snow, and finally wake up when the spring soil warms. Replicating that process is the only trick to getting a high germination rate. Once you understand how to break their dormancy, growing asters from seed becomes a straightforward process that yields dozens of plants for the price of a single seed packet. The initial effort is small, but the long-term garden rewards are massive.
Waking up stubborn aster seeds with cold stratification
The biggest mistake people make with perennial seeds is treating them like common vegetable seeds. If you take aster seeds straight from a dry packet and press them into warm potting soil, very few of them will actually sprout. They have a built-in survival mechanism that prevents them from germinating just before winter sets in. To break this dormancy, the seeds need a period of cold and moisture known as cold stratification. You can easily mimic winter by folding the seeds into a damp paper towel, sealing them in a plastic bag, and leaving them in the back of the refrigerator for four to six weeks. Check on them occasionally to make sure the paper towel has not dried out completely.
Gardeners in northern zones have an even easier option for stratification. You can simply sow the seeds in milk jugs or plastic containers filled with damp potting soil and set them outside in January or February. The natural freeze and thaw cycles do all the work of waking up the seeds. This method is incredibly affordable because it requires zero electricity, no grow lights, and no indoor space. By the time spring arrives, the seeds will sprout exactly when the outdoor temperatures are right for them. Southern gardeners may find the refrigerator method more reliable because mild winters often lack the consistent chill hours needed to break seed dormancy.
Starting indoors versus direct sowing in the garden
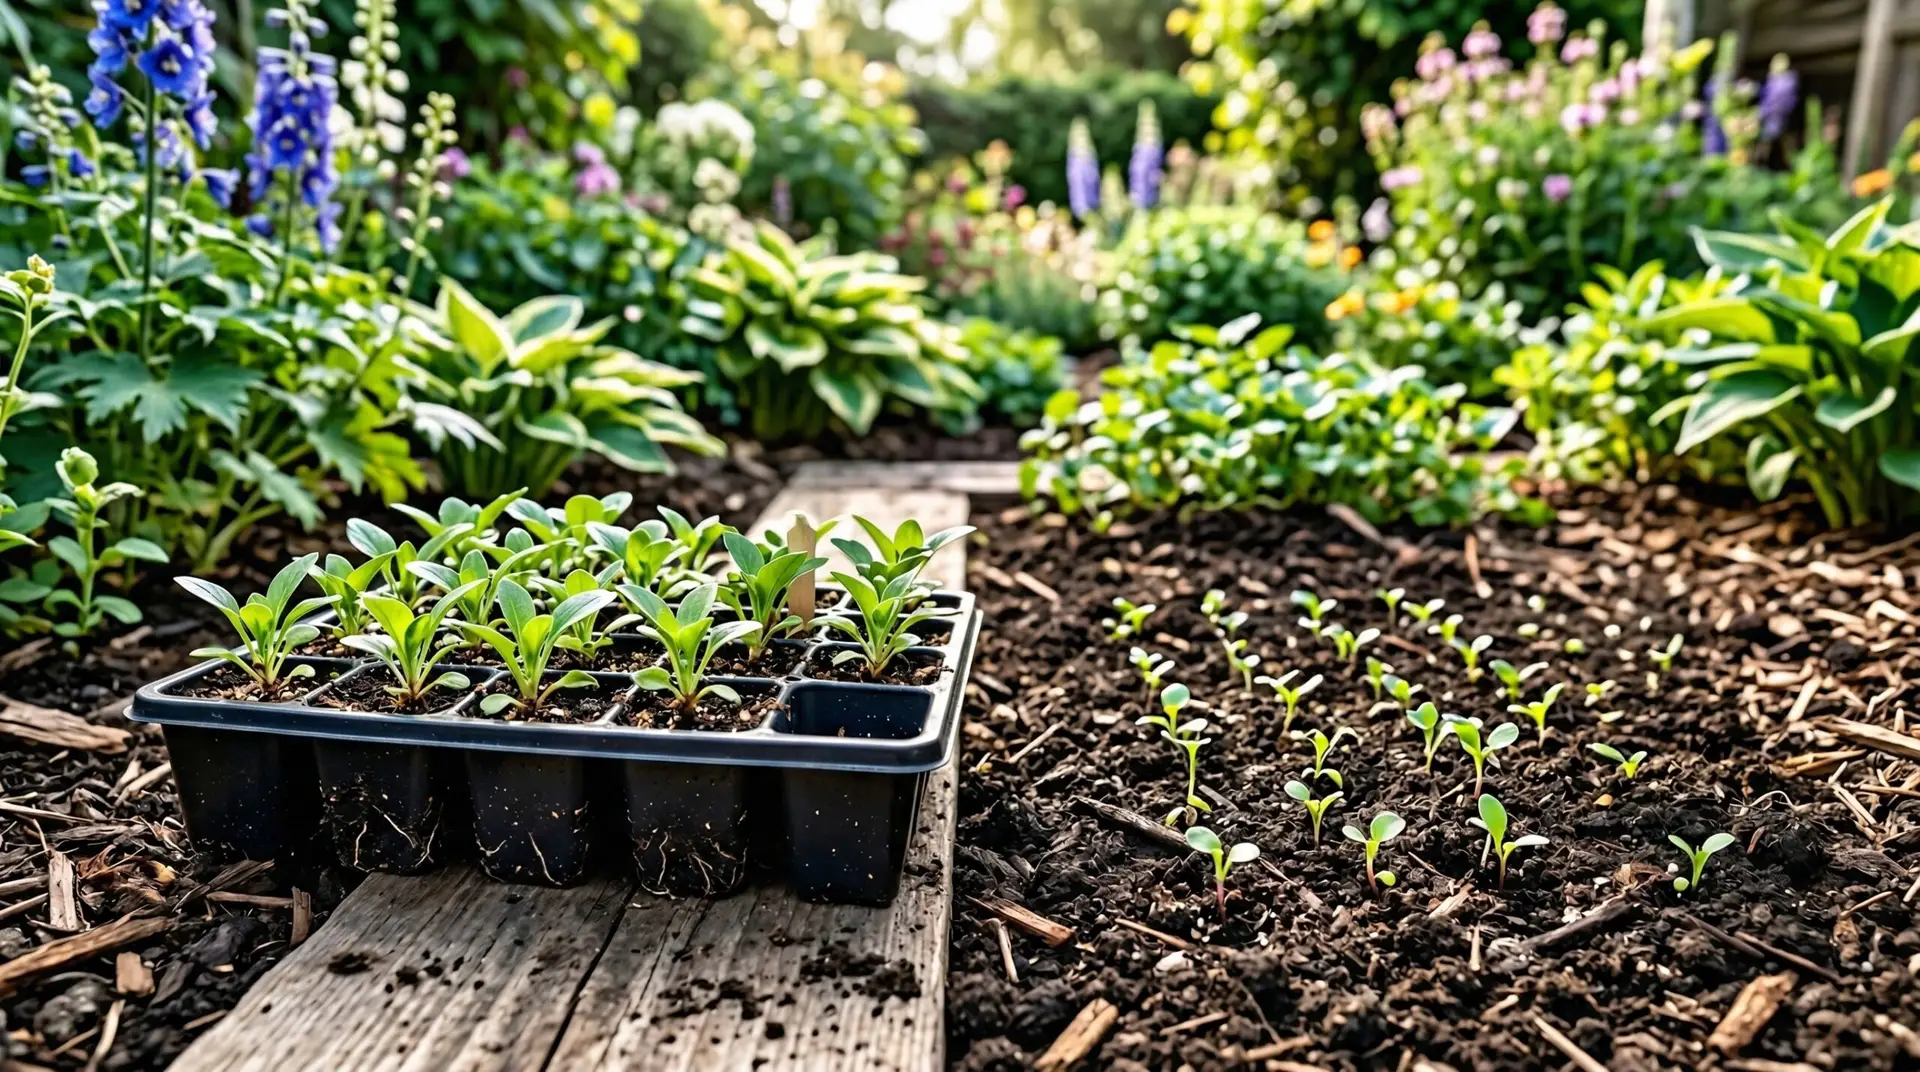
After trying both methods for several years, starting seeds indoors under lights usually results in more surviving plants. You can start the stratified seeds in small pots about six to eight weeks before your last expected frost. You do not need expensive professional grow lights to raise healthy seedlings. A standard fluorescent or LED shop light hung two inches above the seed trays works perfectly and prevents the plants from getting tall and weak. The seedlings will stay very small for what feels like a long time, often sitting with just two tiny leaves for weeks. They are not dead or stunted, so just keep the soil lightly moist and give them time to build a root system.
Direct sowing right into the garden beds is much less work, but it comes with a few risks that you have to manage. Birds love to eat the seeds, heavy spring rains can wash them away, and it is very hard to tell a tiny aster sprout from a common weed. If you choose to direct sow for your wildflower meadow asters, prepare a clean bed of bare soil in late fall or early winter. Scatter the seeds over the surface and simply walk over them to press them into the dirt, as they need light to germinate and should not be buried. You will need to sow them much thicker than you would indoors because nature will inevitably claim a large percentage of the seeds. Keep the bed weeded carefully in the spring until you can positively identify the aster leaves.
Planting techniques for a natural meadow look
Creating a convincing wildflower meadow look requires planting in drifts rather than rigid, straight lines. When the indoor seedlings are ready to transplant, or when thinning out direct-sown patches, group the asters in odd numbers like fives, sevens, or nines. Space the individual plants about eighteen to twenty-four inches apart to allow for mature airflow, which helps prevent powdery mildew later in the season. A meadow thrives on variety, so asters look best when woven together with other late-season bloomers. You can easily mix them with coneflower patches, as the two plants share similar soil and water requirements once established. The overlapping bloom times create a seamless transition of color from mid-summer straight through to the first frost.
To stretch the bloom season and keep the meadow looking lively from mid-summer through frost, layer different plant heights and textures. Tall native grasses provide excellent structural support for asters, which sometimes get top-heavy and flop over after heavy autumn rains. Adding black eyed susan to the mix creates a classic contrast of gold and purple that defines the late summer garden. If you want quick color while waiting for the perennial asters to mature, you can scatter some annual cosmos seeds in the empty spaces between the young plants. The annuals will fill in the bare spots during the first year and fade away just as the asters reach their full size in subsequent seasons. This layered approach keeps weeds down by making sure every inch of soil is covered by desirable plants.
What to expect during the first growing season
The hardest part of growing perennial native plants from seed is adjusting your expectations for the first year. When you transplant those small aster seedlings into the garden in May, they will look entirely underwhelming for months. First-year asters spend almost all of their energy growing a deep, tough root system that will help them survive droughts in the future. You will mostly see a low mound of green foliage, and you might wonder if you did something wrong. Keep the young plants watered during dry spells, pull the competing weeds away from their base, and let them focus on their underground work. Patience during this establishment phase is critical for long-term success.
Sometime in early summer, the plants will finally start pushing up their main stalks. If you want a bushier plant with more flowers, pinch off the top inch of growth when the stems reach about six inches tall. This forces the plant to send out side branches, resulting in a sturdier shape that is less likely to topple over in the wind. You might get a handful of blooms in September of the first year, but the real show always happens in year two and beyond. Once the first hard frost kills the top growth, leave the dead stems standing through the winter to provide cover for beneficial insects and to remind yourself where the plants are sleeping. The old stems also catch snow, which acts as an insulating blanket for the roots.
By the second spring, those tiny seeds will have transformed into vigorous clumps ready to dominate the late season garden. The roots will be firmly established, the stems will grow twice as thick, and the plants will require very little supplemental watering. Gardening on a budget often trades money for time, but watching a flat of seeds turn into a permanent, self-sustaining meadow is deeply satisfying. The process teaches you the natural rhythms of the plants and gives you a much hardier garden in the long run. When late August rolls around next year, your yard will be the one covered in color while everyone else is pulling up tired summer annuals. The effort you put in now ensures your garden finishes the season strong year after year.
More About Aster
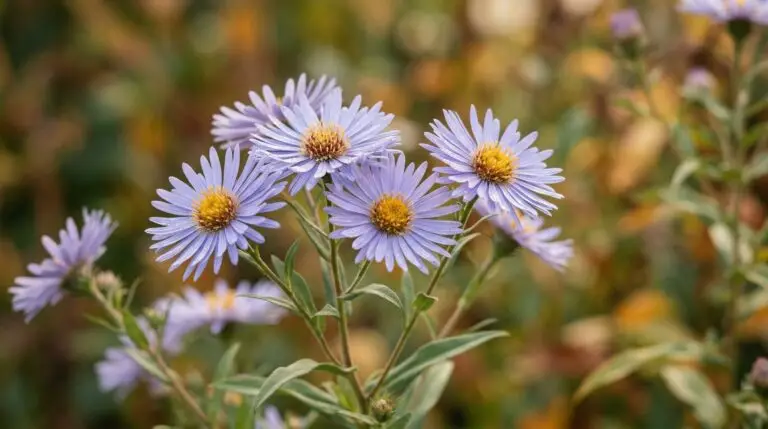
Aster flower meaning and the September birth flower connection
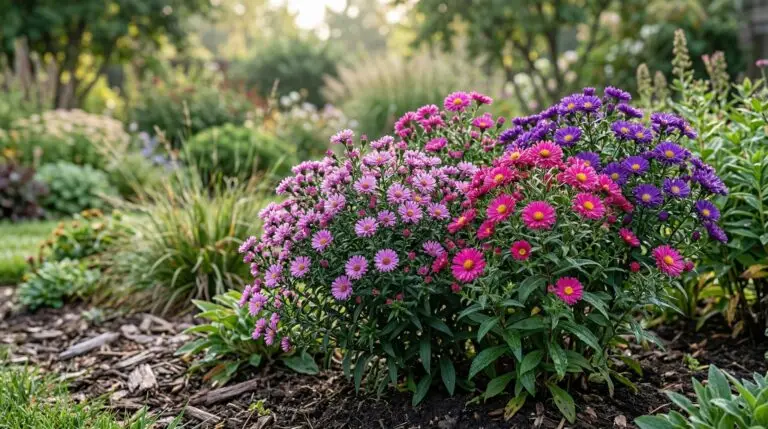
Why your asters keep getting powdery mildew and how to prevent it for good
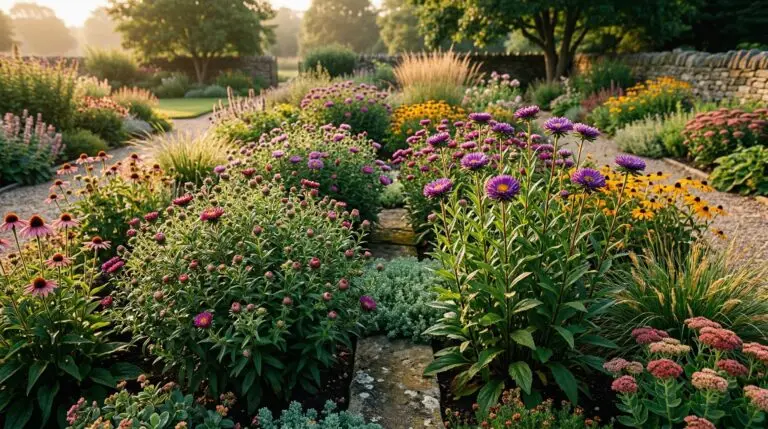
Pinching asters in spring for bushier plants and more abundant fall flowers
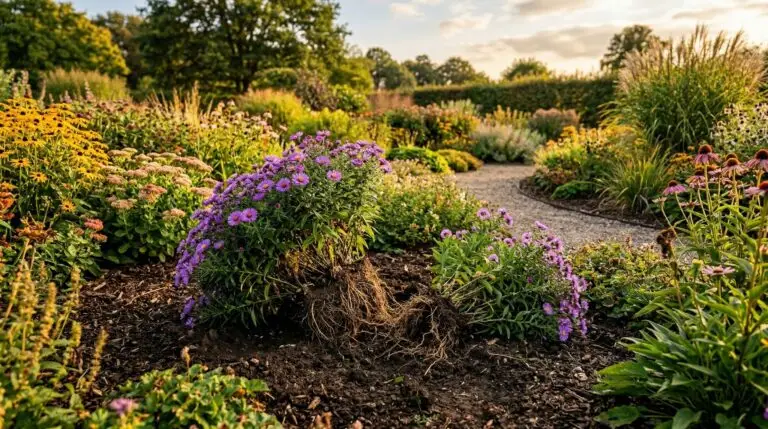
How to divide and rejuvenate aster clumps for stronger blooms every fall
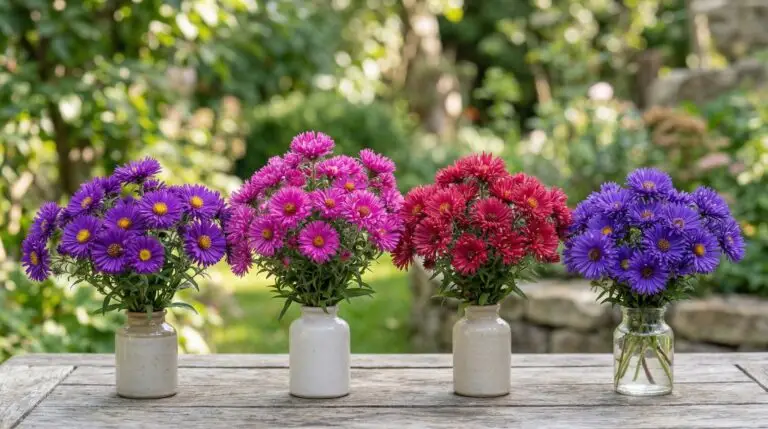
Best aster varieties for a colorful fall garden that blooms into frost
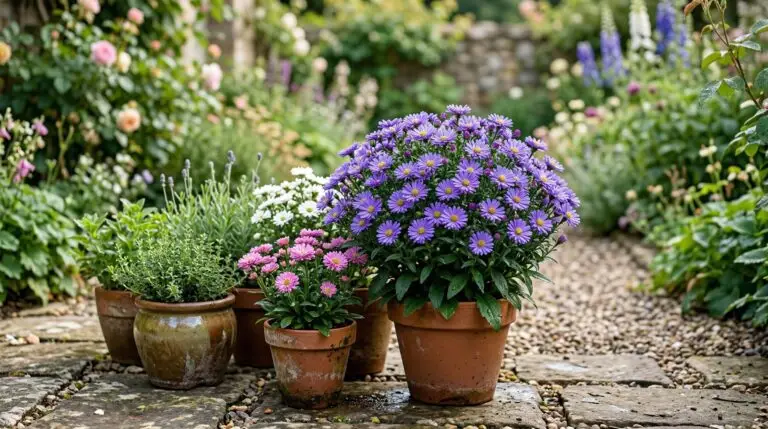
Growing asters in containers for fall color on porches and patios
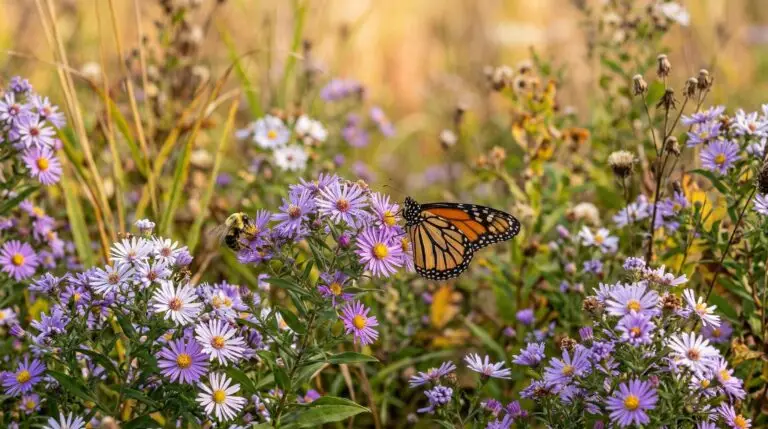
Asters for pollinators and why they are one of the most important late-season flowers
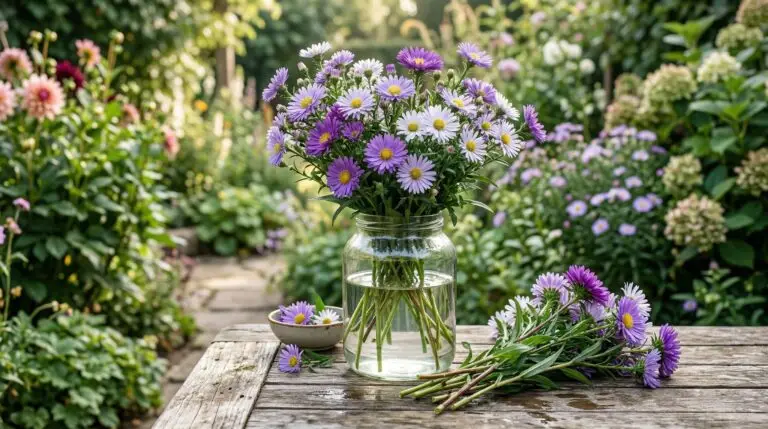
Using asters as cut flowers for fall bouquets and Thanksgiving arrangements