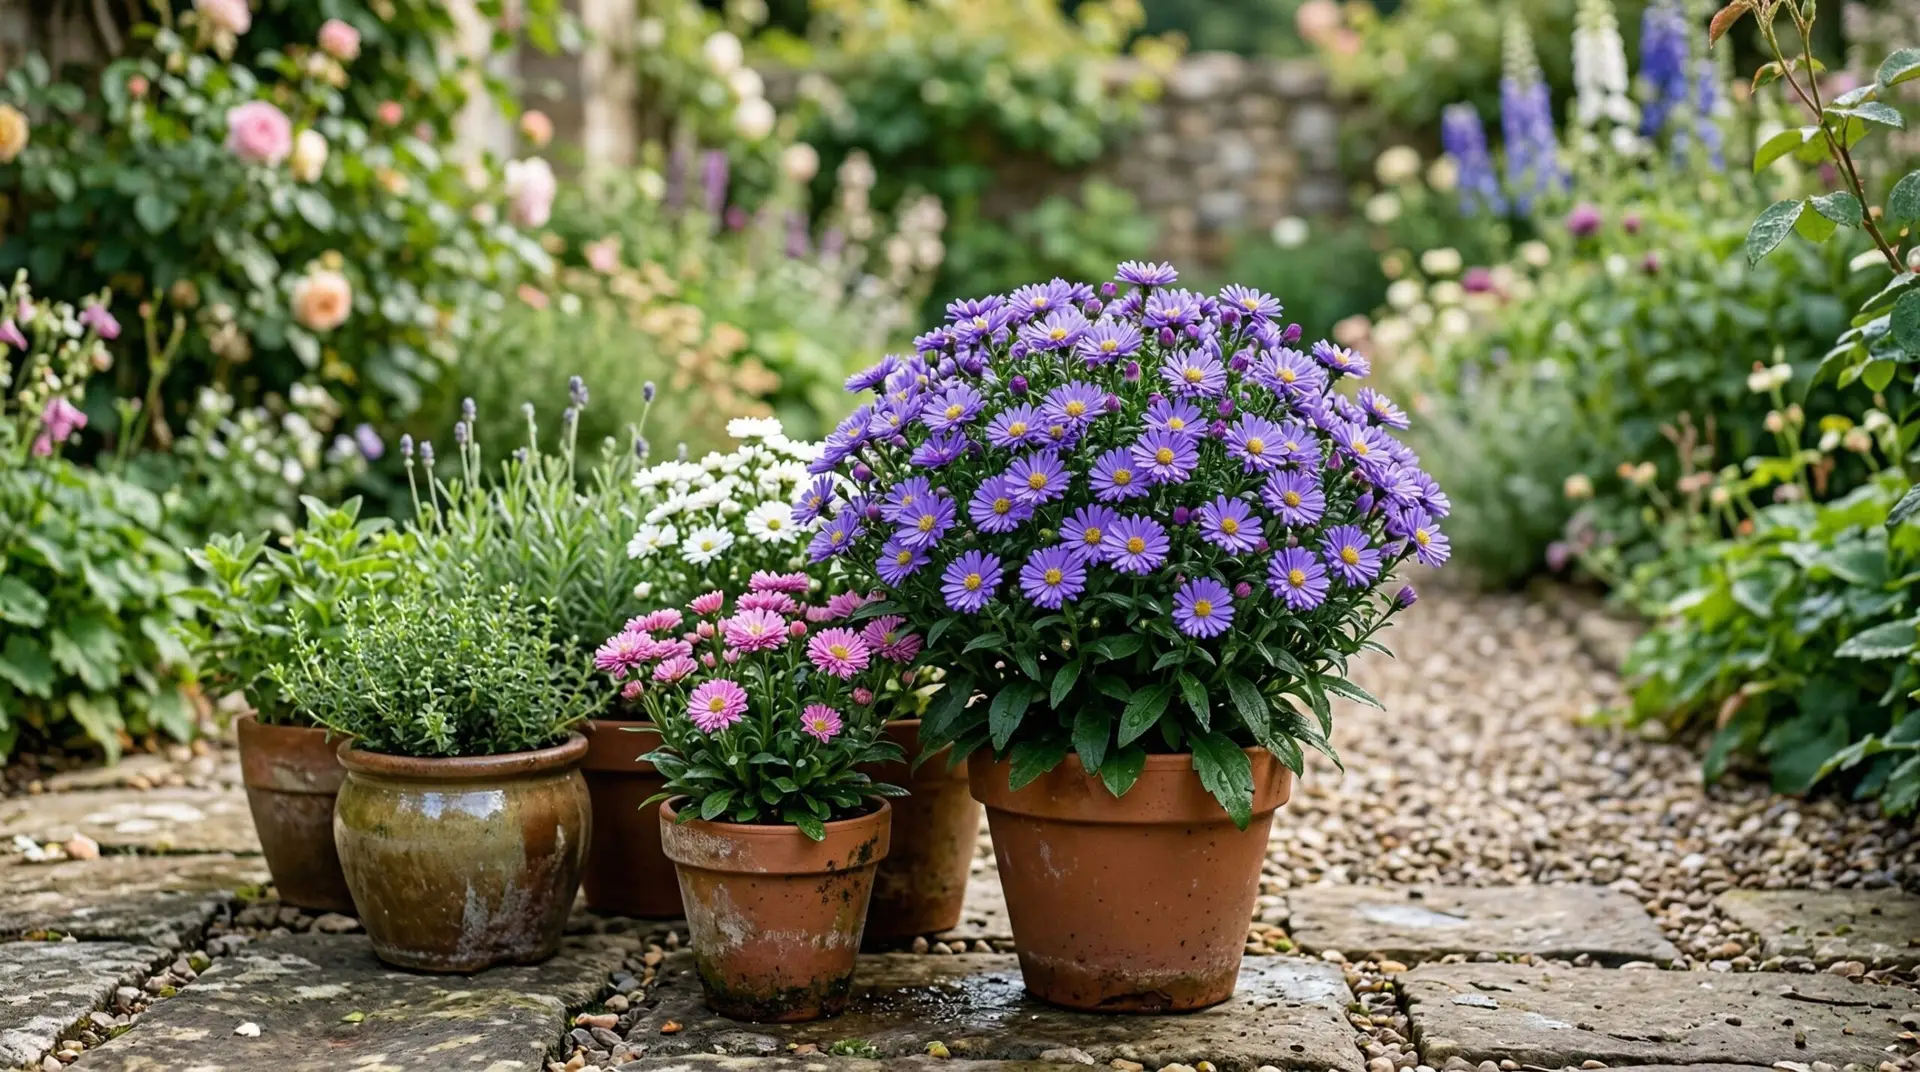
Many gardeners wait until their summer pots look exhausted before thinking about fall replacements. By planning your autumn display in late summer, you can seamlessly transition your porch or patio without a gap in color. Growing asters in pots requires a specific approach compared to planting them in the ground. Before you purchase any plants, evaluate your available space and sunlight. Container asters need at least six hours of direct sun daily to maintain a compact shape and produce abundant blooms. If your patio is shaded by mature trees or an overhang, these plants will grow leggy and flop over the edges of their pots. You also need to consider your budget for new soil, adequately sized containers, and companion plants to complete the look. You should expect to spend about thirty to fifty dollars per large mixed container if you are starting from scratch.
Contents 4 sections
Selecting containers and compact varieties
The success of container asters begins with matching the right plant to the right pot. Standard garden asters can grow three or four feet tall, making them entirely unsuited for life in a pot. You must seek out compact or dwarf varieties bred specifically for container growth, which typically stay under eighteen inches in height. Varieties like the Kickin series or Woods Purple naturally maintain a tidy, mounded habit that looks proportional in a standard planter. When selecting your containers, choose pots that are at least twelve to fourteen inches in diameter with multiple drainage holes at the bottom. Terracotta pots breathe well but dry out faster, while glazed ceramic or resin pots retain moisture longer and reduce your watering chores. A single compact aster will fill a twelve-inch pot beautifully, but larger twenty-inch containers allow you to create mixed autumn displays. Take inventory of the pots you already own and clean them thoroughly with soapy water before heading to the nursery.
Soil preparation and planting timelines
Timing your purchases and preparing your materials in advance prevents the frantic rush of weekend planting. If you want a full display by September, you should purchase and pot up your plants in mid to late August. Buying plants just as they begin to set buds gives them time to establish roots in their new containers before expending all their energy on flowering. Never reuse old summer potting soil, as it is likely depleted of nutrients and may harbor fungal diseases from earlier in the season. Invest in a fresh, high-quality potting mix that includes perlite for drainage, as asters will rot quickly in heavy, waterlogged soil. When assembling fall container plants, asters pair exceptionally well with other cool-season favorites. You can build a classic autumn arrangement by combining them with a chrysanthemum in a contrasting color and some textured ornamental kale. Replace tired summer annuals like your trailing petunia with cold-hardy ivy or creeping jenny to spill over the edges of your fall planters.
Watering and ongoing maintenance requirements
Growing asters in pots requires a higher maintenance commitment than growing them in garden beds. You must be prepared to check the moisture levels of your containers every single day during warm autumn afternoons. Asters are particularly sensitive to drought, and allowing the root ball to dry out completely will cause the lower leaves to turn brown and drop off. Water the pots deeply at the soil level until moisture runs out the bottom drainage holes, taking care to keep the foliage as dry as possible to prevent powdery mildew. You will need to dedicate about ten minutes each morning to watering and inspecting your porch containers. Since commercial potting soils lose their nutritional value quickly, apply a water-soluble bloom fertilizer every two weeks to support the heavy flower production. As the blooms eventually fade, use sharp snips to remove the spent flowers to encourage any remaining buds to open. This deadheading process takes just a few minutes a week but significantly extends the visual appeal of your autumn display.
Overwintering potted asters and next steps
As November approaches and the first hard frosts arrive, you need a plan for the end of the season. Asters are perennial plants, but their roots are highly vulnerable to freezing temperatures when exposed above ground in a container. If you want to save your plants for next year, you cannot simply leave the pots on your patio through the winter. The most reliable method for overwintering container asters is to remove them from their pots in late fall and plant them directly into an empty spot in your garden beds. If you do not have garden space, you can move the pots into an unheated but attached garage, watering them lightly just once a month to keep the roots from desiccating completely. Expect the plants to go entirely dormant, showing no signs of life until temperatures warm up again in the spring. To get started on your fall container project this week, measure your available porch space and count how many pots you need to fill. Head to your local garden center to secure fresh potting soil and scout out the compact aster varieties before the best colors sell out.
More About Aster
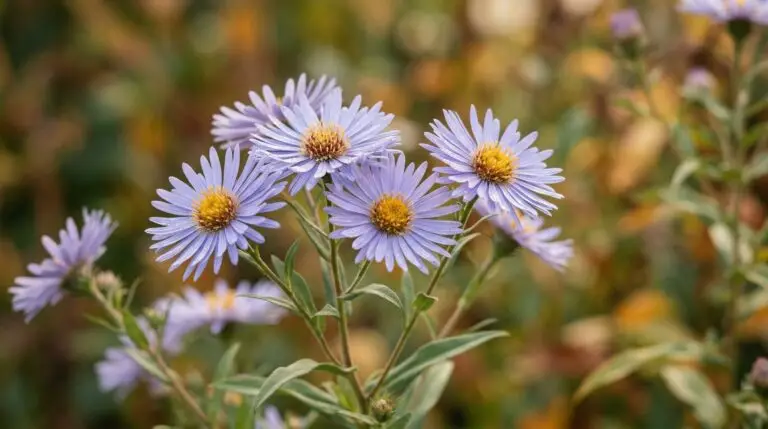
Aster flower meaning and the September birth flower connection
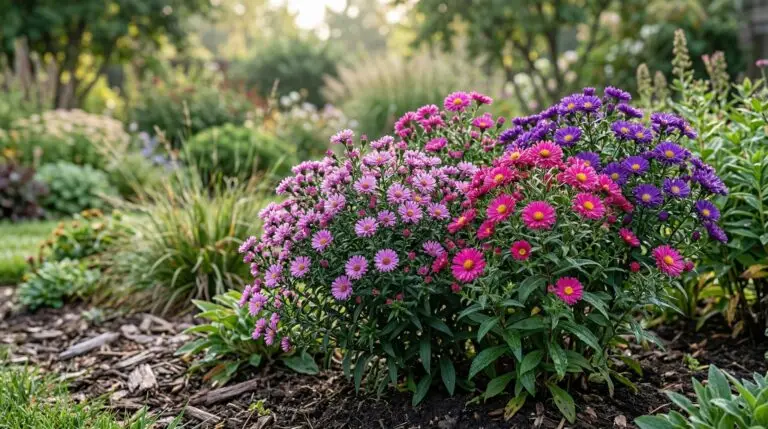
Why your asters keep getting powdery mildew and how to prevent it for good
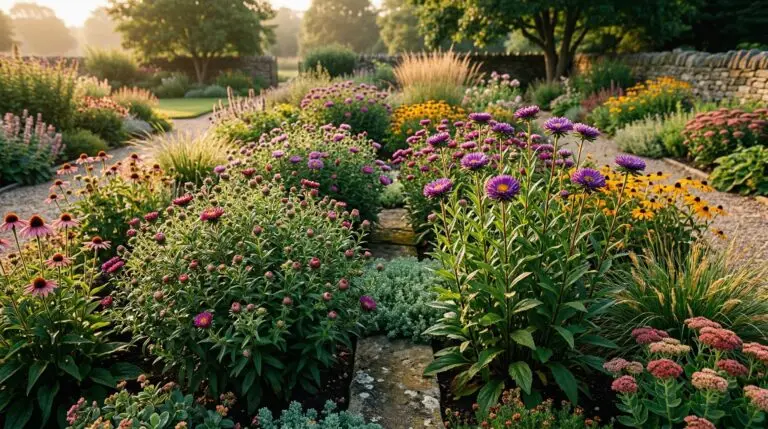
Pinching asters in spring for bushier plants and more abundant fall flowers
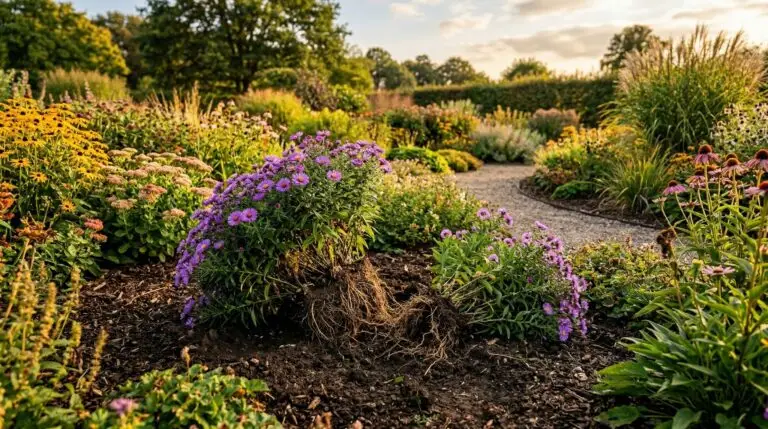
How to divide and rejuvenate aster clumps for stronger blooms every fall
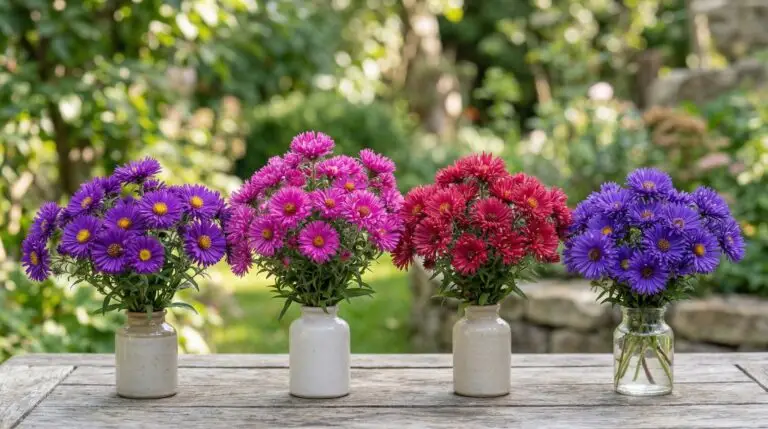
Best aster varieties for a colorful fall garden that blooms into frost
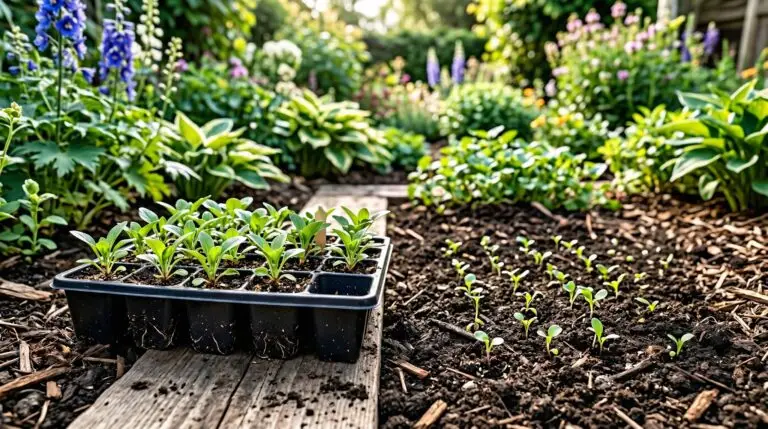
How to grow asters from seed for a wildflower meadow look on a budget
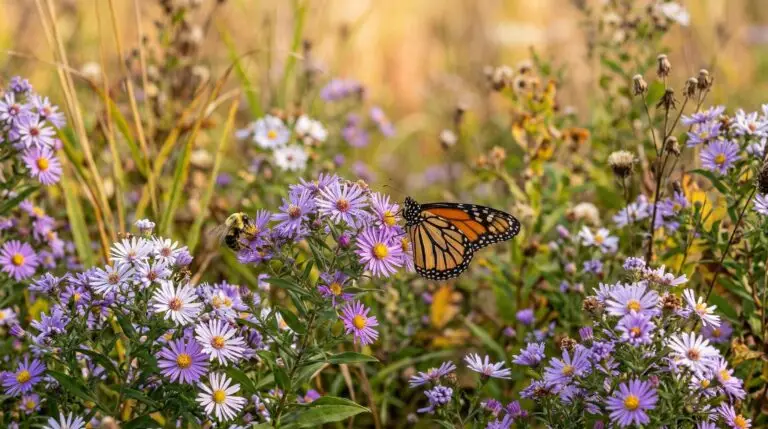
Asters for pollinators and why they are one of the most important late-season flowers
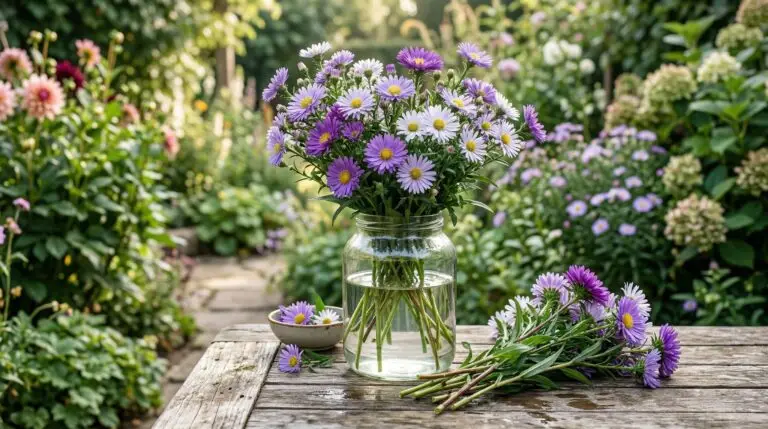
Using asters as cut flowers for fall bouquets and Thanksgiving arrangements
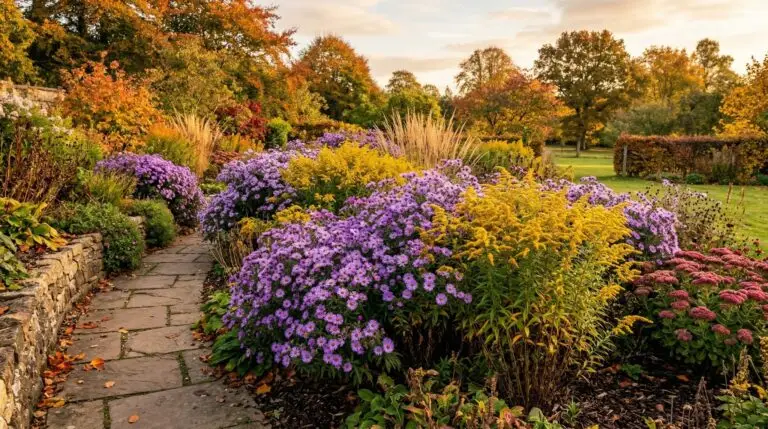
Companion plants for asters: what to grow and what to avoid
Enjoying our flower guides? Add YourFlowersGuide as a preferred source on Google. It helps more readers find us.
Add to Preferred Sources