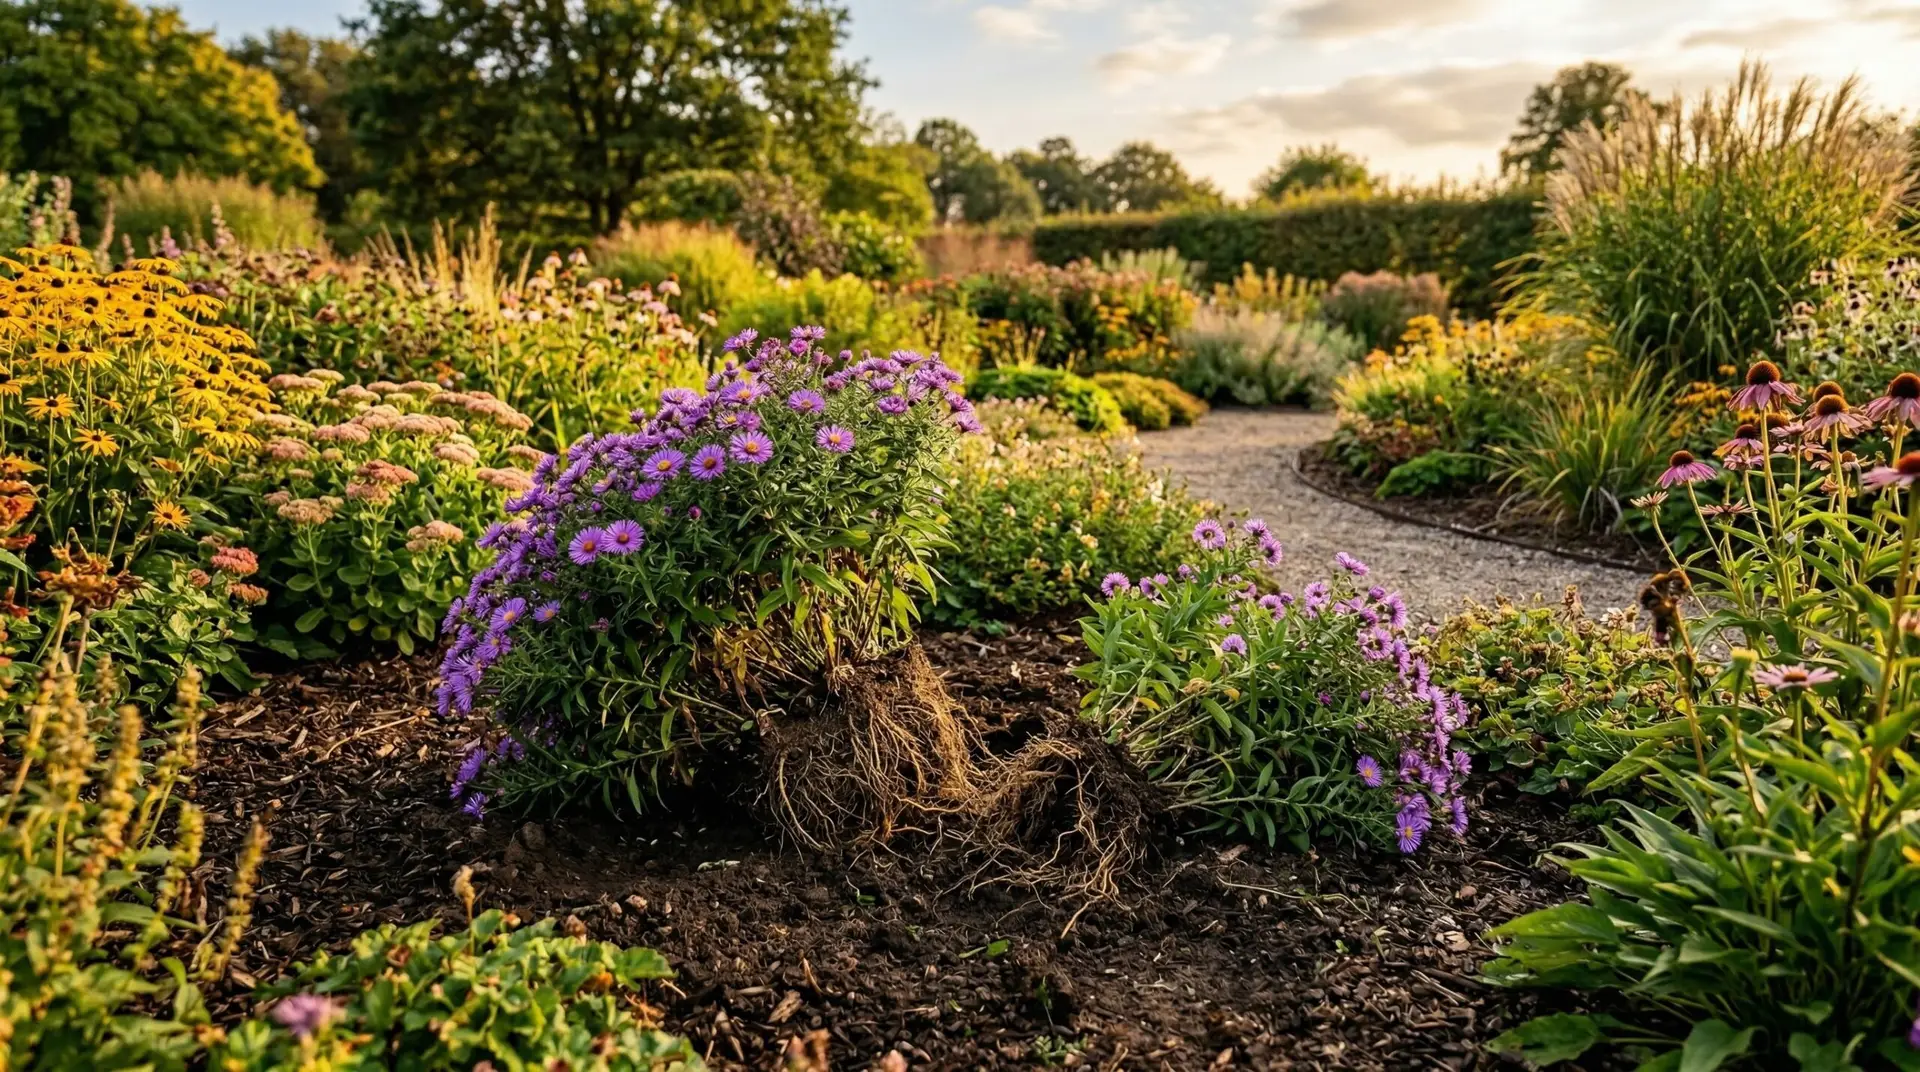
Asters are incredibly reliable late-season bloomers, but they require periodic intervention to maintain their vigor and shape. Left to their own devices, these plants form tight crowns that continually expand outward into the surrounding soil. Over time, the original center of the plant becomes woody and entirely unproductive, leading to a classic ring-like growth pattern often called a doughnut. Regular division is the only practical way to maintain plant health and prevent this inevitable decline. I have spent many seasons watching neglected asters slowly fade into weak, powdery-mildew-prone stems, while those on a strict division schedule produce dense, heavily flowered mounds. Understanding how and when to break up these clumps will transform your late summer and autumn garden displays.
Contents 4 sections
Understanding the growth habit of asters
To understand why dividing asters is necessary, you have to look at how they grow beneath the soil surface. Most common garden asters, including the New England and New York types, are rhizomatous, meaning they spread via horizontal underground stems. These rhizomes push outward to find fresh nutrients and open space, leaving the oldest part of the plant behind in the center. After three or four years, this central core exhausts the local soil resources and becomes a dense mat of woody, dead tissue. Water and oxygen struggle to penetrate this hardened mass, which severely limits new shoot development. You will often see a similar growth pattern if you grow coneflower or other clumping herbaceous perennials, though asters tend to show their central decline much faster.
Timing the division cycle
The timing of your aster division plays a significant role in how well the plants recover and bloom later in the year. Because asters flower in late summer and autumn, the optimal time to divide them is in early spring just as new growth emerges. You want to see about two to four inches of green shoots above the soil line before you begin digging. Dividing in the spring gives the separated pieces an entire growing season to establish a robust root system before they are expected to produce buds and flowers. While you can technically divide them in the fall immediately after they finish blooming, the impending winter weather often causes high mortality rates in newly separated, shallowly rooted clumps. Spring division simply aligns better with the natural physiological cycle of these late-season bloomers.
Techniques for lifting and separating clumps
When you are ready to begin the physical work of aster division, you need to lift the entire root mass out of the ground at once. Push a sharp spade into the soil about six inches outside the visible perimeter of the clump to avoid slicing through the active outer roots. Pry the root ball up gradually, working your way around the entire circumference until the plant pops free from the earth. Once the plant is out of the ground, shake off the loose soil or wash it away with a gentle hose spray so you can clearly see the root structure. You will immediately notice the difference between the vigorous, white, fleshy roots on the outer edge and the dark, fibrous, woody mass in the middle. This visual distinction makes it very easy to decide which parts of the plant to keep and which parts belong in the compost pile.
The actual separation requires a bit of physical force, as older aster crowns are surprisingly tough. Take your spade or a heavy garden knife and slice straight down through the healthy outer ring to detach sections of young growth. Each division you keep should be roughly the size of a fist and contain at least three to five strong, green shoots. Discard the entire woody center of the original plant, as it will never rejuvenate aster plants effectively if put back into the soil. Some growers try to save every tiny piece of the outer ring, but I find it is much better to select only the three or four strongest sections and discard the weak, spindly fragments. This selective process is similar to the ruthlessness required when maintaining a daylily bed, where keeping only the most vigorous fans guarantees the best performance.
Replanting and establishing new divisions
Replanting your new divisions immediately is critical to prevent the fine feeder roots from drying out in the spring air. Choose a site with full sun and well-draining soil, aiming for a slightly acidic to neutral soil pH between 6.0 and 7.0. Dig a hole slightly wider than the new root mass and amend the backfill dirt with a few handfuls of mature compost to provide a gentle baseline of nutrition. Set the division into the hole so that the crown rests exactly at the soil surface, as planting too deeply encourages stem rot. Space the new plants at least eighteen to twenty-four inches apart to ensure excellent air circulation, which is your best defense against the foliar diseases that plague crowded asters. Water the newly planted divisions deeply to settle the soil and eliminate any hidden air pockets around the roots.
Once your divided asters are settled into their new locations, they will resume their upward growth rapidly as the spring soil warms. You will need to keep the soil consistently moist but never waterlogged during their first month of establishment. As the stems reach about six inches tall in late spring, pinch off the top inch of growth to encourage lateral branching and a sturdier, bushier habit. This pinching technique, combined with the fresh vigor of a newly divided root system, guarantees a dense plant that will not flop over under the weight of its own autumn blooms. By committing to this simple division cycle every three years, you ensure your asters remain strong, healthy, and heavily flowered for decades to come.
More About Aster
Aster flower meaning and the September birth flower connection
Why your asters keep getting powdery mildew and how to prevent it for good
Pinching asters in spring for bushier plants and more abundant fall flowers
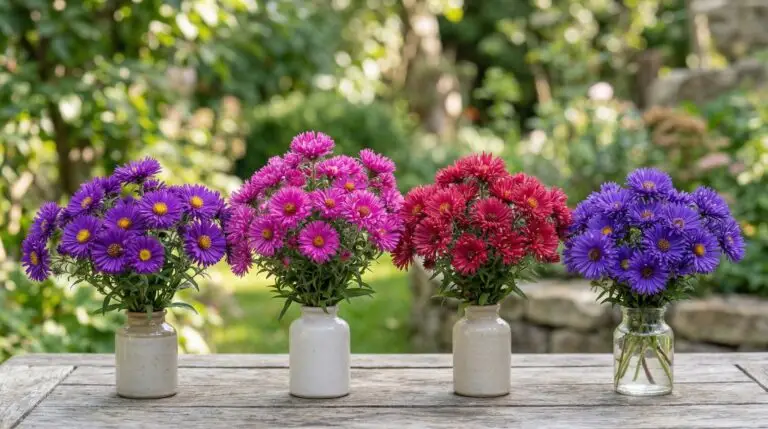
Best aster varieties for a colorful fall garden that blooms into frost
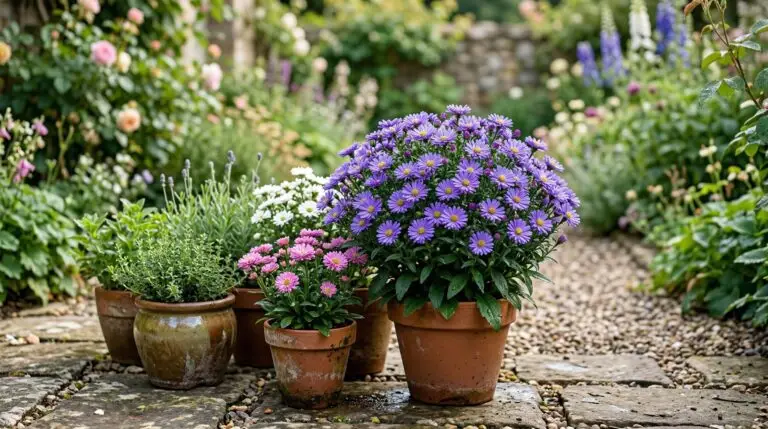
Growing asters in containers for fall color on porches and patios
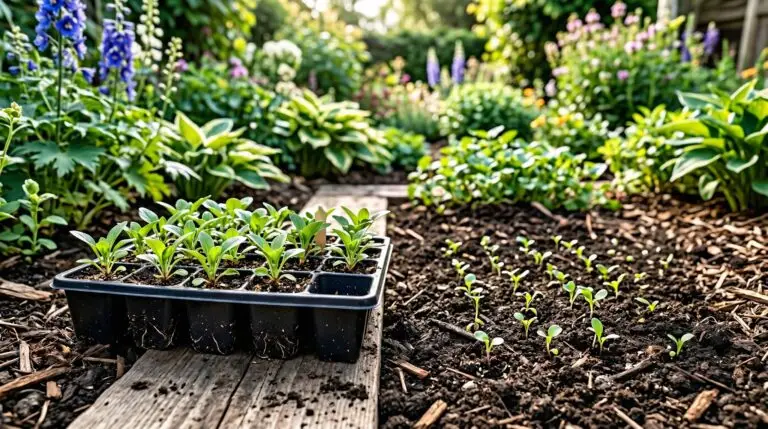
How to grow asters from seed for a wildflower meadow look on a budget
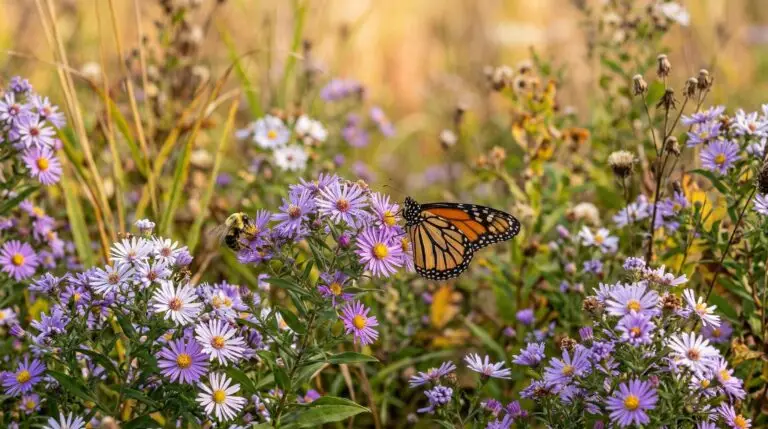
Asters for pollinators and why they are one of the most important late-season flowers
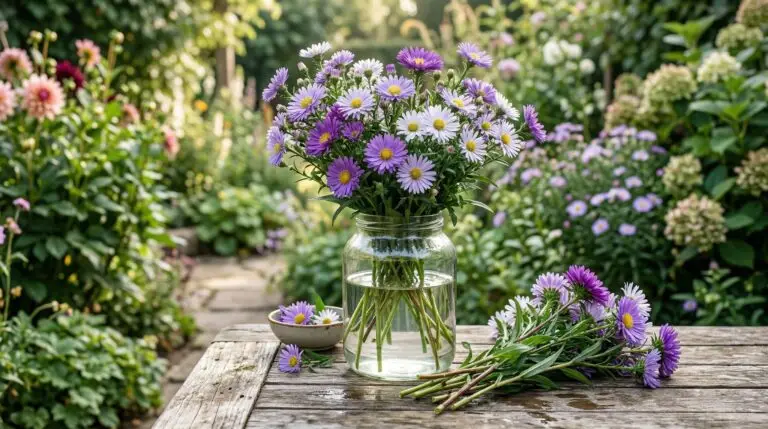
Using asters as cut flowers for fall bouquets and Thanksgiving arrangements
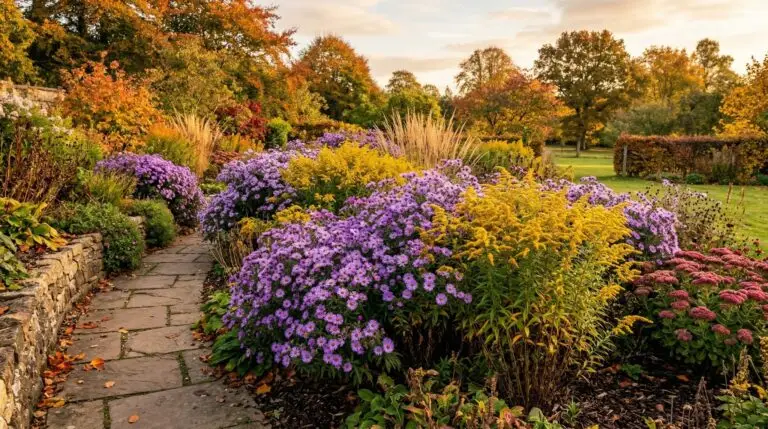
Companion plants for asters: what to grow and what to avoid
Enjoying our flower guides? Add YourFlowersGuide as a preferred source on Google. It helps more readers find us.
Add to Preferred Sources