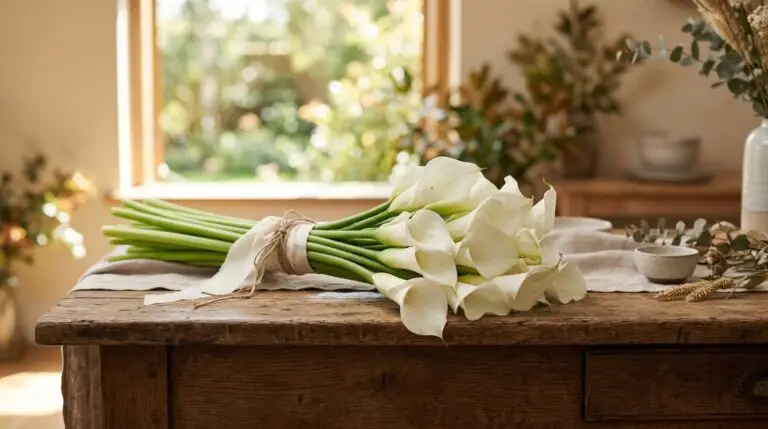
The fading light of late autumn
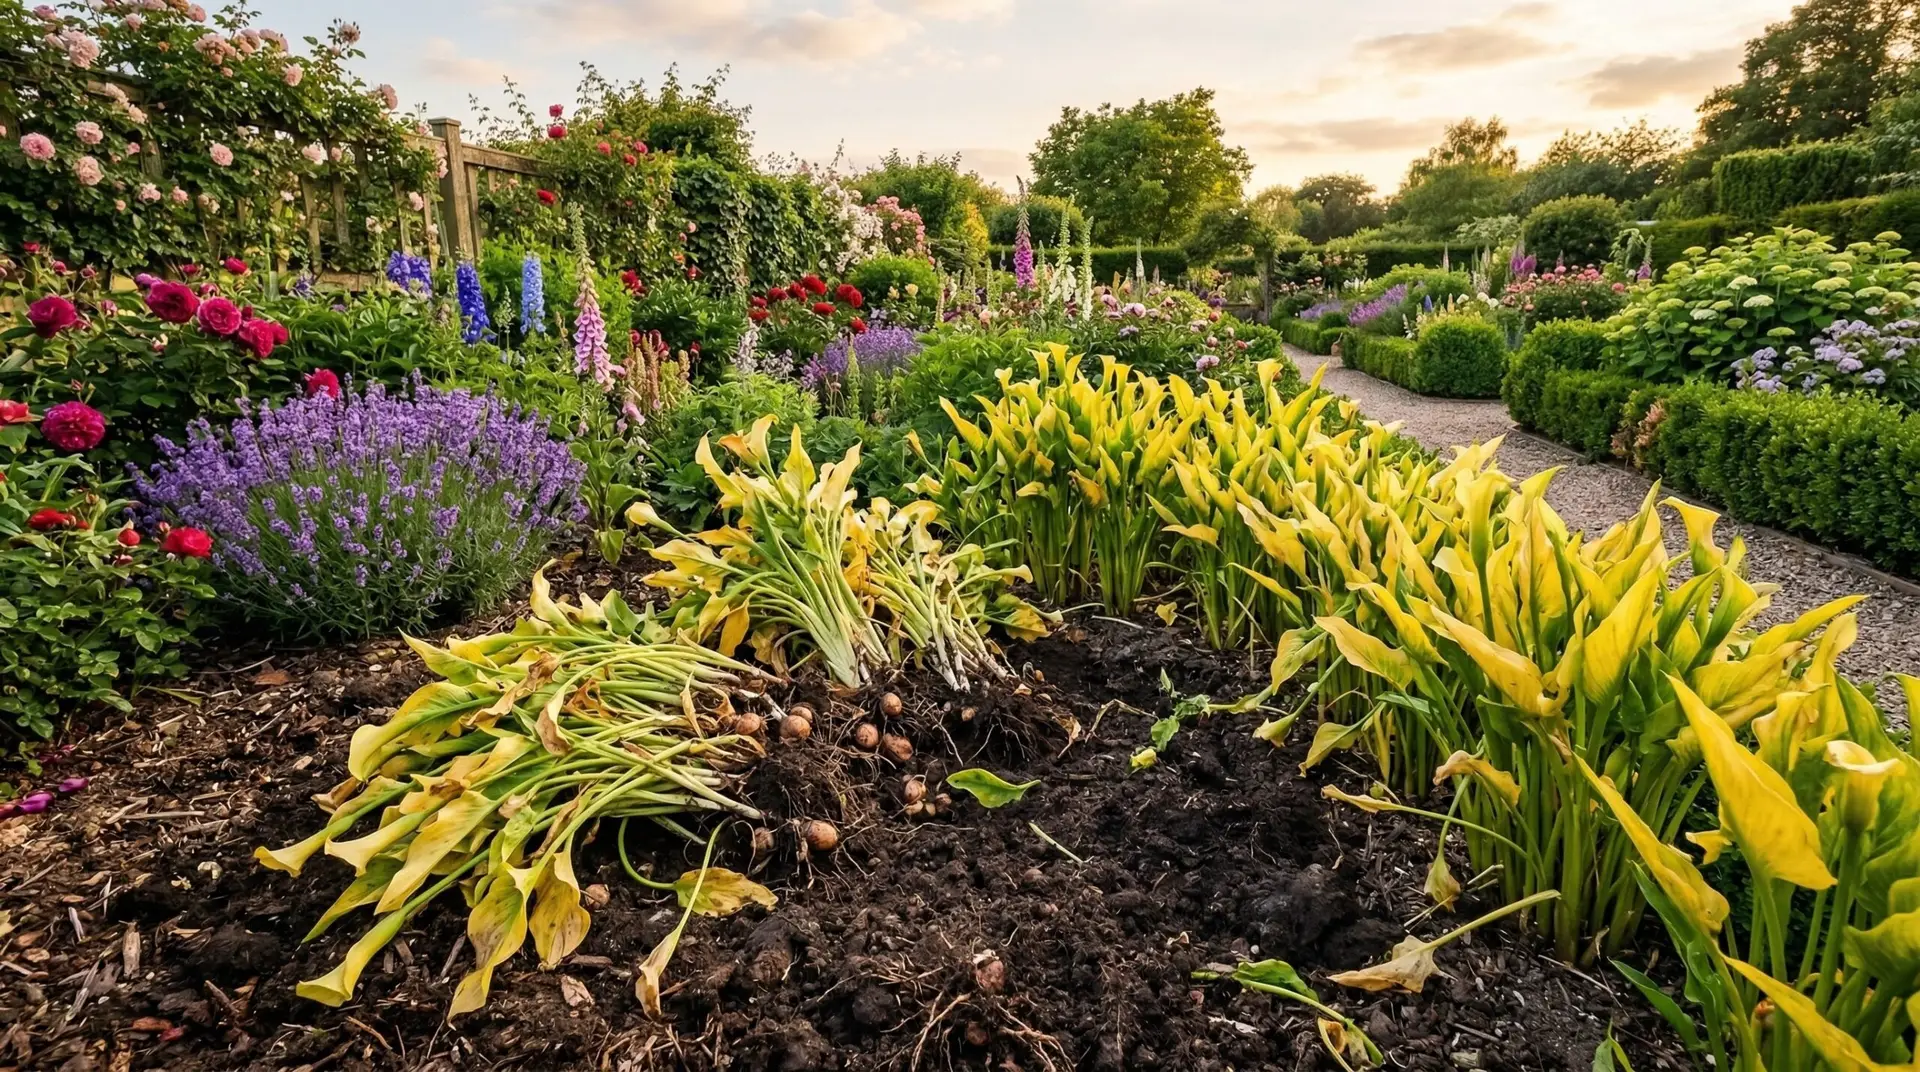
The first frost approaches quietly, changing the texture of the garden overnight. The calla lilies begin to yellow and slump as the days shorten and the angle of the sun drops low over the horizon. The soil holds a damp, heavy chill, signaling that the active growing season has ended. Gardeners in colder climates know this shift well, watching the weather reports for the first hard freeze. The plant is drawing its last bits of energy down into the thick, fleshy rhizome hidden beneath the soil surface. This is the moment to prepare for overwintering calla lily plants before the ground freezes solid.
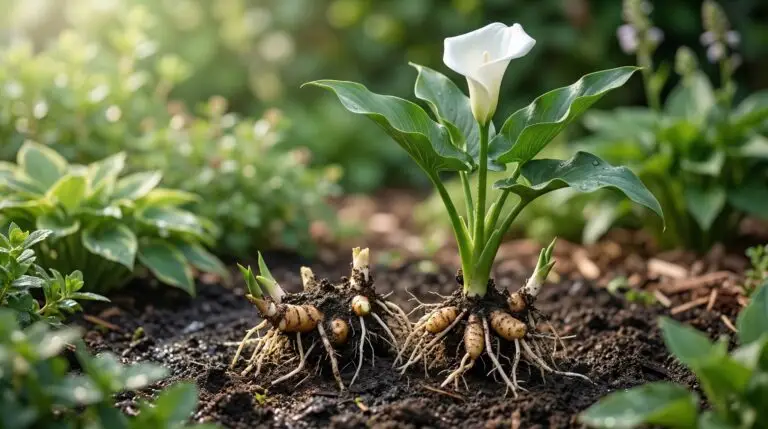
You must wait for the frost to lightly kiss the foliage, turning the edges brown and causing the stems to lose their rigid posture. This physical collapse tells you the plant has finished its work above ground and is ready to rest. Armed with a garden fork, you step into the crisp autumn air to begin the extraction. Push the tines into the earth several inches away from the base of the plant to avoid slicing into the hidden rhizomes. Gently pry the soil upward, feeling the suction of the wet earth give way as the clump of roots and dirt lifts free. The rhizomes will look like knobby, pale potatoes covered in clinging mud and fibrous roots.
Curing the rhizomes for winter storage
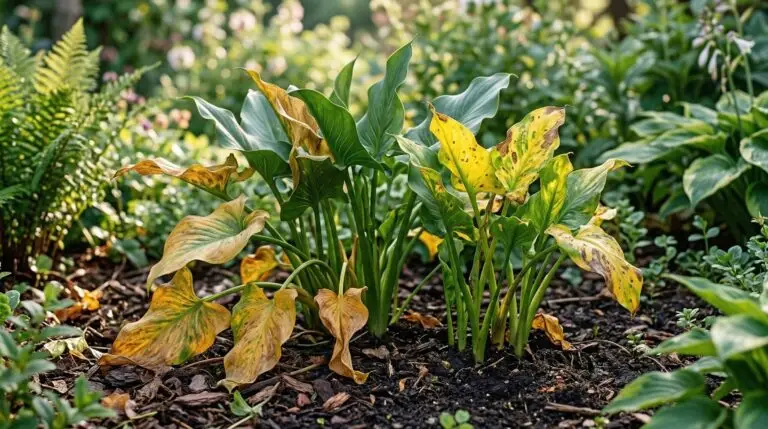
Once the rhizomes are out of the ground, they need to transition from the damp garden to a dry resting state. Brush away the loose soil with your hands, but do not wash them with a hose, because excess moisture invites decay during winter storage. Trim the slimy, collapsed foliage back to about an inch above the crown using clean garden shears. Lay the rhizomes out on a screen, a piece of cardboard, or a slatted wooden bench in a dry, frost-free place like a garage or a covered porch. The air needs to circulate freely around them for about a week to ten days. During this time, the outer skin toughens, and the cut stems dry into papery scabs that seal the inner flesh against rot.
You will know the curing process is complete when the rhizomes feel firm and completely dry to the touch. Any remaining soil will now brush off easily as fine dust. Inspect each piece carefully under a good light, looking for soft spots, deep cuts, or signs of decay. A healthy calla lily rhizome feels heavy for its size, much like a good baking potato. Discard any pieces that yield to gentle thumb pressure or carry a sour, musty odor. This careful sorting prevents a single rotting piece from spoiling the entire batch during the long months ahead.
The quiet months of deep winter
Storing calla lily bulbs requires a cool, dark, and slightly dry environment to mimic a natural dormancy period. Pack the cured rhizomes loosely in cardboard boxes, paper bags, or plastic crates lined with newspaper. Bury them in a dry medium like peat moss, wood shavings, or vermiculite to keep them from touching one another and to regulate the ambient humidity. The ideal storage temperature hovers between forty-five and fifty-five degrees Fahrenheit, a range often found in an unheated basement or a root cellar. The darkness keeps them asleep, while the cool air prevents premature sprouting. If you live in a warm climate where the ground never freezes, you can simply leave them in the earth, perhaps covering them with a thick layer of dry leaves or straw to insulate against occasional cold snaps.
Even though the garden is asleep beneath a blanket of snow, the gardener’s work continues indoors with quiet observation. Every few weeks, open the boxes and sift through the peat moss to check on your resting plants. The air in the basement might smell faintly of dry earth and old paper. If you find a rhizome that has gone soft or moldy, remove it immediately to protect its neighbors. If the rhizomes look excessively shriveled, you can mist the packing material very lightly with water, though it is usually better to err on the side of dryness. This routine of checking stored bulbs is a familiar winter ritual, often done alongside inspecting overwintering dahlia tubers or dormant canna lily rhizomes that share the same dark corners of the basement.
The awakening earth of early spring
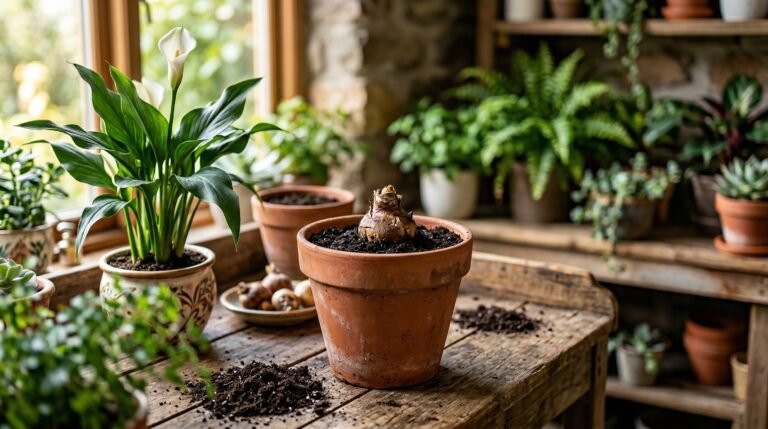
As winter loses its grip, the light streaming through the windows changes, taking on a warmer, more direct quality. You might hear the first spring peepers calling from the nearby woods, signaling that the earth is beginning to thaw. Down in the basement, the calla lily winter storage period comes to a natural end. When you open the boxes in late March or early April, you will likely notice small, pale green or white eyes swelling on the knobby surface of the rhizomes. The plants can sense the shifting seasons even in the dark, and these tight buds are their response to the approaching spring. It is time to bring them out into the light and prepare them for their return to the soil.
Before moving them outside, the soil must warm up and dry out from the heavy spring rains. Calla lilies despise cold, waterlogged earth, which will quickly rot the very rhizomes you spent all winter protecting. Wait until the danger of frost has completely passed and the nighttime temperatures stay reliably above fifty degrees. You can use this waiting period to amend your garden beds, turning over the soil and working in a generous amount of mature compost to improve drainage. If you are anxious to get a head start, you can pot the rhizomes indoors a few weeks before the last frost date, treating them much like you would a delicate begonia tuber to encourage early root development.
Replanting and the return of the cycle
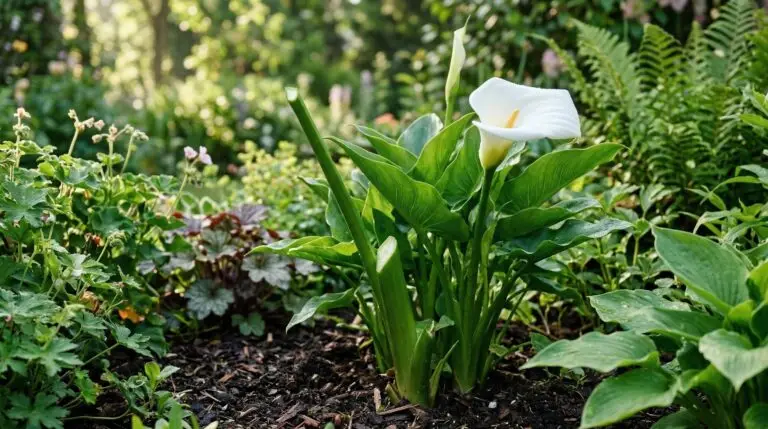
When the garden soil is finally warm and crumbly in your hands, carry the awakened rhizomes out into the spring air. Dig shallow holes about three to four inches deep, spacing them a foot apart to allow for the broad, sweeping foliage that will soon follow. Place each rhizome with the growing eyes facing the sky, settling them firmly against the bottom of the hole so there are no air pockets. Cover them gently with the amended soil and offer a light watering to settle the earth around the roots. The garden is loud with bird song now, and the damp soil smells rich and full of promise.
Within a few weeks, tight green spears will push their way through the crust of the soil, unrolling into wide, arrow-shaped leaves. The stems will thicken as the days lengthen and the summer heat builds, drawing moisture and nutrients up from the established root system. Soon, the familiar smooth spathes will unfurl, catching the summer dew in their deep cups. The plant thrives in the warm sun, completely recovered from its long winter sleep in the dark basement. And then, just as the first hard frost blackens the last leaves months later, the roots below will already be storing energy for the next spring.
More About Calla Lily
Why calla lily leaves are turning yellow and how to revive your plant
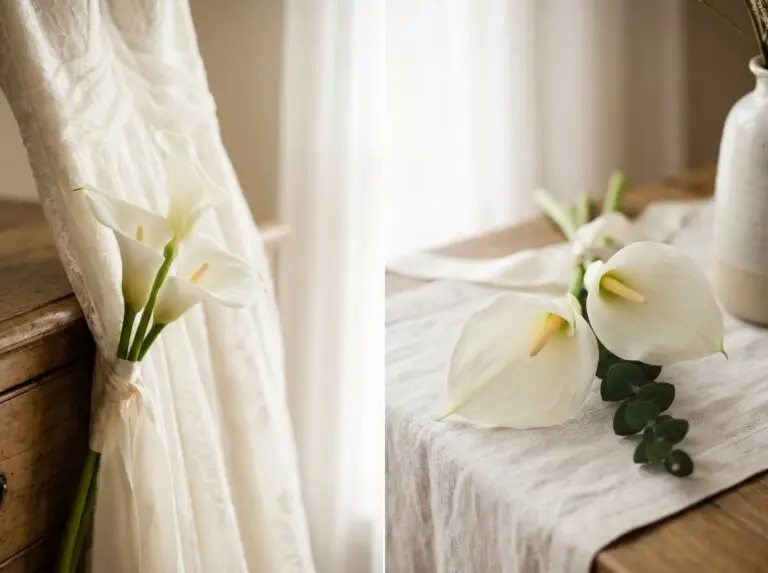
Calla lily as a cut flower and how to make arrangements that last over a week
Using calla lilies in modern minimalist floral arrangements that make a statement
Colorful calla lily varieties that go far beyond the classic white trumpet
Calla lily propagation by dividing rhizomes for more plants every season
How to grow calla lilies in pots indoors for elegant year-round blooms
Calla lily meaning, from weddings to funerals, honestly explained
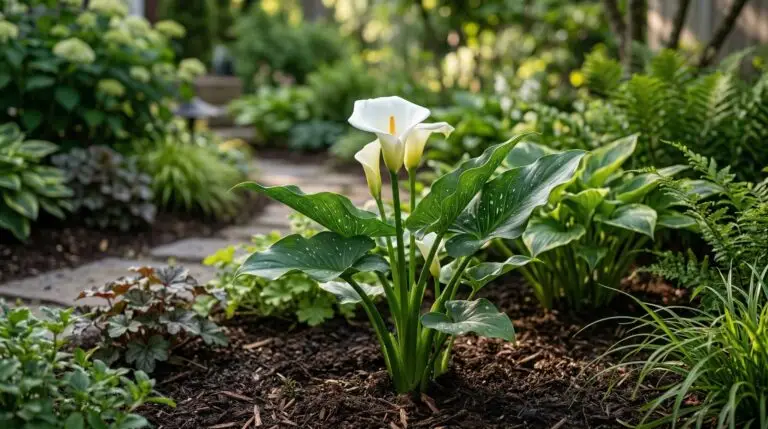
Growing calla lilies outdoors in garden beds as a summer focal point