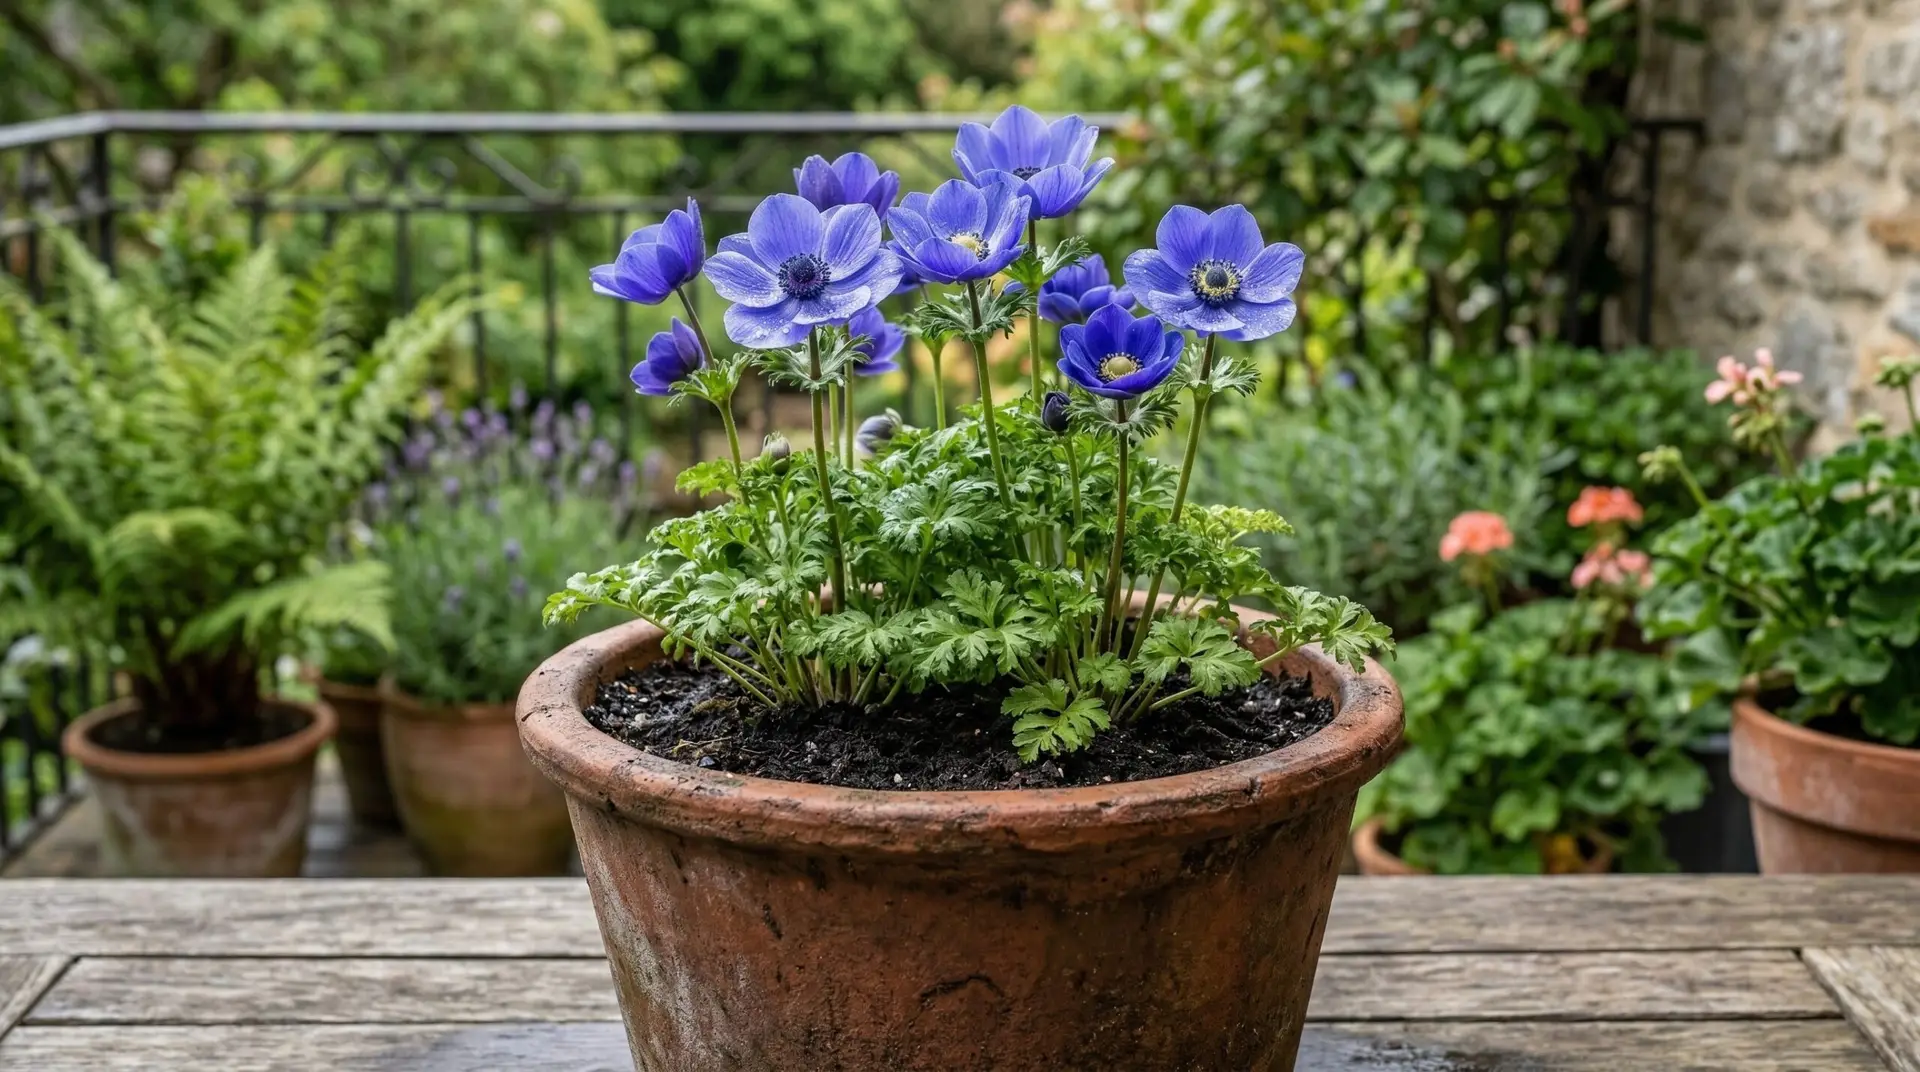
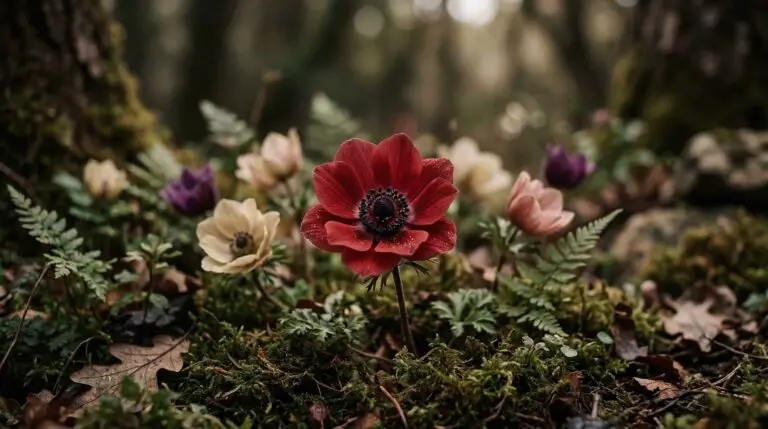
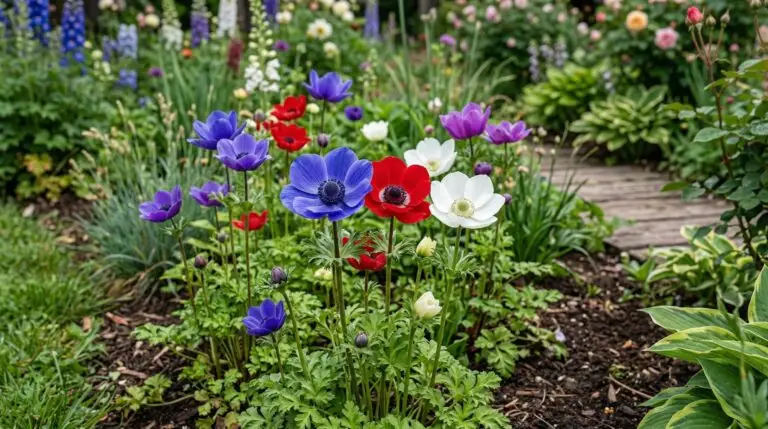
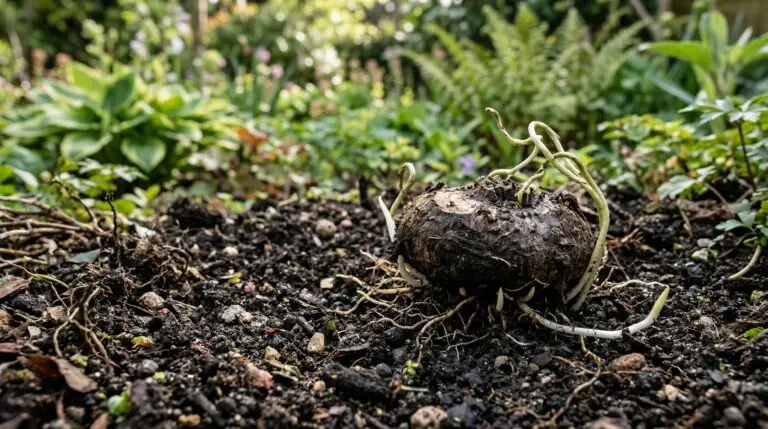
Holding a handful of dormant anemone corms for the first time usually brings a moment of doubt. They look like dried, shriveled peas or bits of gravel swept up from the driveway. It is hard to believe these hard little lumps will ever produce anything green, let alone delicate, papery blooms that dance in the spring wind. The trick to waking them up is moisture, and getting that balance right is the first step to a successful anemone balcony garden. Growing them in containers requires a slightly different approach than planting them in the ground. The limited space of a pot means every element of soil, water, and temperature needs closer attention. Once the method clicks, these early bloomers become a reliable staple for small space gardens.
Success with anemone container growing starts long before the first green shoot appears above the soil line. After trying various soil combinations over many seasons, the one that consistently works is a standard, affordable potting mix heavily cut with coarse sand or perlite. Anemones despise sitting in cold, wet soil and will rot quickly if the drainage is poor. A bag of basic potting soil is fine, but adding a few handfuls of perlite ensures the water runs through the pot rather than pooling at the bottom. The container itself needs several large drainage holes, and placing a piece of broken terracotta over the holes keeps the soil from washing out onto the patio. A pot depth of at least eight to ten inches gives the roots enough room to reach down without drying out too fast on sunny spring afternoons.
Waking up dormant corms before planting
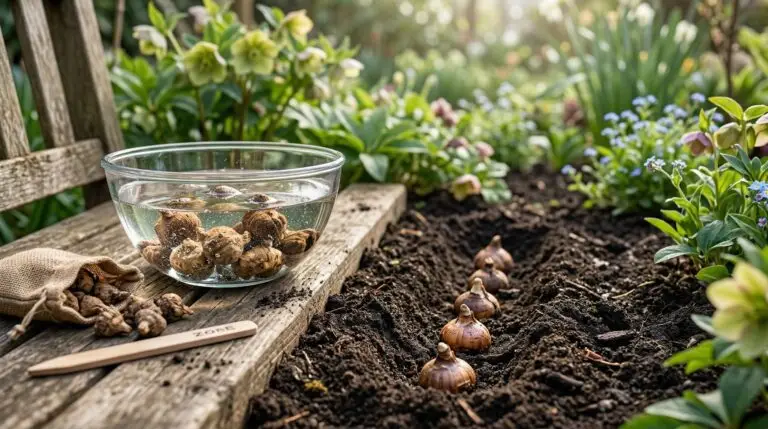
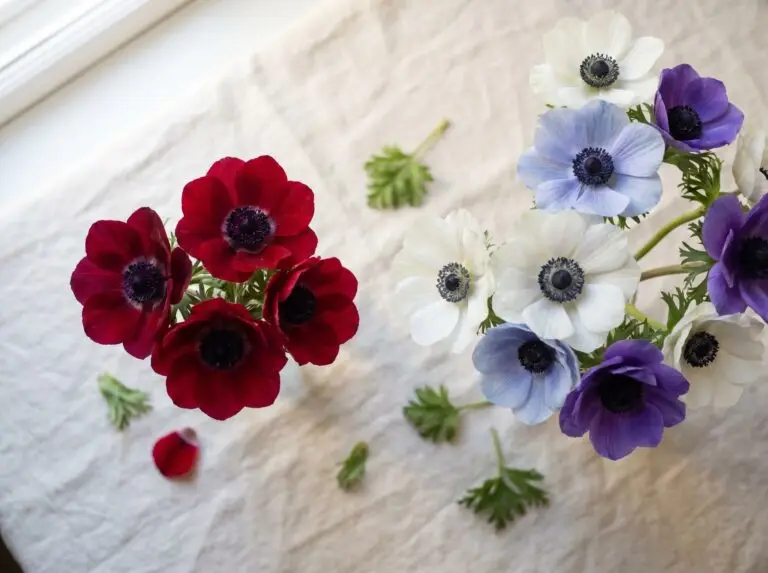
Those hard little corms need a good soak before they go into the soil. Dropping them into a bowl of room temperature water for three to four hours plumps them up significantly. They will expand and take on a slightly softer texture, looking much more like something capable of growing. Leaving them in the water too long is a common mistake that leads to mushy, ruined corms. Four hours is plenty of time to break their dormancy without drowning them. This soaking step is very similar to the preparation used for ranunculus, another spring favorite that benefits from the exact same treatment. After the soak, they are ready to go straight into the prepared pots.
Figuring out which end of the corm goes up is a classic point of confusion for new growers. The corms are knobby and irregular, making it almost impossible to find a clear top or bottom. The good news is that they are remarkably smart and will send shoots up and roots down regardless of how they land in the dirt. Planting them about two inches deep is the sweet spot for anemone in pots. Because container gardens rely on density for visual impact, spacing the corms about two inches apart creates a thick, lush canopy of foliage and flowers. Planting them too far apart leaves the pot looking sparse and empty when they finally bloom. Give the soil a gentle watering after planting just to settle the dirt around the corms.
Managing winter temperatures and moisture
The hardest part of growing anemones in containers is managing the moisture levels during the cold winter months. Gardeners in the South may find this easier because the pots can stay outside all winter with only occasional protection during hard freezes. In northern zones, the approach changes entirely because a pot left exposed to deep freezes will turn the corms into blocks of ice. The best solution for cold climates is to keep the planted pots in an unheated garage or shed where the temperatures stay cool but above freezing. The soil needs to be checked every few weeks and given a very light watering only when it is completely dry down to the second knuckle. Overwatering dormant corms in cold soil is a guaranteed way to lose the entire pot to rot. The waiting period requires patience, as the pots will look completely bare for months.
When the weather begins to warm in late winter or early spring, the pots can move to their final spot on the balcony or patio. The first signs of life are usually small, parsley-like leaves pushing through the surface of the soil. These early sprouts are tough and can handle light spring frosts without any trouble. Once the foliage appears, the plants will need more consistent watering to support the rapid growth. The soil should stay evenly moist but never soggy, which is exactly why that extra perlite added in the fall pays off now. Liquid fertilizer is usually unnecessary if the original potting mix had some slow-release nutrients mixed in. Too much nitrogen encourages a mass of green leaves at the expense of those dark-centered, delicate flowers.
Combining anemones with other spring favorites
A single pot dedicated entirely to anemones is beautiful, but layering them with other spring bloomers extends the season of color on a small patio. The lasagna planting method works perfectly here, where larger bulbs go deep in the pot and smaller corms sit closer to the surface. Planting a deep layer of tulip bulbs at the bottom of a large container provides a sturdy, tall backdrop for the shorter anemone stems. You can also mix in daffodils in the middle layer for an overlapping succession of blooms that lasts for weeks. The ferny foliage of the anemones fills in the awkward bare ankles of the taller bulbs, making the whole container look professionally designed. This layered approach requires a much larger, deeper pot, usually at least fourteen inches deep, to accommodate the different planting depths. It is a highly efficient way to maximize a small balcony space.
After the main flush of flowers fades, the plants enter a stage that tests the patience of any tidy gardener. The foliage begins to yellow and flop over, looking rather messy and exhausted. It is tempting to cut the dying leaves off right away to clean up the pot, but the plants need those leaves to gather energy for next year. Letting the foliage die back completely on its own is the only way to ensure the corms survive to bloom again. Once the leaves are entirely brown and crisp, they pull away from the soil with a gentle tug. At this point, the corms can be left in the dry soil of the pot, moved out of the way, and ignored until the following fall. The cycle of soaking, planting, and waiting begins all over again, making the modest effort well worth the spectacular spring display.
More About Anemone
How to plant anemone corms in fall for a spectacular spring flower display

Naturalizing anemones in woodland gardens for wild-looking spring carpets
Anemone flower meaning and the mythological story behind the windflower
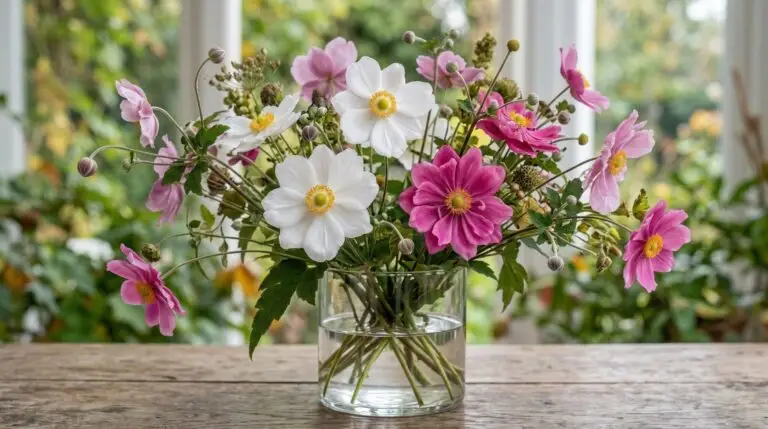
Growing anemones as cut flowers for endless spring and fall arrangements

Anemone and ranunculus planted together for the ultimate spring flower garden
Why your anemone corms did not sprout and how to succeed next time
Anemone meaning, from anticipation and protection to forsaken love
Anemone wedding bouquets that bring effortless romance to any ceremony