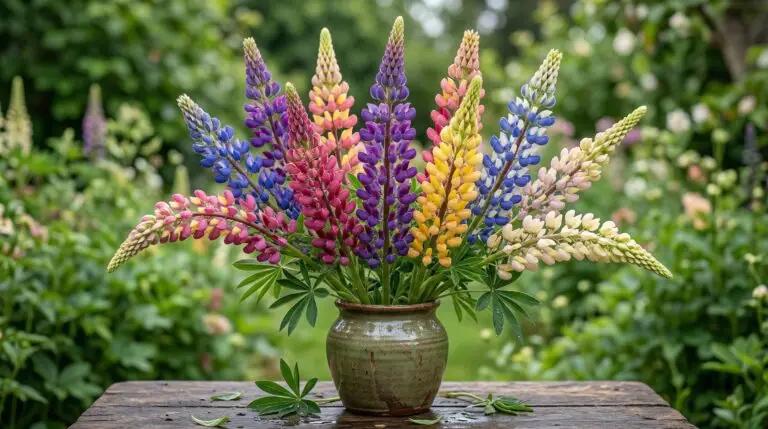
A seed is essentially a tiny vault designed to protect the fragile plant life inside until the perfect conditions arrive. When you decide to grow a lupine from seed, you are encountering one of the most stubborn and well-built vaults in the garden world. By the time you finish reading, you will understand exactly why these spiky flowers have a reputation for poor germination and how you can use a simple mechanical trick to bypass their defenses. We are going to look at the biology of the lupine seed so you can stop guessing and start successfully coaxing these plants out of their shells. Understanding the physical structure of the seed changes the entire process from a frustrating gamble into a predictable science. Once you know how the seed functions, you can manipulate its environment to get fast, reliable sprouting every single time.
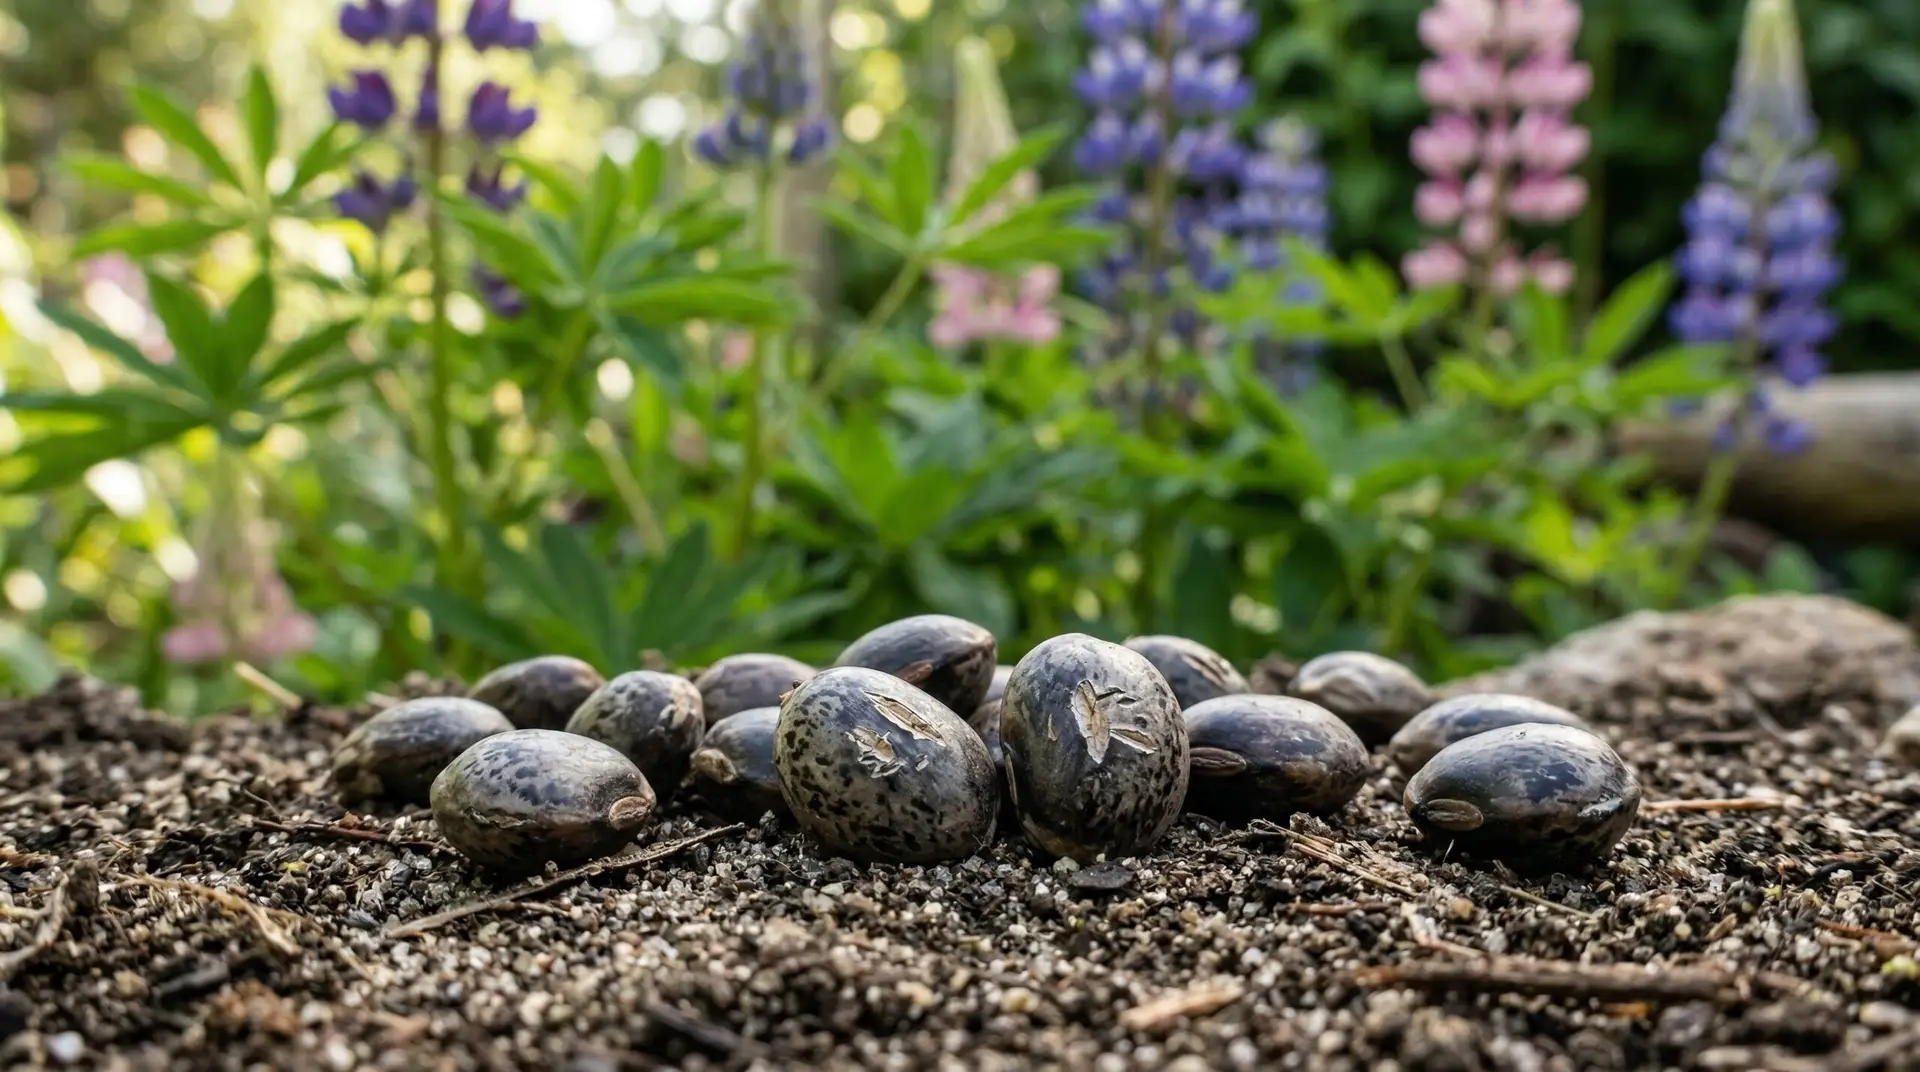
To understand lupine germination, we have to look closely at the seed itself. If you hold a lupine seed in your hand, it feels like a tiny pebble or a dried pea. This tough outer layer is called the seed coat, and its primary job is to keep water out. In the wild, this waterproof jacket prevents the seed from sprouting during a brief warm spell in the middle of winter, which would otherwise kill the young plant. The seed coat is so thick that you could plant it in perfectly moist soil and wait months without seeing a single sprout because the moisture simply cannot reach the embryo inside. Our job as gardeners is to convince the seed that it is safe to wake up by breaching that protective wall.
Breaking the waterproof seal
The process of intentionally damaging a seed coat to allow water inside is called scarification. This might seem contradictory, because we are usually taught to handle seeds very gently to avoid damaging them. The trick here is to scratch or nick the tough outer shell without harming the living tissue tucked safely in the center. You can do this by gently rubbing the seed against a piece of medium grit sandpaper or using a nail file to scrape away a small section of the coat. You only need to remove enough of the dark outer layer to see a tiny peek of the lighter color underneath. Once you create this microscopic doorway, the seed is completely vulnerable to moisture and ready for the next step.
After you have filed or scratched the seeds, the next phase in lupine seed starting is an overnight soak in warm water. Think of this soak as sending a massive flood through the doorway you just opened in the seed coat. As the water rushes in, the dried tissue inside acts like a sponge, swelling up and signaling the embryo that spring has arrived. You will actually see the seeds double in size after twelve to twenty-four hours in the water. If you see some seeds floating, just tap them gently until they sink to the bottom of the glass. If they still float after a full day, they might be hollow and unviable, so you can discard them. The swollen seeds are now fully primed and must be planted immediately before they dry out again.
Working with the taproot system
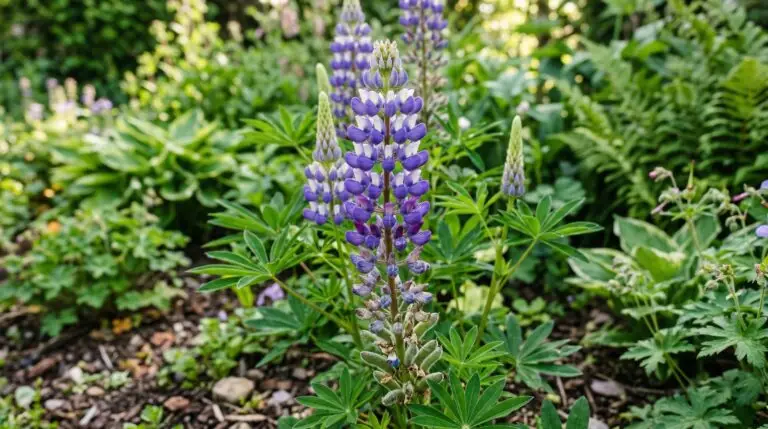
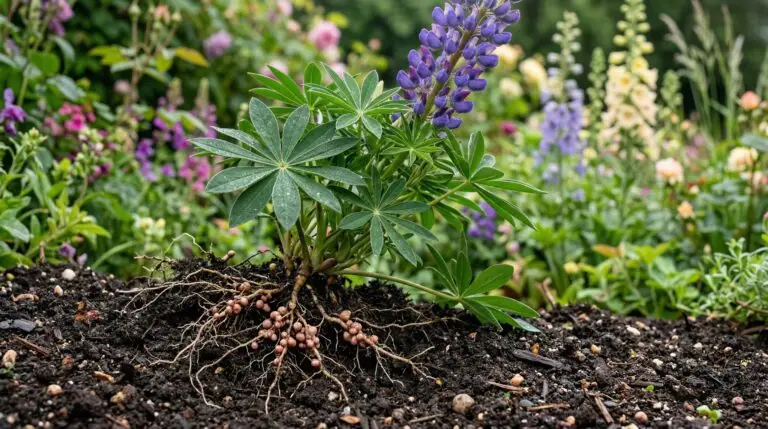
Once your seeds are plump and ready, you have to decide where they will live, and this requires understanding the lupine root system. Lupines develop a long central root called a taproot, which is very similar in shape to a carrot. This deep root allows the mature plant to survive dry spells and anchor itself in poor soils. However, this same structure makes the plant extremely sensitive to being moved. If you bend or break the tip of this taproot while transplanting a seedling from a small pot into the garden, the plant will often stunt or die. Because of this extreme sensitivity, direct sowing the seeds exactly where you want them to grow is usually the most successful approach. If you must start them indoors, use deep biodegradable pots that can be planted directly into the ground so you never have to disturb the soil around the roots.
If you prefer to let nature handle the hard work of scarification, fall direct sowing is an excellent alternative to the sandpaper and soaking method. When you plant untreated seeds in the garden during late autumn, the freezing and thawing cycles of winter act like sandpaper on the tough seed coats. The soil expands as it freezes and contracts as it thaws, grinding the seeds against tiny rocks and breaking down that waterproof barrier over several months. The constant shifting and moisture essentially do the work of the sandpaper for you. By the time spring arrives, the soil moisture can easily enter the seeds, and they will sprout naturally as the days lengthen. This mimics exactly how the plants reproduce in the wild and often results in much stronger plants that have perfectly established taproots. You can easily pair lupines with other hardy annuals that thrive with fall sowing, like Love-in-a-Mist, to create a low-maintenance spring display.
Building a natural fertilizer factory
There is one more fascinating biological quirk to understand about lupines before you put your seeds in the soil. Lupines belong to the legume family, which means they have the rare ability to pull nitrogen out of the air and convert it into fertilizer for themselves. They do not do this alone, however, as they rely on a symbiotic relationship with specific soil bacteria called rhizobia. These bacteria attach to the plant roots and form little nodules that act like microscopic fertilizer factories. If you are planting lupines in an area where they have never grown before, those specific bacteria might be missing from your soil. You can buy a powdered inoculant meant for legumes and dust your damp seeds with it right before planting to ensure they have the bacterial partners they need to thrive. Providing this inoculant is like sending the seedling out into the world with a fully stocked pantry.
When your seedlings finally emerge, they will look like tiny green palm trees or little umbrellas pushing up through the soil. The early growth happens mostly underground as that main taproot drives deep into the earth, so the above-ground foliage might seem to grow slowly at first. This takes a season or two to get a feel for, and that is completely normal for perennial plants that are investing their energy in long-term survival. Keep the soil evenly moist but never soggy, as those deep roots are highly susceptible to rot in heavy clay or waterlogged conditions. If you notice the soil staying too wet, you will need to amend the area with coarse sand or compost to improve the drainage. If you are growing annual varieties, they will bloom in their first year, but perennial lupines usually spend their entire first season building a leafy base. They rarely produce their tall floral spikes until year two. You might want to fill the gaps around them with fast-growing annuals like Cosmos or Zinnias while you wait for the perennial lupines to mature.
Growing lupines from seed is ultimately a lesson in understanding plant biology and working alongside it. The hard seed coat is not a flaw or a frustration, but a brilliant survival mechanism designed to keep the plant safe until conditions are perfect. By learning to scarify the seed to let water in, respecting the sensitive taproot, and providing the right bacterial partners, you are simply giving the plant exactly what it needs to succeed. You are moving past the trial-and-error phase of gardening and stepping into a more informed role. The waiting period requires patience, but the biological processes happening beneath the soil are well worth the time. When those tall, colorful spikes finally open in your garden, you will know that your success was not luck, but a direct result of understanding the science of the seed.
More About Lupine
Wild lupines along American roadsides and meadows and where to see them bloom
Why lupines die after a few years and how to keep them going through seed saving
How to grow lupines for dramatic flower spires that bring cottage garden magic
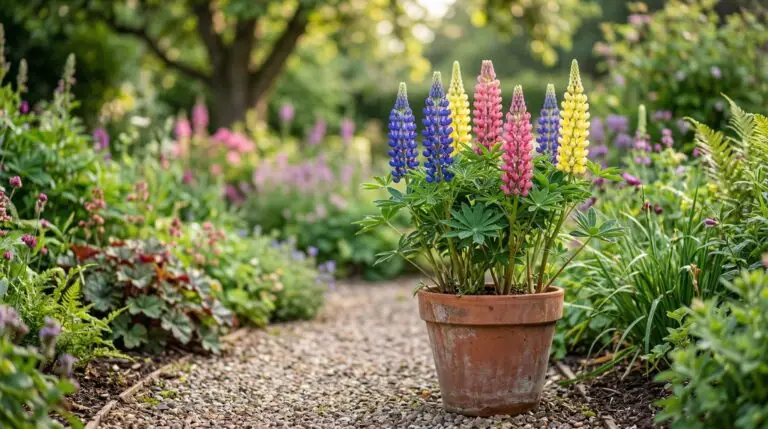
Growing lupines in containers for a vertical flower show on patios and doorsteps

Lupine companion plants: what to grow and what to avoid
Lupines in hot climates and the challenge of growing these cool-weather beauties in the south
Lupines as nitrogen fixers that naturally enrich and improve your garden soil
Lupine flower meaning and why these wild spires symbolize imagination and creativity