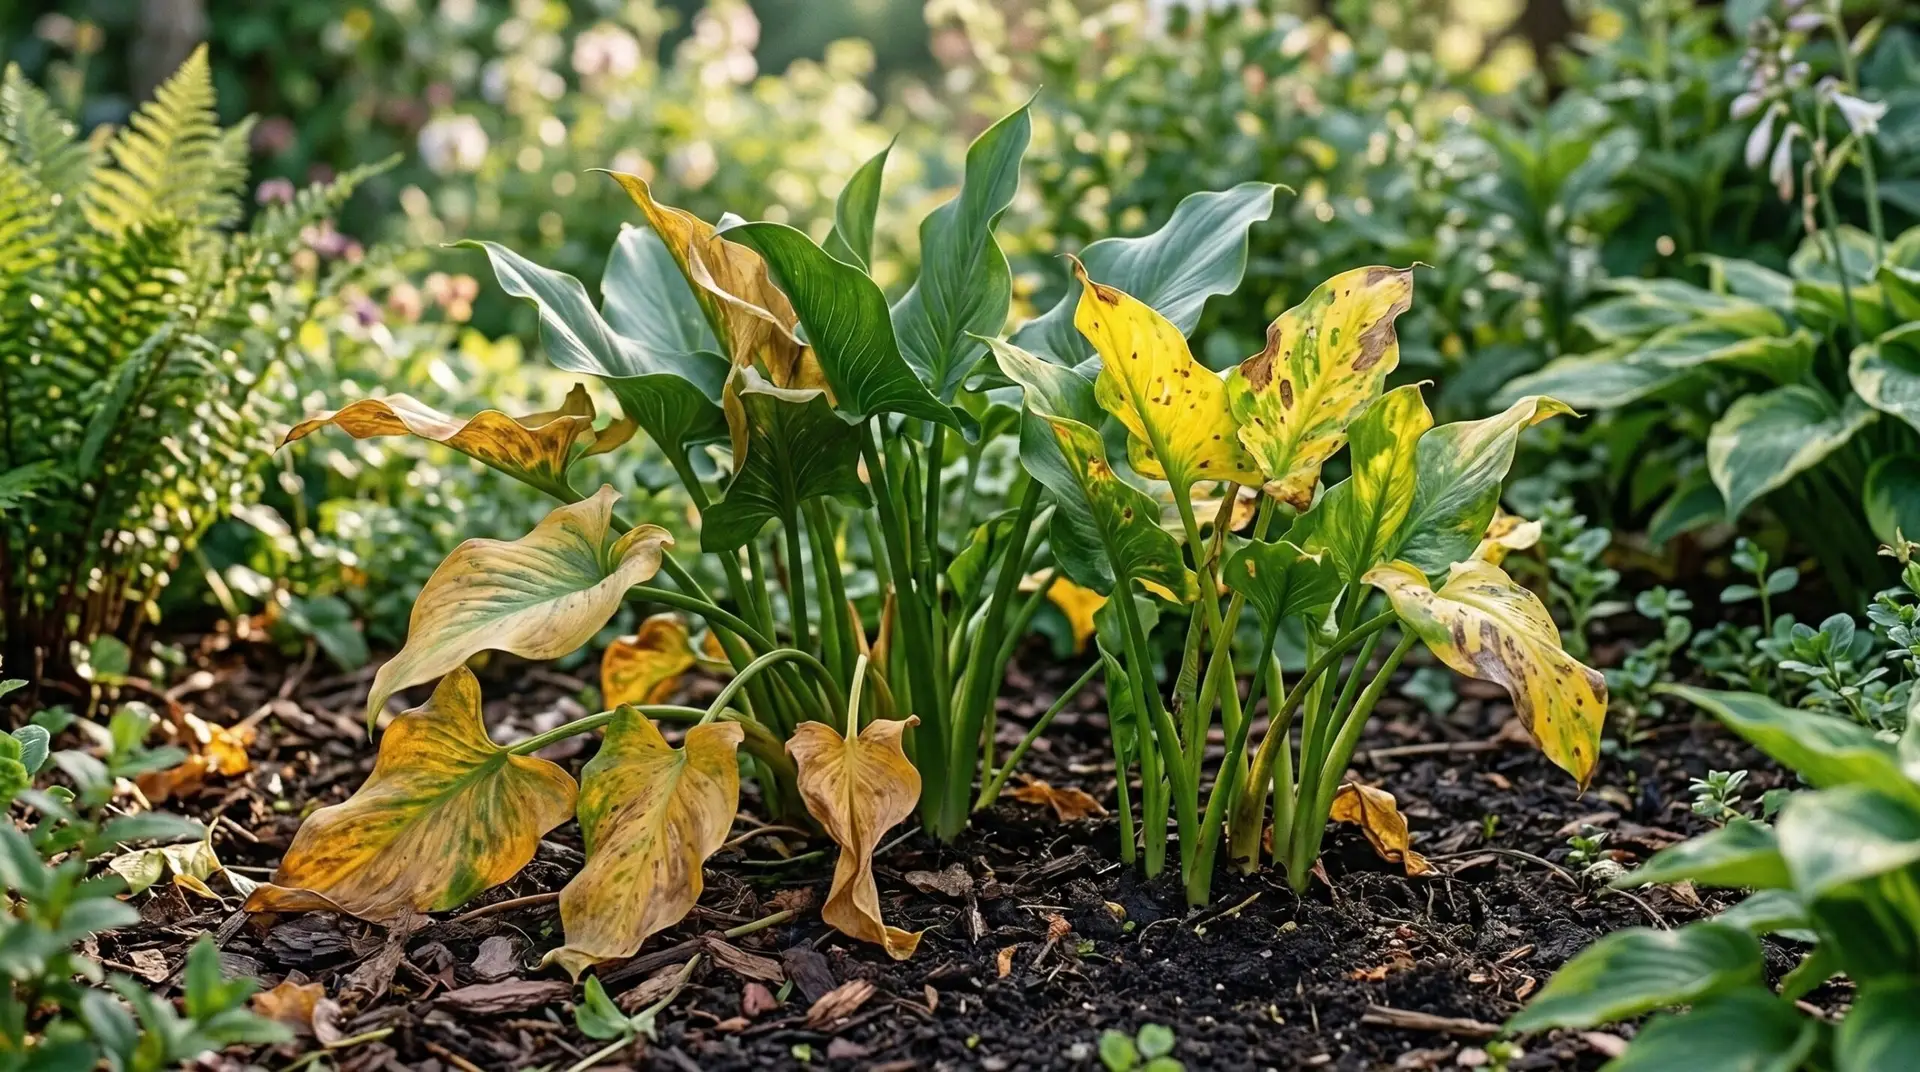
People buy a calla lily, bring it home, and a few weeks later the leaves start turning yellow. They assume the plant is dying and panic. This is one of the most common calla lily problems I see, and the reaction is almost always to grab the watering can. That instinct is exactly what kills most of these plants. Before you do anything, you need to figure out why the leaves are changing color. Yellowing is a symptom, not a disease, and treating the wrong cause will accelerate the decline.
The first thing to understand is that calla lilies operate on a specific life cycle dictated by their underground rhizomes. Unlike a typical houseplant that pushes out new growth year-round, these plants require a period of rest. When you see calla lily yellow leaves, you have to look at the calendar and the plant’s recent blooming history. If the plant recently finished a heavy blooming cycle, those yellowing leaves might just be the natural progression of the plant going to sleep. If the yellowing happens right in the middle of the active growing season, you have a distinct problem with water, light, or nutrients that needs immediate correction.
Contents 4 sections
Differentiating natural dormancy from actual plant distress
Most new growers do not realize that calla lilies naturally die back every year. After the plant finishes producing flowers, it begins pulling energy out of the foliage and storing it down in the rhizome for the next growing season. This energy transfer causes the leaves to slowly turn yellow, wilt, and eventually dry up completely. If your plant has been blooming happily for a couple of months and is now starting to look tired, do not try to save the foliage. Let nature take its course, reduce your watering, and allow the leaves to die back completely before cutting them off. Treating natural dormancy as a disease will rot the rhizome while it tries to rest.
You can tell the difference between dormancy and distress by looking at the timing and the pattern of the yellowing. Dormancy usually happens in late summer or early fall, and the yellowing is relatively uniform across the older outer leaves first. When a calla lily is dying from an environmental problem, the yellowing happens rapidly, often while the plant is still trying to push out new blooms. Distress yellowing is frequently accompanied by soft, mushy stems at the soil line or brown, crispy edges on the leaves. If you see yellowing during the spring or early summer when the plant should be growing actively, you need to investigate your soil moisture and light levels immediately. You can compare this behavior to a lily, which also experiences a distinct die-back period after its summer show concludes.
Overwatering and the threat of rhizome rot
The absolute fastest way to kill a calla lily is by giving it too much water. These plants originate in regions where they experience wet and dry seasons, but sitting in permanently soggy potting soil suffocates their roots. When the roots cannot breathe, they begin to rot, and a rotting root system cannot transport water or nutrients up to the foliage. The plant responds by turning yellow and collapsing. You will often notice that the yellow leaves feel soft and limp rather than dry and crispy. If you gently pull on a yellowing stem and it separates from the soil line with a squishy, foul-smelling base, you are dealing with severe root rot.
Fixing an overwatered calla lily requires immediate intervention. Stop watering immediately and pull the entire plant out of its pot to inspect the underground rhizome. A healthy rhizome is firm to the touch, similar to a potato, while a rotting one feels mushy and smells like swamp water. You must cut away any soft, rotting sections of the rhizome with a sterilized knife and remove all the dead or mushy roots. Repot the healthy pieces into fresh, dry potting soil mixed with plenty of perlite to improve drainage. Going forward, you must wait until the top two inches of soil feel completely dry to the touch before watering again.
Lighting issues and temperature stress
Lighting mistakes are another frequent cause of foliage problems. Calla lilies prefer bright, indirect light, which gives them enough energy to produce their spathes without burning their tender foliage. If you place the plant in direct, baking afternoon sun, the leaves will bleach out, turn a pale yellow, and develop scorched brown patches. Conversely, if you keep the plant in a dark corner, the leaves will turn a sickly yellow-green as they stretch desperately toward the nearest light source. Finding the right balance usually means placing the plant near an east-facing window where it gets gentle morning sun and protection from the harsh afternoon rays. Similar to an anthurium, a calla lily needs bright ambient light to maintain deep green leaves and produce consistent blooms.
Temperature fluctuations also cause significant stress that manifests as yellow leaves. Calla lilies prefer temperatures between sixty and eighty degrees Fahrenheit and despise cold drafts or sudden heat waves. Placing your plant directly in the path of an air conditioning vent will shock the system, causing the leaves to yellow and drop prematurely. Keep the plant away from exterior doors that open to cold weather and avoid placing it right next to heating radiators. Maintaining a stable, comfortable room temperature goes a long way in keeping the foliage healthy and green throughout the active growing season.
Nutrient deficiencies and soil exhaustion
When watering and light are correct but the leaves are still turning pale, you are likely looking at a nutrient deficiency. Calla lilies are heavy feeders during their active growth phase, and potting soil runs out of available nutrients quickly. Nitrogen deficiency shows up as a general overall yellowing of the older leaves, as the plant moves its limited nitrogen supply to the new growth. Iron deficiency looks a bit different, causing the new leaves to turn yellow while the veins remain a distinct dark green. Both problems indicate that the plant has exhausted its soil and needs supplemental feeding to support its large foliage and blooms.
Correcting a nutrient deficiency is straightforward, but you must be careful not to overcompensate. Apply a balanced, water-soluble liquid fertilizer diluted to half strength every two weeks during the spring and summer. Do not dump heavy granular fertilizers onto a stressed plant, because this can burn the remaining healthy roots and make the yellowing worse. If the plant has been in the same pot for more than two years, fertilizer alone might not fix the issue because the potting mix has likely broken down and become too acidic. Much like the heavy feeding requirements of true lilies, repotting the plant in fresh, high-quality soil is the best way to reset the nutrient balance and encourage healthy green growth.
The single most useful piece of advice I can give you about growing calla lilies is to respect the rhizome. The underground storage organ dictates everything the plant does, from sending up new shoots to deciding when it is time to sleep. If you provide a well-draining soil mix that prevents rot and you allow the plant to die back naturally when the blooming season ends, you will avoid almost every common failure. Stop treating yellow leaves as an immediate emergency to be solved with more water, and start looking at the whole environment. Read the soil moisture, check the light, and understand the season, and you will have a plant that reliably returns year after year.
More About Calla Lily
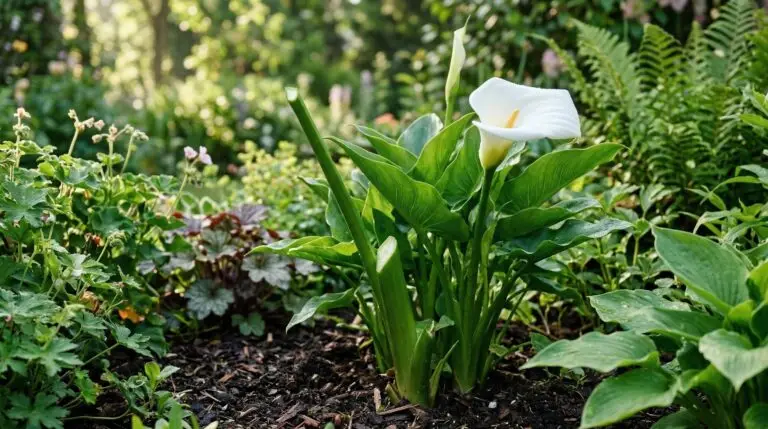
Calla lily as a cut flower and how to make arrangements that last over a week
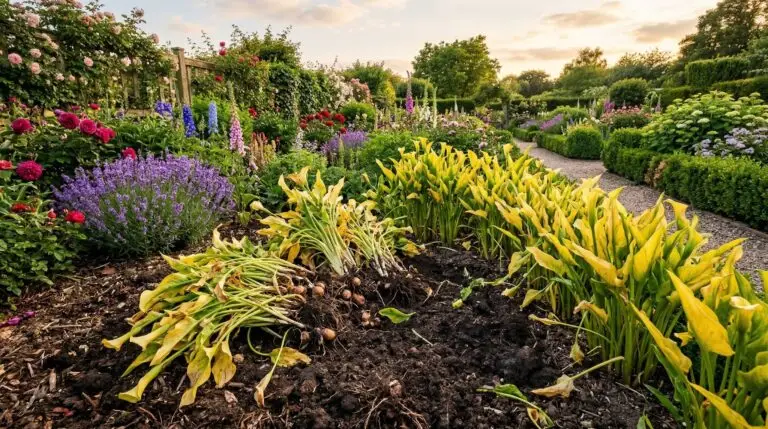
How to store calla lily bulbs over winter and replant them in spring
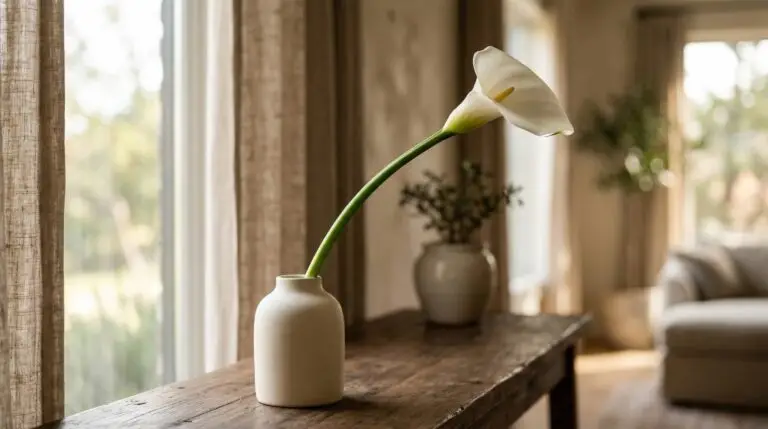
Using calla lilies in modern minimalist floral arrangements that make a statement
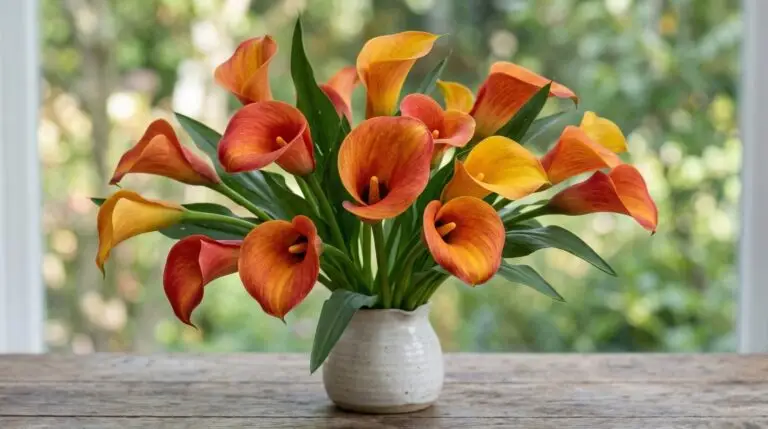
Colorful calla lily varieties that go far beyond the classic white trumpet
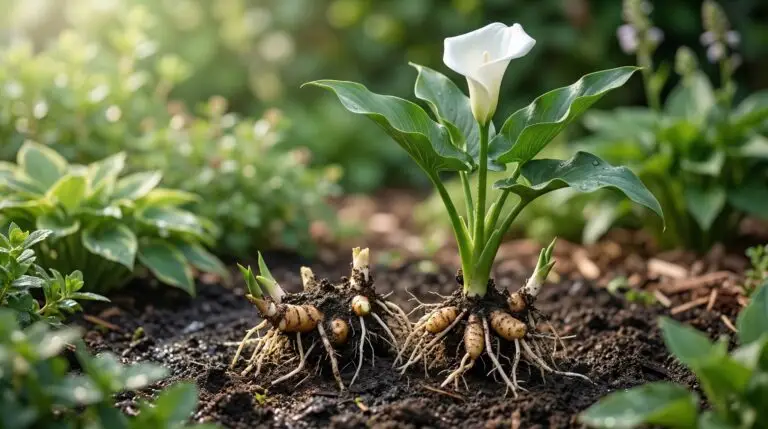
Calla lily propagation by dividing rhizomes for more plants every season
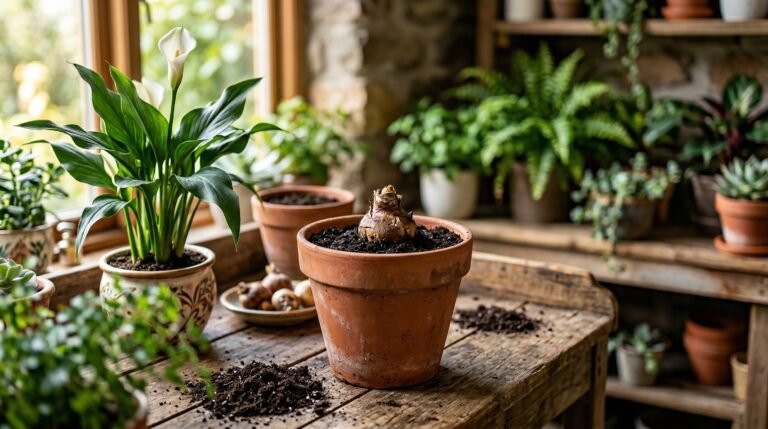
How to grow calla lilies in pots indoors for elegant year-round blooms
Calla lily meaning, from weddings to funerals, honestly explained
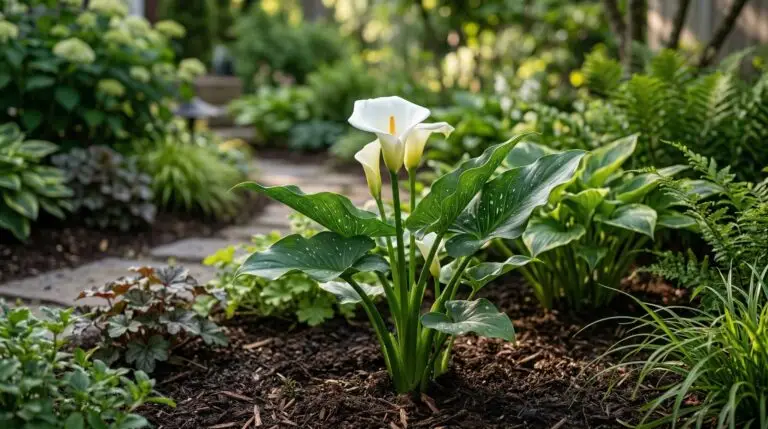
Growing calla lilies outdoors in garden beds as a summer focal point
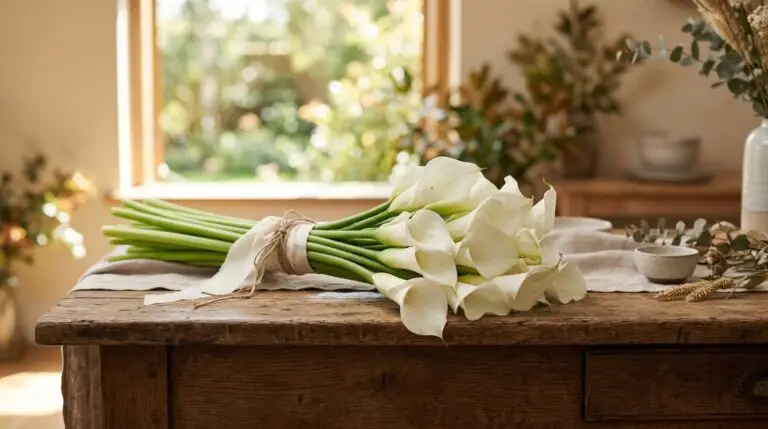
Calla lily wedding bouquets and why brides have loved them for generations
Enjoying our flower guides? Add YourFlowersGuide as a preferred source on Google. It helps more readers find us.
Add to Preferred Sources