The idea of a garden that blooms continuously from March through August requires careful planning and a specific planting technique. Achieving this progression relies on layering different types of bulbs in a single space, a method often called bulb lasagna. Before you purchase any plants, you must evaluate the space you intend to use and understand the timeline of a layered garden. This project demands a significant initial time investment during the fall planting season, followed by specific maintenance steps as each layer finishes blooming. By combining early spring bulbs with a strategic lily planting approach, you can create a single bed or large container that changes character month by month. The goal is to set up a system where one plant emerges just as another begins to fade, hiding dying foliage and keeping the area active for half the year.
Choosing to plant multiple bulb types in one hole means you are committing to a precise depth and spacing strategy. You are essentially stacking plants vertically based on their size and bloom time, which requires a deep planting area with excellent drainage. If your chosen spot holds water after a heavy rain, layered bulbs will rot before they ever break the surface. You must also consider the light requirements for the entire sequence, as the area needs at least six hours of direct sunlight from early spring through late summer. Proper preparation prevents the common mistake of buying a random assortment of bulbs and realizing you lack the depth or space to accommodate them all.
Assessing your site and selecting the right bulbs
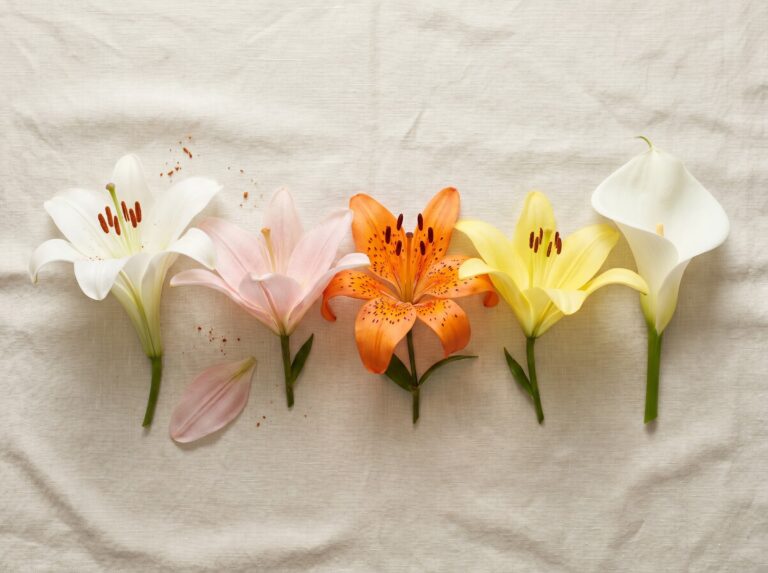
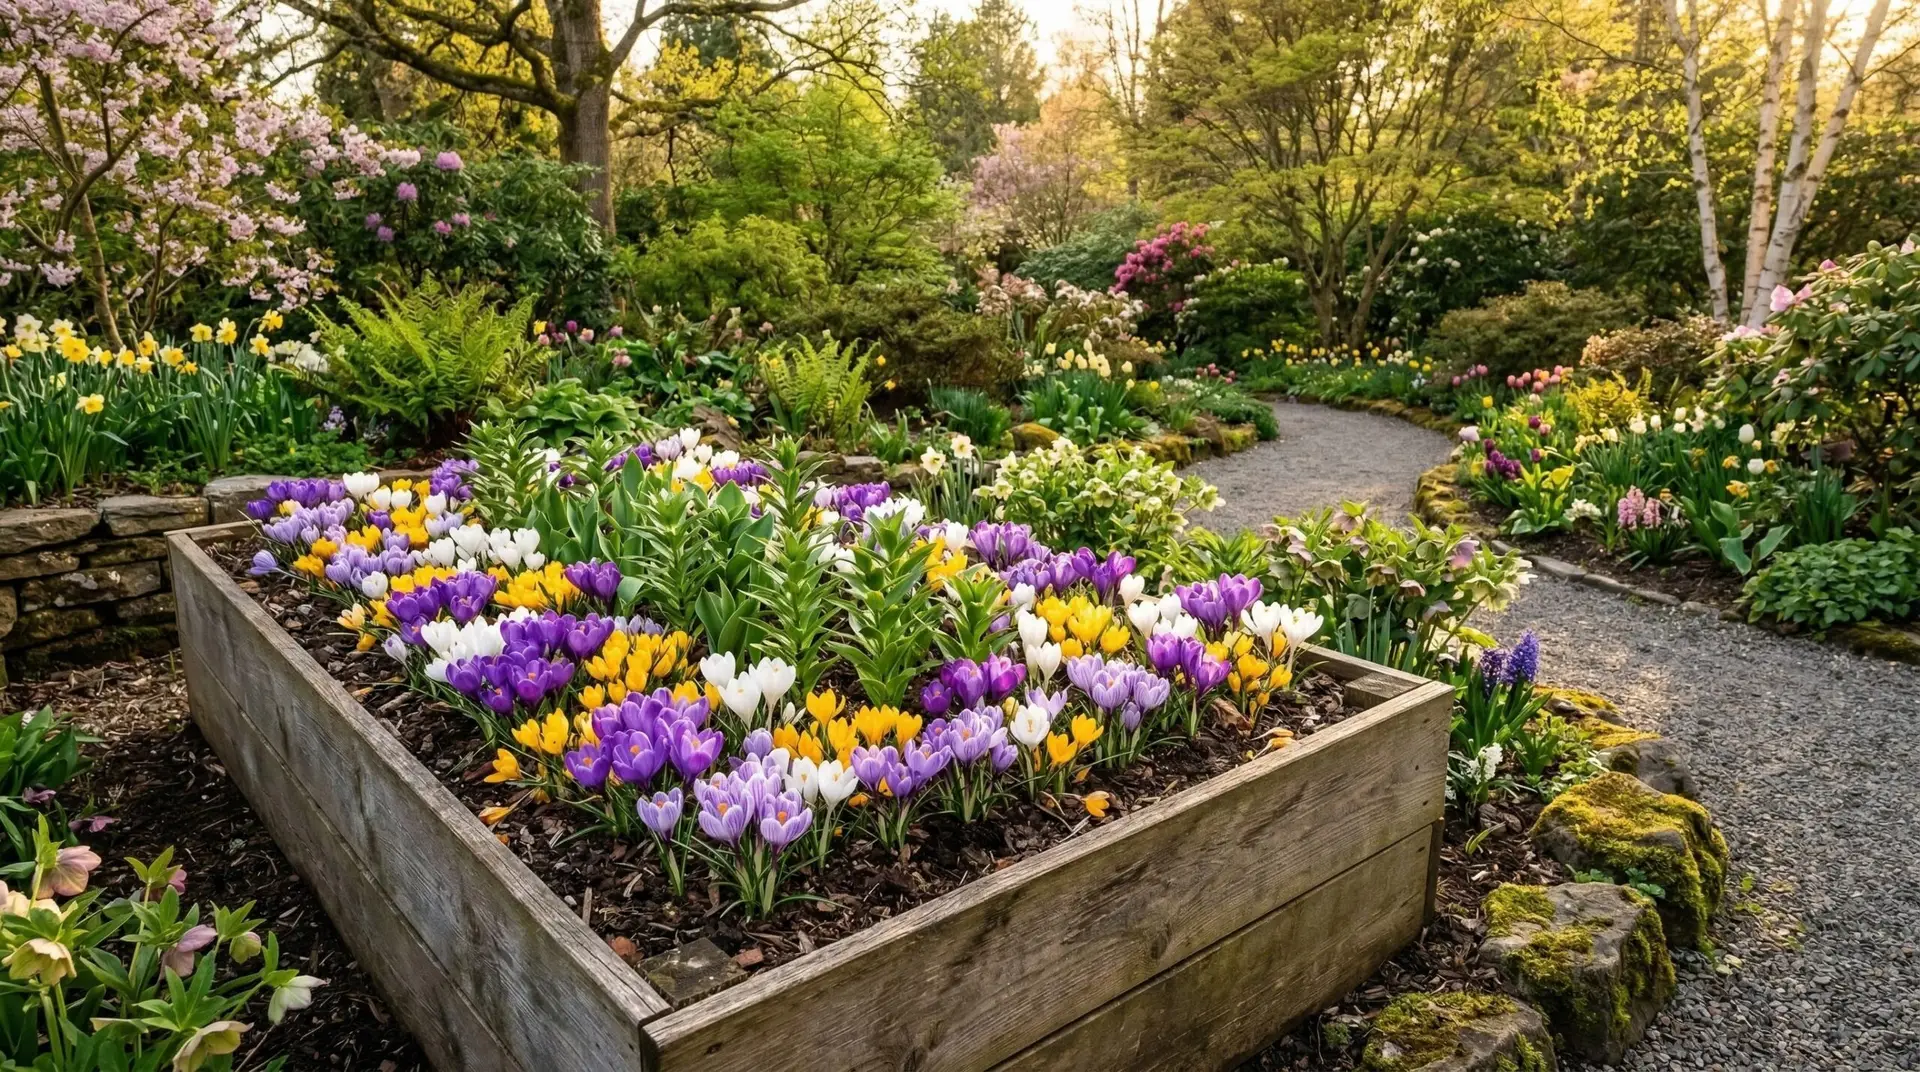
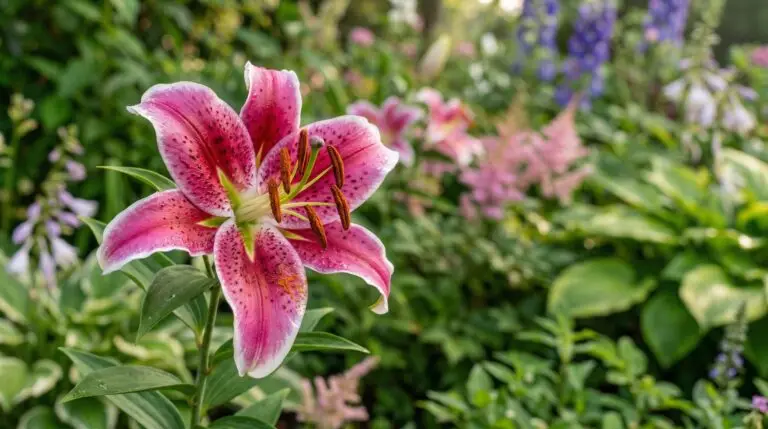
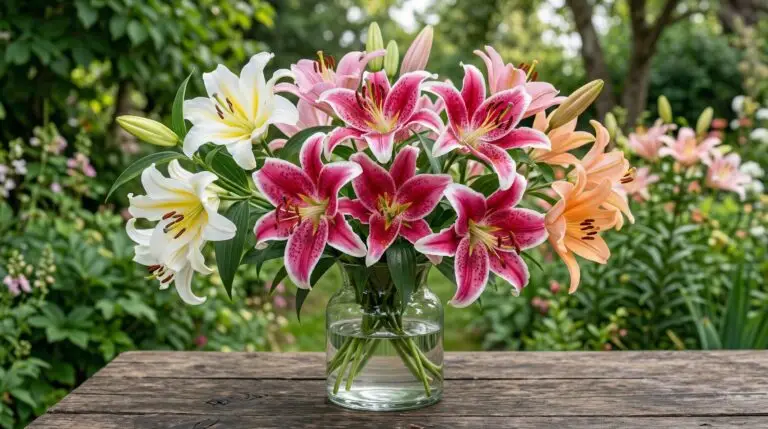
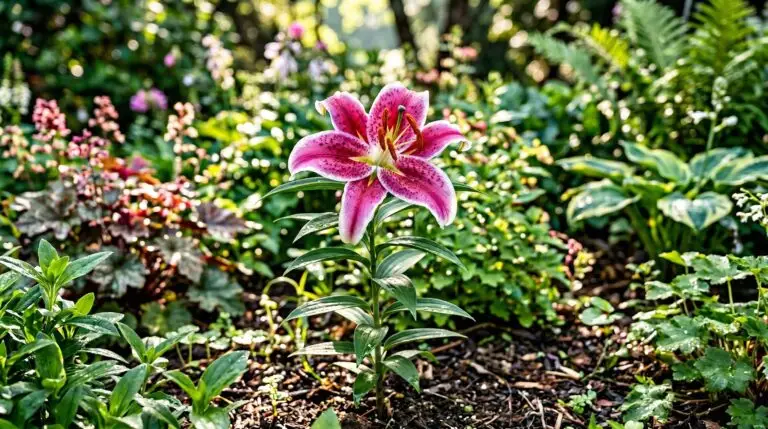
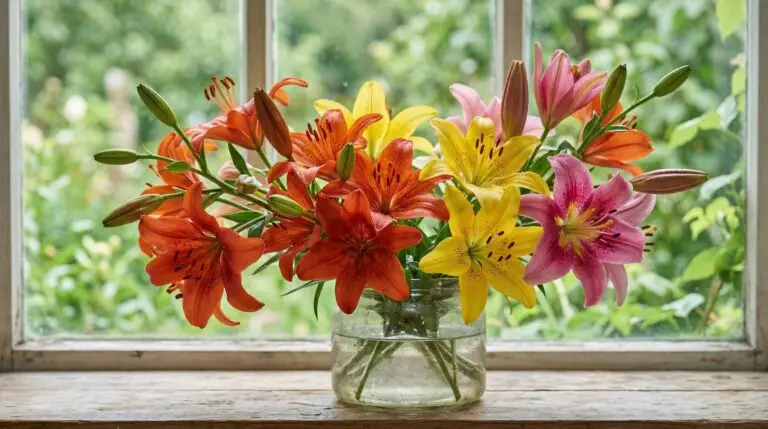
The success of lily bulb layering depends entirely on selecting varieties that naturally bloom in a sequential order. Your earliest layer will consist of small bulbs like crocuses or snowdrops that appear in March. Following these, you will need mid-spring bloomers, and this is where you might incorporate a reliable tulip variety that flowers in April. Late spring brings the transition period, which is perfectly suited for late-season daffodils or tall alliums. Finally, the summer months belong to the lilies, but you must choose different types of lilies to extend the display. Asiatic lilies typically bloom in June and early July, while Oriental lilies open their buds in late July and August.
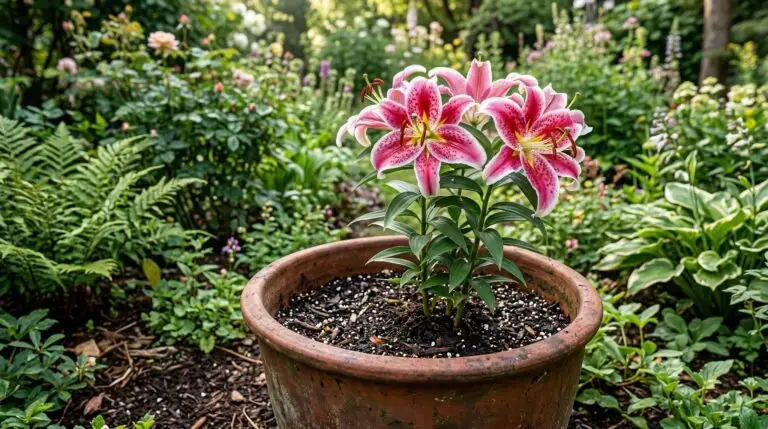
Understanding this timeline helps you calculate your budget and order the correct quantities. You will need to purchase all these bulbs at the same time in late summer or early fall, as they must go into the ground together before the first hard freeze. Plan to spend more on the larger lily bulbs, as they form the foundational anchor of your planting scheme. When evaluating your site, check the soil depth to ensure you can dig down at least eight to ten inches without hitting solid rock or impenetrable clay. If your native soil is poor or shallow, you will need to plan for a raised bed or a very large, deep container, such as a half-whiskey barrel, to accommodate the necessary layers.
Preparing the planting area and gathering materials
Preparation begins with digging the planting hole or trench to its maximum required depth, which is usually eight to ten inches for the largest bulbs. You must remove all the soil from this area and place it on a tarp nearby, as you will use it to backfill between each layer. Because you are concentrating a high number of plants in a small area, the soil must be rich in nutrients and drain exceptionally well. Mix coarse sand or fine gravel into your excavated soil if it leans toward heavy clay, and incorporate a slow-release bulb fertilizer or bone meal. This preparation phase is the most labor-intensive part of the project, often taking an entire afternoon for a large bed, but it is the only way to ensure the bulbs survive their dormant winter period.
Once your hole is excavated and your soil is amended, organize your bulbs by size and planting depth before you place the first one. It helps to group them in baskets or trays next to the planting site so you can visualize the layout. You should also inspect every bulb for soft spots or mold, discarding any that feel mushy, as rot spreads quickly in a densely planted area. Keep a measuring tape handy to verify your depths, as guessing often leads to shallow planting that exposes bulbs to frost heaving or rodent damage. Having all your materials, including your amended backfill, organized around the planting site makes the execution phase proceed smoothly and prevents mistakes in the layering order.
Executing the layered planting strategy
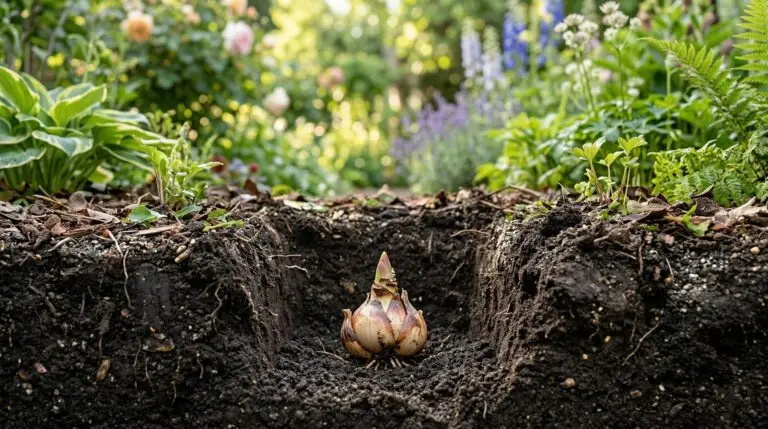
The actual process of lily succession planting starts at the very bottom of your excavated area. Place your lily bulbs at the deepest level, typically eight inches below the intended soil surface, with their pointed ends facing up. Space them about six to eight inches apart to allow their large root systems to develop without competing directly for water. Once the lilies are positioned, cover them with about two to three inches of your amended soil, pressing it down gently to remove large air pockets. This creates the base for your next layer, ensuring the lilies have plenty of soil above them to support their tall stems when they emerge in the summer.
The middle layer is reserved for your mid-spring bloomers, which require a planting depth of about five to six inches. Place these bulbs in the spaces between the buried lilies rather than directly on top of them, creating a staggered pattern that allows the lily stems a clear path to the surface. Cover this middle layer with another two inches of soil to prepare for the final, shallowest layer. Here, you will place your early spring bulbs, such as crocuses or a dwarf iris, at a depth of three to four inches. Fill the remainder of the hole with soil, water the entire area deeply to settle the dirt, and cover the surface with a layer of mulch to regulate soil temperature through the winter.
Managing water and ongoing maintenance
A densely planted bulb bed requires consistent moisture management, especially during the active growing season. In early spring, natural rainfall is usually sufficient to support the emerging crocuses and tulips. However, as the weather warms and the large lily stalks begin to grow rapidly in late spring, you will need to monitor the soil moisture closely. The bed must receive about an inch of water per week, either from rain or supplemental irrigation, to support the heavy foliage and bud development of the summer flowers. You must balance this need for moisture with the risk of rot, ensuring the soil surface dries out slightly between watering sessions.
The most challenging aspect of maintaining a succession planting is managing the fading foliage of the early bloomers. After a tulip or daffodil finishes flowering, its leaves will slowly turn yellow and brown over several weeks. You must leave this foliage intact until it pulls away easily with a gentle tug, as the leaves are actively photosynthesizing to store energy in the bulb for the following year. The advantage of the layering system is that the emerging stems and leaves of the lilies will largely obscure the dying foliage of the spring bulbs. You will need to commit a few minutes each week to snapping off dead flower heads and eventually clearing away the fully dried leaves to keep the bed looking tidy and prevent fungal diseases.
Expect the first year of your layered garden to be a period of establishment, with blooms appearing exactly as planned but perhaps slightly smaller than their maximum potential. By the second year, the bulbs will have developed extensive root systems, resulting in taller lily stems and more robust spring flowers. You should apply a balanced granular fertilizer to the soil surface just as the first spring shoots appear, and again when the lilies begin to form their buds. This regular feeding schedule is necessary because the high density of plants will deplete the soil nutrients much faster than a traditional garden bed. Over time, some bulbs may multiply and crowd the space, meaning you will eventually need to dig up and divide the bed after four or five years.
Your immediate action plan for succession planting
Getting started on a layered bulb garden requires action well before the autumn planting window closes. This week, select the specific location in your yard and measure the square footage so you know exactly how much space you have to fill. Dig a small test hole in that spot to a depth of ten inches, fill it with water, and time how long it takes to drain to confirm the site will not drown your bulbs. Once you verify the drainage, create your bulb list, ensuring you have clear early spring, mid-spring, early summer, and late summer bloomers. Order your bulbs immediately from a reputable supplier so they arrive at the proper time for fall planting in your climate zone.
More About Lily
Lilies as magnificent cut flowers and how to arrange them without staining everything
Oriental lilies for intoxicating fragrance that fills the garden on summer evenings

Companion plants for lilies: what to grow, what to avoid
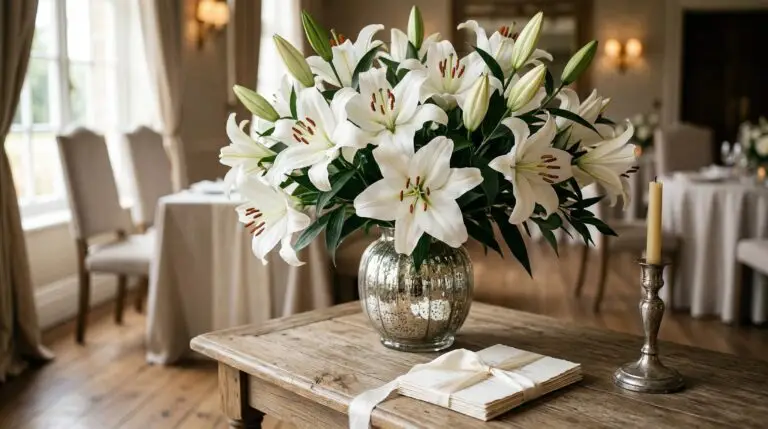
Lilies in wedding flowers and the timeless elegance of white Casablanca arrangements
How to grow true lilies for towering fragrant blooms that crown the summer garden
The red lily beetle invasion and how to protect your lilies from this destructive pest
Best lily varieties from elegant Oriental Stargazer to towering Orienpet tree lilies
Growing lilies in containers for balcony and patio gardens with dramatic height