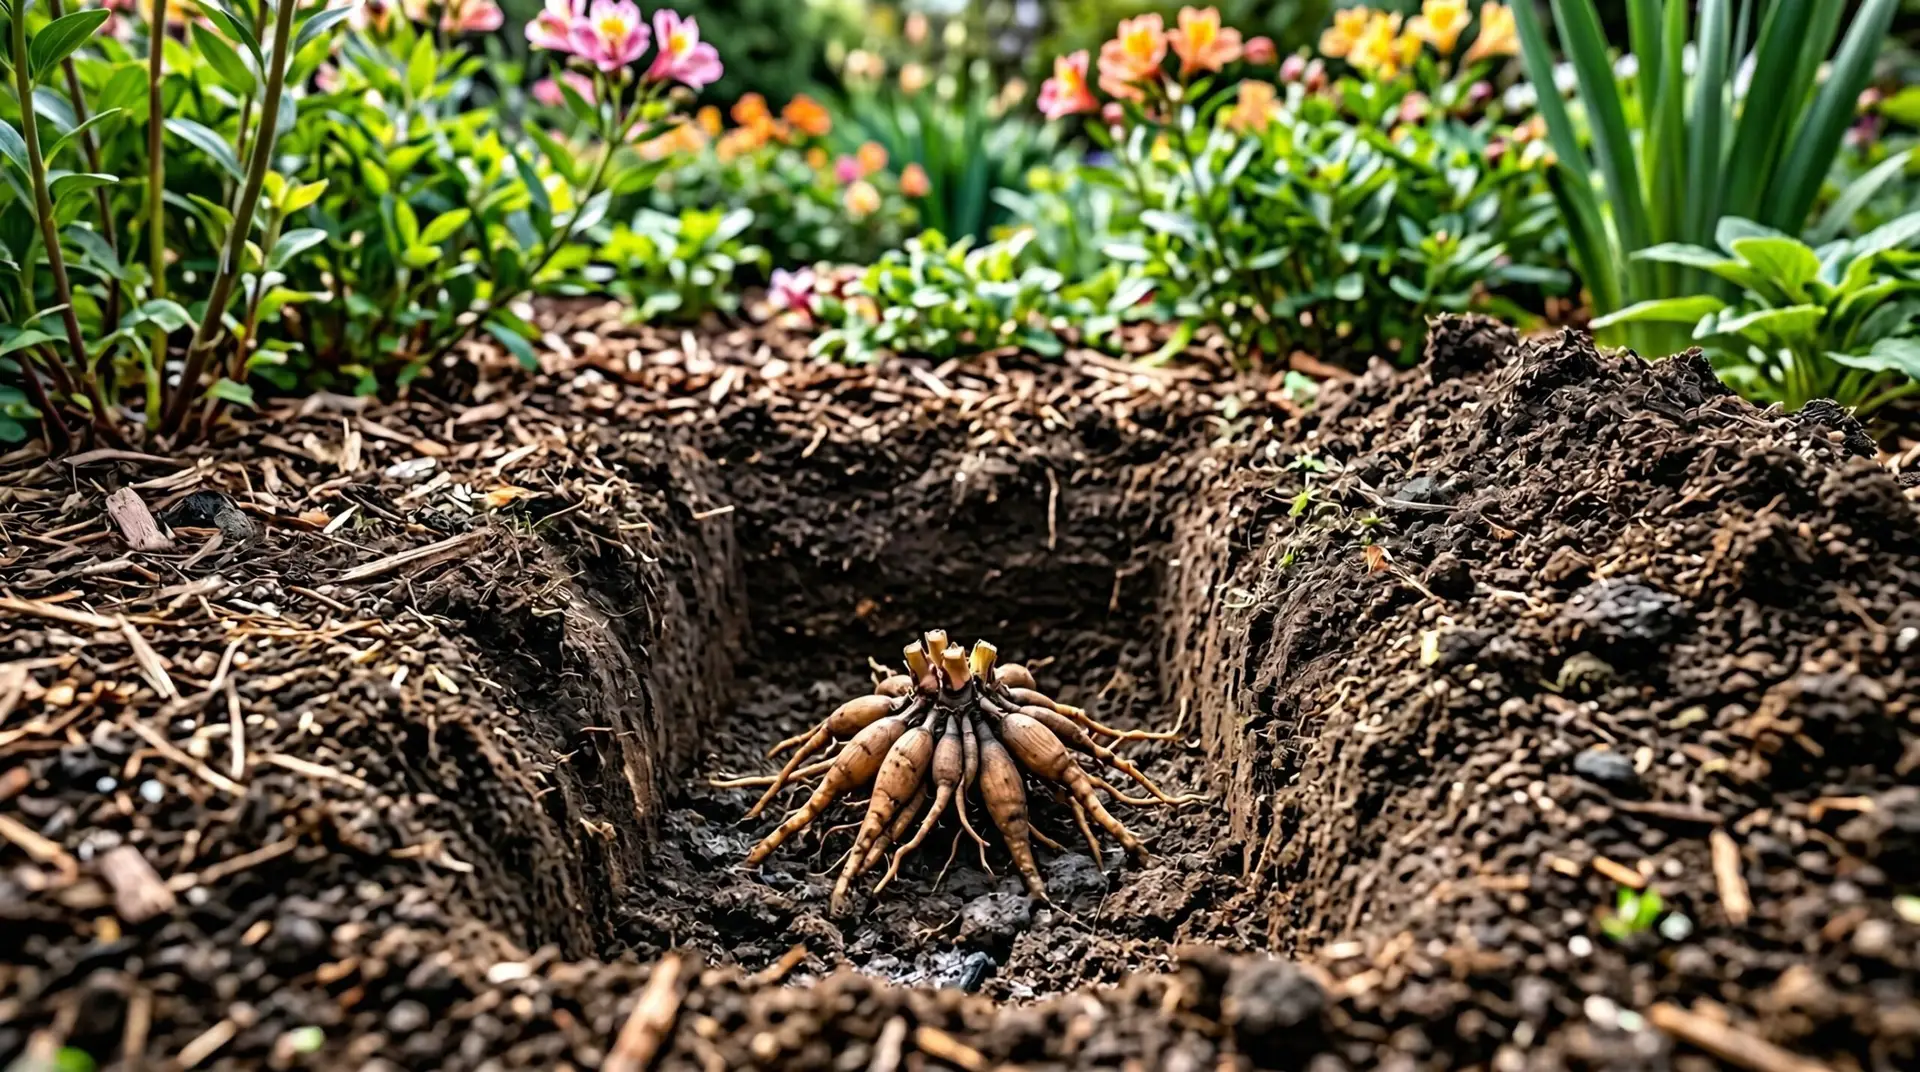
Understanding alstroemeria tubers and their unique needs
Growing alstroemeria from tubers allows you to establish a permanent, spreading patch of flowers that will return year after year. When you order or purchase these plants dormant, they arrive as a cluster of fleshy, brittle roots attached to a central crown. This structure is quite fragile compared to the dense, starchy tubers you might handle when planting a dahlia in the spring. You must handle the alstroemeria root cluster gently to avoid snapping off the thick storage roots, as these hold the energy the plant needs to push up its first shoots. The crown is the most sensitive part of the anatomy, and it must remain intact for the plant to grow. Understanding this delicate structure helps you appreciate why careful handling during the planting phase dictates the future health of the colony.
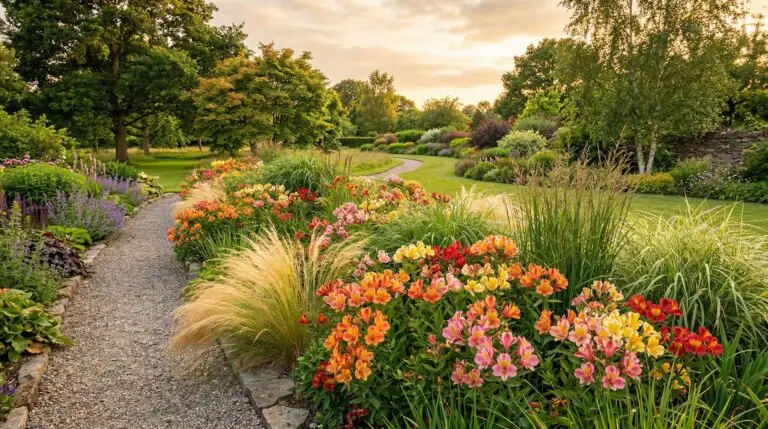
Timing your planting correctly gives the dormant roots the best chance to wake up without rotting in the ground. You should wait to plant until the soil has warmed up and the last frost has passed in your area. If you put the tubers into cold, wet soil early in the spring, the fleshy roots will simply turn to mush before they can initiate any growth. You will need a standard garden trowel or a small spade to dig the holes, along with a bucket of water to settle the soil afterward. Choosing a spot that receives morning sun and some afternoon shade provides the ideal environment, especially in areas with very hot summers. The roots prefer cool soil, so finding a location that balances good light with protection from baking heat will keep the plants producing flowers longer into the season.
Preparing the soil for long-term colony growth
Soil preparation requires your full attention because an alstroemeria colony resents being moved once it establishes itself. These plants require well-drained soil to thrive, meaning water should move quickly through the earth rather than pooling around the roots. You can test your drainage by digging a hole about a foot deep, filling it with water, and watching how long it takes to empty. If the water sits in the hole for several hours, the soil is too heavy and will suffocate the tubers, leading to inevitable rot. To fix poor drainage, you can build a raised bed or mound the soil up several inches above the surrounding grade. Taking the time to evaluate and correct the drainage before the tubers go into the ground saves you from the disappointment of a failed planting later in the summer.
Improving the texture and fertility of the soil gives the young roots a hospitable environment to expand into. You should work a generous amount of aged compost or well-rotted manure into the top ten inches of the planting bed using a garden fork. This organic matter lightens heavy clay soils and helps sandy soils hold onto moisture just long enough for the roots to drink. You only get one opportunity to amend the soil beneath the crown, as the plant will eventually spread outward and make deep digging impossible without causing damage. Mixing a slow-release granular fertilizer into the planting area at this stage also provides a steady supply of nutrients as the soil warms. A thoroughly prepared bed encourages the roots to dive deep, which ultimately protects the colony from drought and temperature extremes.
The planting process and proper spacing
When you are ready to plant, examine the tuber cluster to locate the growing eyes or the small, pale shoots emerging from the crown. You will dig a hole wide enough to accommodate the entire root mass without bending or cramping the brittle pieces. The crown should sit about six to eight inches below the soil surface, which is deeper than you might plant other spring bulbs. This specific depth insulates the sensitive crown from sudden temperature shifts and keeps the root zone cool during the hottest parts of the summer. Hold the tuber cluster by the crown, lower it into the hole, and fan the roots out gently over a small mound of loose soil at the bottom. Backfill the hole carefully, pressing the earth down lightly with your hands rather than stamping it with your feet, to avoid crushing the roots below.
Proper spacing allows the individual plants to spread outward and form a dense, continuous canopy over the next few years. You should space the tubers about eighteen to twenty-four inches apart in the garden bed. While this might look bare initially, the underground rhizomes will actively creep through the soil and fill the gaps by the second season. Planting them too closely creates immediate competition for water and nutrients, which stunts the overall growth of the colony. Once all the tubers are in the ground, give the bed a thorough watering to eliminate any air pockets around the fleshy roots. Similar to the initial care required when planting a ranunculus corm, this first deep watering signals to the dormant plant that it is time to break dormancy and begin pushing shoots toward the surface.
Managing first-year growth and establishing the plants
The waiting period after planting often causes gardeners to worry that the tubers have died underground. Alstroemeria takes its time emerging, sometimes requiring four to six weeks before the first shoots break the soil surface. During this invisible phase, the plant is pouring all its energy into establishing a functional root system to support the tall stems that will follow. You might notice the soil drying out on top, but you should resist the urge to water heavily until you see actual green growth, as overly wet soil during dormancy invites rot. When the shoots finally appear, they look like tightly furled, pale green asparagus spears pushing through the crust of the earth. Once these stems unfold their leaves, the plant will begin photosynthesizing and the growth rate will accelerate rapidly.
Caring for the plants during their first summer involves maintaining consistent moisture without waterlogging the bed. Spreading a two-inch layer of organic mulch around the base of the stems helps regulate the soil temperature and slows down evaporation during hot afternoons. As the first flowers fade, you will need to practice a specific technique for removing the spent stems to encourage continuous blooming. Instead of cutting the stems with shears, you should grasp the stalk firmly near the base and pull it upward with a sharp tug. This pulling action detaches the stem directly from the underground crown, which triggers the plant to generate a brand new shoot in its place. Cutting the stem leaves a hollow stump that can collect water and rot the crown, so mastering the pulling technique is essential for long-term alstroemeria garden care.
Winter care and setting up for future seasons
As autumn approaches and daytime temperatures consistently drop, the plant will naturally slow its production of new flowers. The foliage may begin to yellow and die back, which is a normal response to the changing season and decreasing daylight. In regions that experience freezing temperatures, you must protect the underground colony by applying a thick, six-inch layer of straw or shredded leaves over the entire bed. This heavy winter mulch acts as a blanket, preventing the soil from freezing and thawing repeatedly, which can heave the tubers out of the ground. You should leave the dead stems attached until spring, as they help mark the location of the colony and trap the insulating mulch in place. The roots will rest quietly in the cool earth, storing energy for a massive flush of growth the following year.
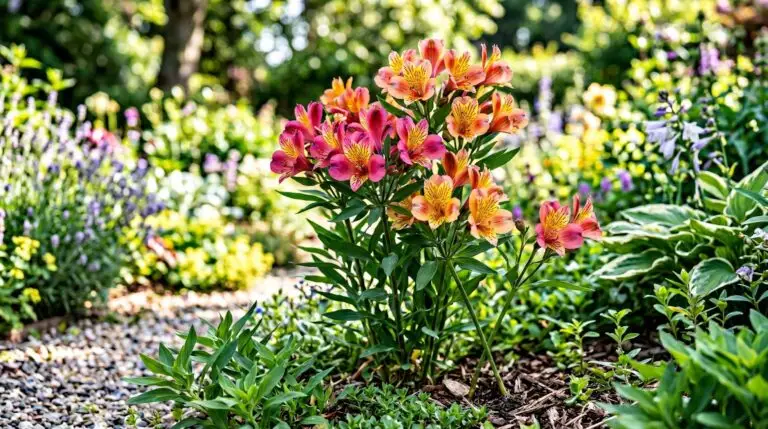
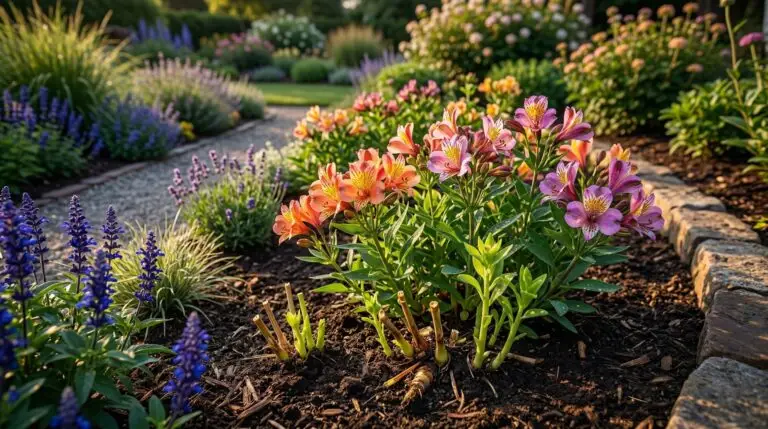
The true reward of growing alstroemeria from tubers reveals itself in the second and third years of the garden. By the following spring, the original crown will have multiplied, sending up dozens of thick, vigorous stems that tower over the previous year’s growth. The colony will expand its footprint, creating a lush, dense patch of foliage that naturally suppresses weeds in the surrounding area. You will find yourself pulling stems for indoor arrangements weekly without ever putting a dent in the outdoor display. The root system will be deep enough to withstand short periods of drought, and the plant will demand very little attention beyond routine watering and occasional fertilizing. A properly planted and established patch becomes a permanent fixture in the garden, offering an endless supply of colorful, long-lasting blooms from early summer right up until the autumn frost.
More About Alstroemeria
Best alstroemeria varieties for cutting gardens that bloom all summer long
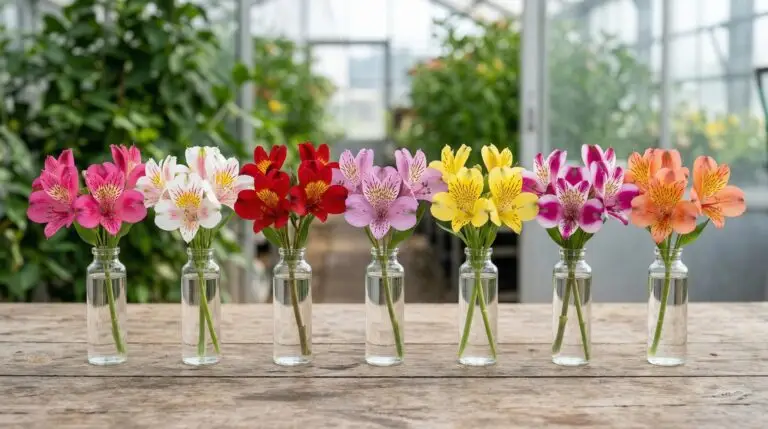
How to make alstroemeria last longer in a vase than almost any other cut flower

Alstroemeria flower meaning and why it is the perfect friendship bouquet
Stunning alstroemeria color combinations for mixed flower arrangements
Alstroemeria wedding flowers and why florists love working with them
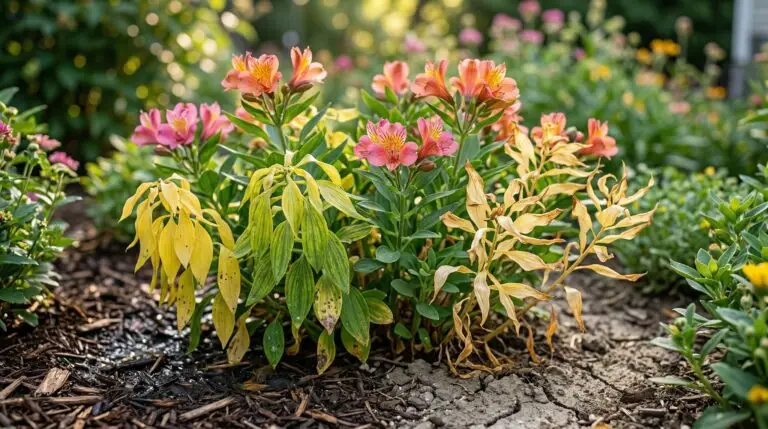
Why alstroemeria leaves turn yellow and how to bring your plant back to health
How to deadhead and pull alstroemeria stems the right way for more flowers

How to grow alstroemeria in containers on a balcony or small patio