By the time you finish reading this guide, you will understand exactly how to multiply your favorite verbena plants year after year, whether they are tall purple wands swaying in the back of the border or trailing varieties spilling out of hanging baskets. Plants have distinct ways of reproducing, and learning to read what a specific plant needs makes the difference between a frustrating failure and a greenhouse full of new growth. We are going to look at the biology behind verbena propagation so you know exactly why certain methods work better than others. Understanding the reasoning behind these techniques gives you the confidence to experiment and succeed in your own garden. Think of this as learning the rules of plant behavior so you can work with nature rather than against it.
Understanding how verbena reproduces
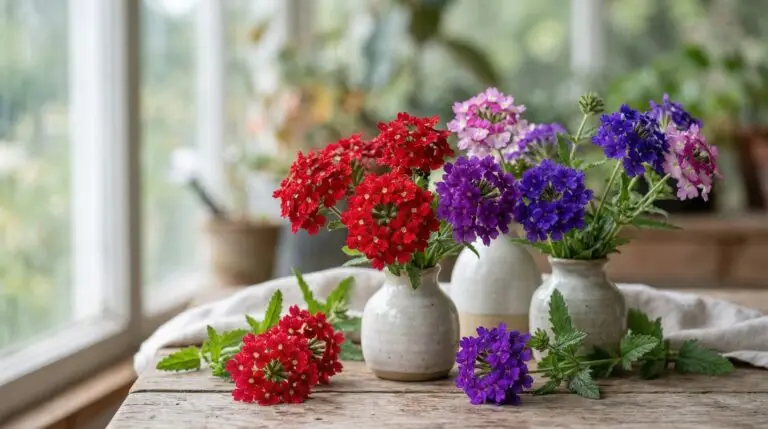
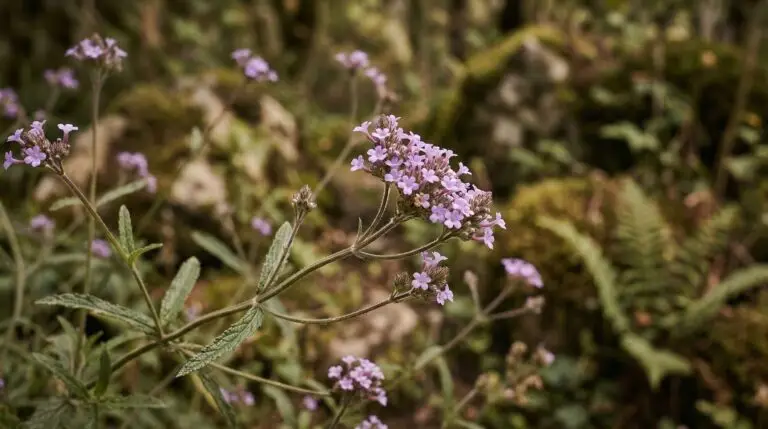
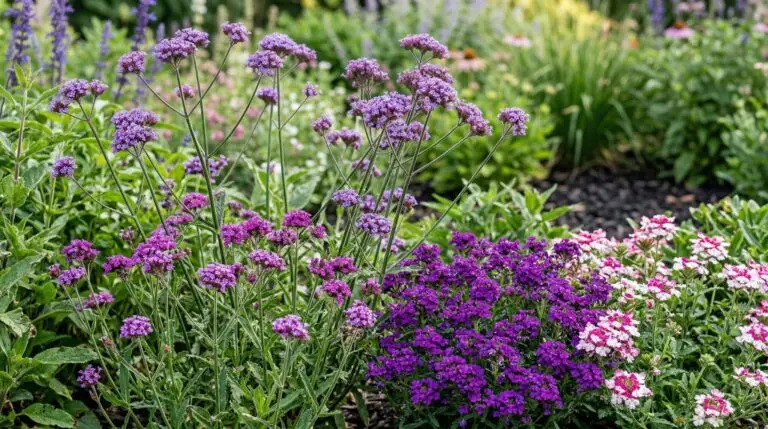
Before you decide whether to collect seeds or take stem snips, you have to look closely at the type of plant you are growing. Verbena falls into two main categories in the garden world, and each requires a completely different approach to propagation. First, there are the true species, like the tall and airy varieties often seen attracting butterflies in late summer. These plants have stable genetics, meaning if you plant a seed from them, the offspring will look exactly like the parent. Second, there are the complex hybrids, which include those trailing, large-flowered varieties you buy in spring containers. Hybrids are created by crossing different varieties, and their seeds contain a mix of genetic information from all their ancestors. If you plant a seed from a hybrid, the resulting plant will likely revert to a wilder form with entirely different flowers, assuming the seed is even viable. Therefore, we use seeds for the true species and rely on physical cuttings to create exact genetic clones of the complex hybrids.
The specific needs of growing verbena from seed
Starting verbena from seed requires a bit of trickery because these seeds have built-in survival mechanisms that prevent them from sprouting at the wrong time of year. In nature, a verbena seed drops to the ground in autumn and gets covered by leaves and soil, where it sits through the freezing winter months. The seed uses this long period of cold and darkness as a biological clock, ensuring it only wakes up when spring arrives. To mimic this process indoors, we have to provide a chilling period known as cold stratification. You can achieve this by pressing the seeds into moist seed-starting mix, covering them completely with a thin layer of soil to block out all light, and placing the tray in a refrigerator for about two weeks. This might seem contradictory to the usual advice of putting seeds in a warm, sunny window, but the cold and darkness are the exact signals the seed needs to break its dormancy.
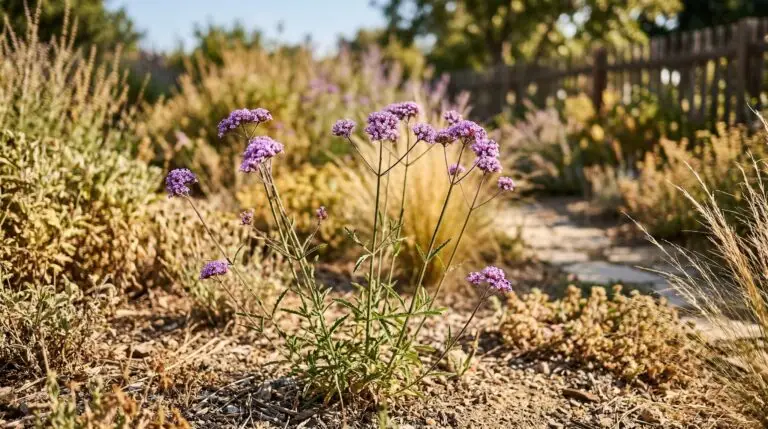
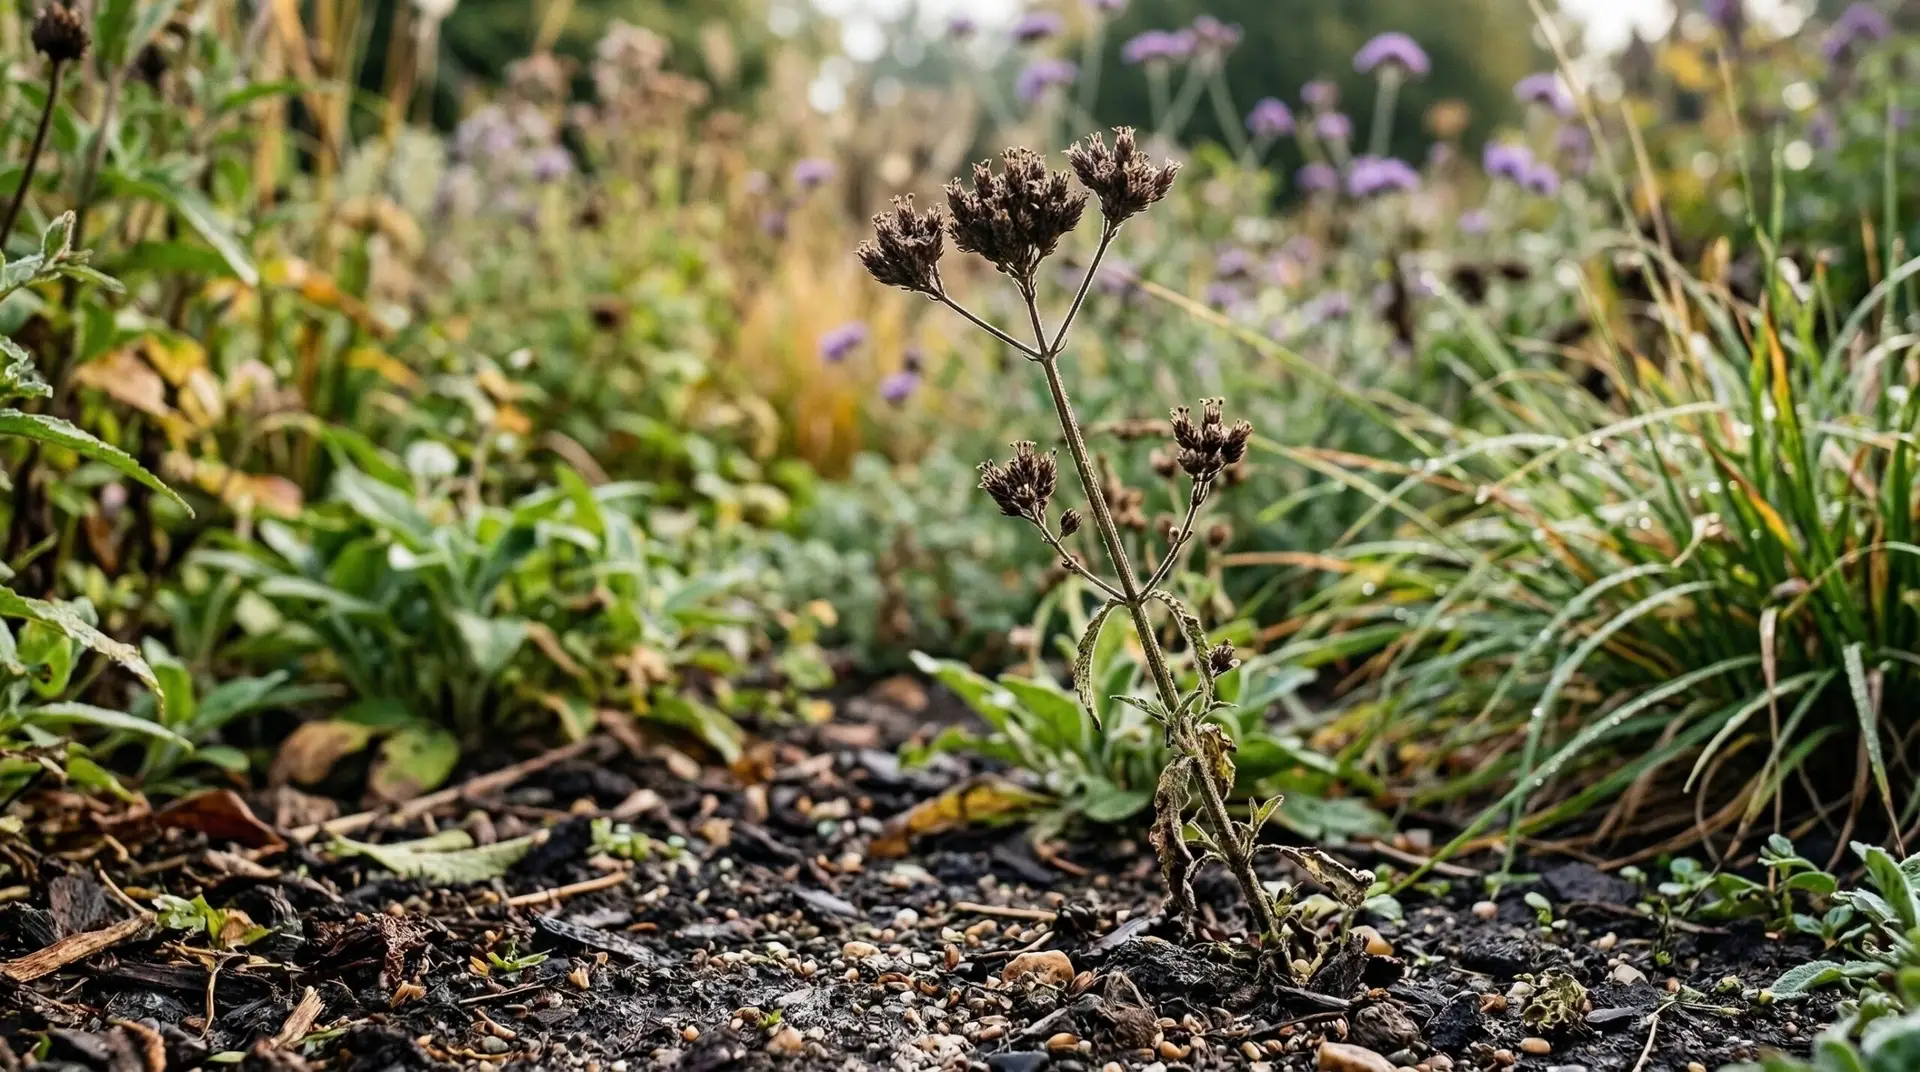
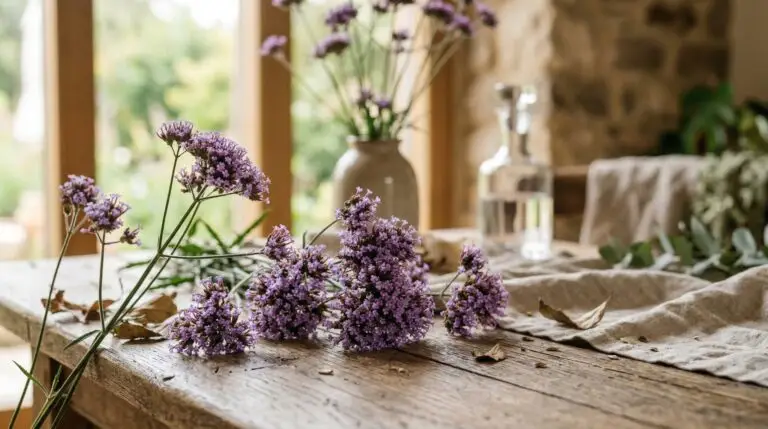
Once the chilling period is over, you move the trays to a warm location, but you must continue to keep them completely dark until you see the first green shoots emerge. You can cover the trays with black plastic or thick cardboard to ensure no light reaches the soil surface. As soon as the seeds sprout, they need immediate access to bright light to grow strong, sturdy stems. If you are growing the tall species known as tall verbena, you might notice that it handles this entire process on its own out in the garden. This particular species is famous for self-sowing generously, dropping seeds that naturally experience the winter cold and dark soil before popping up as volunteers the following spring. Leaving a few flower heads on the plant in autumn saves you the trouble of starting them indoors, as nature handles the stratification process perfectly.
Taking verbena cuttings for exact replicas
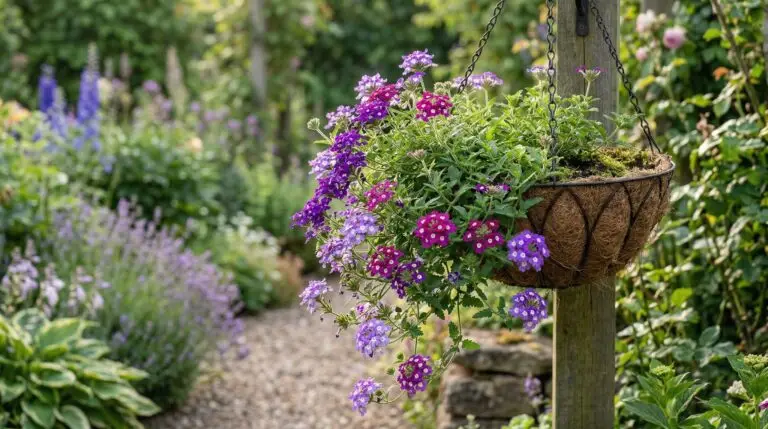
When you want to multiply a specific trailing hybrid, taking verbena cuttings is the only way to guarantee the new plant will have the exact same flower color and growth habit as the original. A cutting is simply a piece of the parent plant that is encouraged to grow its own root system. To do this successfully, you need to find a healthy, non-flowering stem tip that is about three to four inches long. You strip the leaves off the bottom half of the stem, exposing the small bumps where the leaves used to attach, which are called nodes. These nodes contain unspecialized cells that can transform into root tissue when they are buried in moist soil. You must also pinch off any tiny flower buds you see on the cutting, because a cutting is essentially on life support and needs to direct all its energy toward making roots rather than producing blooms.
The environment you provide for your new cuttings is just as important as how you take them. Because the cutting has no roots to pull up water, it loses moisture through its leaves very quickly and can easily wilt and die. You have to create a humid microclimate by placing a clear plastic dome or a plastic bag over the pot, acting like a miniature greenhouse. The soil should be kept lightly moist but never soggy, as too much water will rot the stem before it has a chance to root. This rooting process is very similar to how you might propagate a petunia, as both plants share similar stem structures and respond well to high humidity during their vulnerable rooting phase. It takes a season or two to get a feel for the exact balance of moisture and humidity, and that is completely normal for anyone learning to propagate.
Keeping stock plants alive through winter
If you live in a climate with freezing winters, your outdoor verbena will die back when the frost arrives, taking your favorite hybrid varieties with it. Instead of buying new plants every spring, you can save a mature plant, known as a stock plant, by bringing it indoors before the first freeze. You dig up a healthy plant in early autumn, trim the stems back by about half to reduce stress, and pot it up in fresh potting soil. This plant is not going to look its best during the winter months, and you should not expect it to produce flowers or put on much new growth while it sits inside. The goal is simply survival, keeping the root system alive in a cool, bright room while watering only when the top inch of soil feels completely dry. Think of this period as a long, restful sleep for the plant, allowing it to conserve energy for the coming year.
As the days begin to lengthen in late winter and early spring, your dormant stock plant will slowly wake up and start pushing out fresh green shoots. These new, vigorous stems are the absolute best material for taking your spring cuttings. By keeping one large stock plant alive through the winter, you can harvest dozens of cuttings in March or April, creating enough new plants to fill all your summer containers. This method of overwintering and taking spring cuttings is also highly effective for other tender perennials you might have in your garden, such as lantana, which responds beautifully to the same treatment. The process requires patience, as the stock plant will look quite sad for several months before rewarding you with a flush of fresh propagation material.
Learning to multiply your garden plants transforms you from a consumer of flowers into a true cultivator. The core principle to take away is that successful propagation always begins with understanding the nature of the plant you are working with. True species are perfectly equipped to reproduce through seeds, provided you respect their biological need for a period of cold and absolute darkness to break dormancy. Complex hybrids require the physical cloning process of stem cuttings to preserve their unique traits, relying on your ability to manage humidity while they grow a new root system. Once you grasp these fundamental concepts, you can confidently grow endless supplies of your favorite varieties, working in harmony with the natural rhythms of plant biology.
More About Verbena
Best verbena varieties from trailing Superbena to tall bonariensis purple towers
Verbena flower meaning and the sacred herb that ancient Romans used for altars and oaths
Verbena as a butterfly garden essential that attracts dozens of species all summer
Why verbena gets powdery mildew and how to prevent the white coating on leaves
Growing verbena in hanging baskets and containers for trailing summer cascades
Homestead Purple verbena the tough perennial ground cover that blooms for months
Companion plants for verbena: what to grow and what to avoid