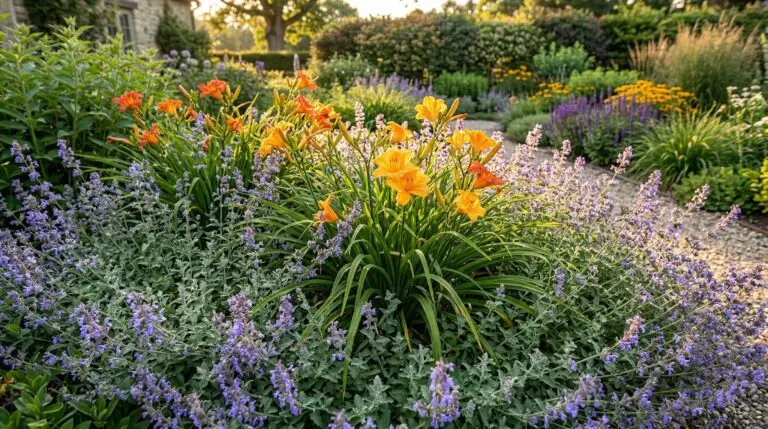
Digging up massive daylily clumps in a traditional garden is backbreaking work, but seeing those same cheerful blooms opening on a tiny apartment balcony feels like cheating the system. Many folks assume these rugged perennials need a sprawling suburban yard to thrive. Growing a daylily in pots is entirely possible and actually solves a few common gardening headaches right out of the gate. Weeds are practically non-existent in a pot, and the soil quality is completely under the gardener’s control. The trick is treating a container daylily a little differently than one planted directly in the ground. A balcony environment brings intense heat, rapid drying, and confined root space, so adjustments are necessary.
A common mistake is treating potted perennials exactly like summer annuals. Annuals are meant to live fast and die young, but daylilies are long-term investments that need room to establish a fleshy root system. These plants store water in thick, tuberous roots that will quickly circle and choke themselves in a tiny decorative planter. A daylily balcony garden requires realistic expectations about space and weight. A cluster of sturdy pots filled with damp soil gets incredibly heavy, so balcony weight limits are a real consideration before setting up a dozen planters. Start with just two or three pots to get a feel for how the plants respond to the specific light and wind conditions of the space.
Choosing the right container and potting soil
Container size dictates everything when growing perennials above ground. A pot that looks enormous in the garden center will seem entirely too small by the end of the second growing season. The absolute minimum size for a single daylily is a container that holds five gallons of soil, though a half-barrel planter works much better. These roots grow deep before they grow wide, so a tall pot is always better than a shallow, bowl-shaped vessel. Drainage is non-negotiable, and drilling a few extra holes in the bottom of plastic or resin pots prevents the roots from sitting in stagnant water. Terra cotta pots breathe beautifully and look classic, but they dry out relentlessly on a sunny balcony and might crack during winter freezes in colder zones.
Regular garden dirt is too dense for containers and will turn into a concrete block after a few weeks of watering. A standard commercial potting mix needs a little help to support a daylily in pots over several years. Mixing in a generous scoop of perlite or coarse sand improves drainage, while a few handfuls of compost give the soil some necessary body and nutrition. The soil level will naturally sink over the first few months as the organic matter breaks down. Leave a good two inches of empty space between the soil surface and the rim of the pot to make watering easier. Top-dressing with a thin layer of shredded bark mulch helps keep the roots cool when the summer sun bakes the side of the container.
Selecting miniature and compact daylily varieties
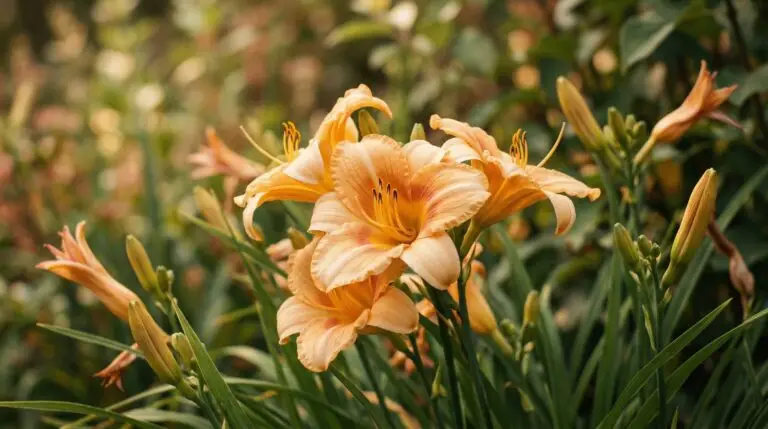
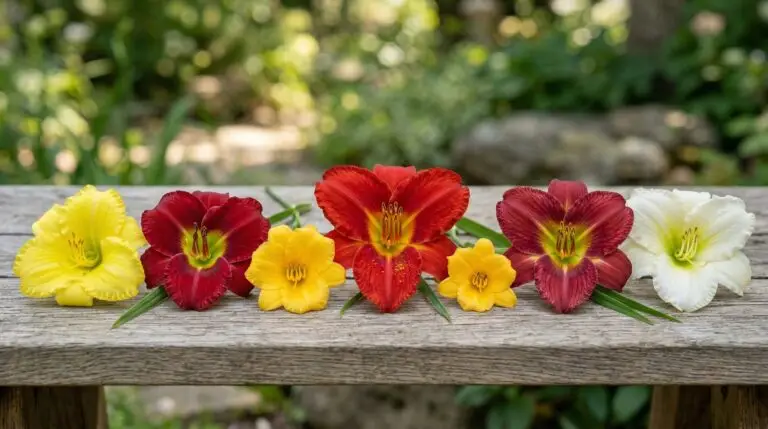
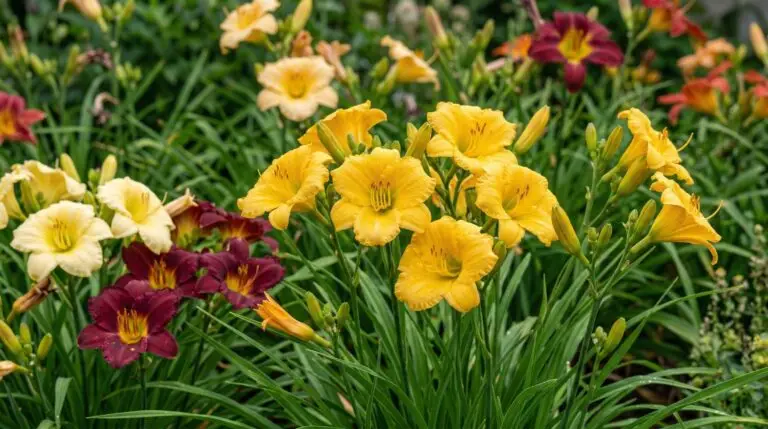
Planting a standard four-foot-tall daylily in a pot usually ends in frustration. Tall varieties act like sails in the wind, and a sudden summer storm will easily tip over a top-heavy container. The better approach is seeking out miniature and compact daylily varieties bred specifically for smaller spaces. Miniatures have blooms under three inches across, while compacts stay under two feet tall, making them perfectly scaled for balcony life. Stella de Oro is the classic yellow workhorse that everyone knows, but the market is full of interesting compact options in deep reds, purples, and peach tones. Similar to growing coreopsis in confined spaces, picking a naturally short plant saves a lot of staking and wind damage later in the season.
Do not be fooled by the size of the plant when it arrives from the nursery in a little plastic sleeve. Bare-root daylilies look completely lifeless and shriveled right out of the mail. Soak those dry roots in a bucket of water for a few hours before planting, and spread them out over a small mound of soil inside the pot. The crown, which is the spot where the roots meet the green leaves, must sit just barely below the soil surface. Planting the crown too deep is a guaranteed way to rot the plant before it ever pushes up a single flower stalk. The foliage will look pathetic and yellow for about two weeks after transplanting, but patience is required while the roots settle into their new home.
Watering and feeding container daylilies
Balcony gardens dry out with shocking speed, especially on higher floors where the wind constantly pulls moisture from the leaves. A daylily in the ground can tap into deep soil moisture, but a container daylily relies entirely on the gardener. During the peak heat of July and August, a potted daylily might need a heavy soaking every single day. The easiest way to check is to stick a finger deep into the soil; if it feels dry an inch down, it is time to water. Water until the excess runs out the bottom drainage holes, which ensures the moisture reaches the deepest roots instead of just wetting the surface. Southern gardeners will likely need to water twice a day during heat waves, while northern gardeners might stretch it to every other day.
Frequent watering washes nutrients right out of the potting soil, leaving the plants hungry mid-season. A slow-release granular fertilizer mixed into the soil in early spring provides a steady baseline of nutrition. Once the flower scapes start forming, a weak dose of liquid fertilizer every two weeks keeps the blooms coming strong. Avoid high-nitrogen lawn fertilizers, which will produce a massive clump of lush green leaves and absolutely zero flowers. Sometimes, despite all the right watering and feeding, the lower leaves will turn brown and crispy. Pulling off these ugly outer leaves cleans up the look of the plant and improves air circulation around the base, which helps prevent fungal issues in humid climates.
Getting potted daylilies through the winter
Winter survival is the biggest hurdle for any perennial grown in a pot. Roots above ground do not have the insulating blanket of the earth to protect them from severe temperature swings. In colder climates, a container daylily experiences winter temperatures that are effectively two hardiness zones colder than the actual local climate. Leaving a ceramic pot out on an exposed balcony in freezing weather usually results in cracked pottery and dead roots. Moving the pots against the interior wall of the building offers some radiant heat and blocks the worst of the winter wind. Wrapping the containers in bubble wrap or burlap provides a cheap, effective layer of insulation that makes a real difference during a hard freeze. Much like overwintering agapanthus in pots, protecting the root ball from repeated freezing and thawing cycles is the main goal.
Gardeners in mild southern zones have an easier time with winter care, but the plants still need a period of dormancy. Cut the dead foliage back to the soil line after the first frost to eliminate hiding spots for slugs and overwintering insects. Winter watering is tricky because dormant roots rot easily in cold, wet soil. The pots only need a light drink once a month during the winter just to keep the soil from turning to dust. When spring arrives and the first green shoots push through the soil, unwrap the pots and move them back into full sun. Every three years or so, the clump will outgrow its container and require dividing, which is simply a matter of pulling the root ball apart and potting up the fresh new pieces.
More About Daylily
Daylily flower meaning and why each bloom lasts only one beautiful day
Daylilies versus true lilies and understanding the differences that matter for your garden
Best reblooming daylily varieties that flower from June through September
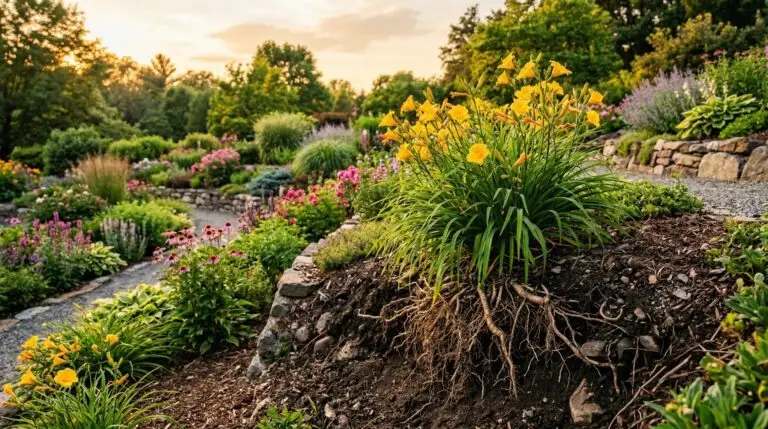
How to divide overgrown daylily clumps for healthier plants and more blooms
Collecting daylilies and the world of hybridizing with over 90000 named varieties
Using daylilies for erosion control on slopes and banks where nothing else grows
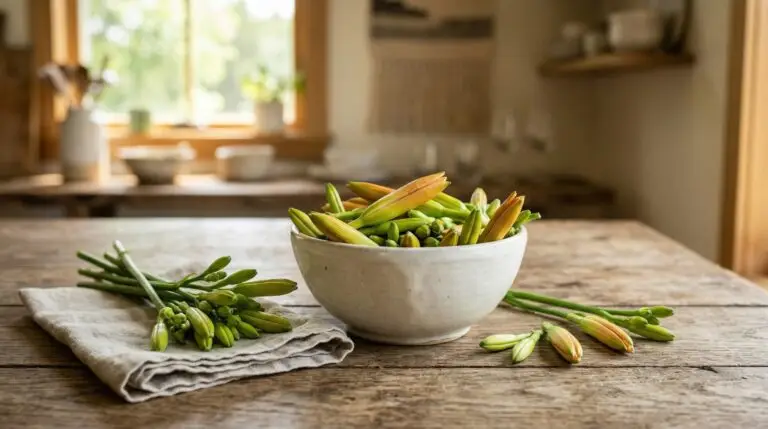
Edible daylilies from garden to plate and how to cook with hemerocallis flowers
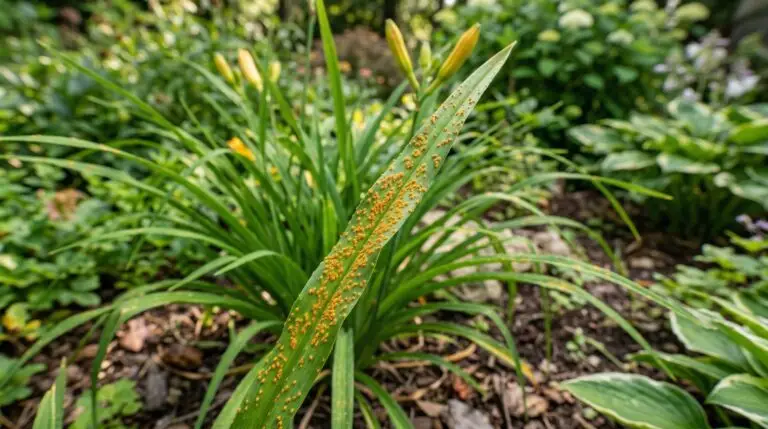
Daylily rust and other common problems and how to keep your plants healthy