Before you buy a single plant for a lavender hedge, you need to understand the structural demands of this specific project. A continuous row of identical plants leaves no room to hide mistakes, meaning your site preparation and variety selection must be exact. Many gardeners fall into the trap of buying whatever lavender is on sale at the local nursery, resulting in an uneven, patchy line that looks nothing like the intended design. Creating a uniform border requires calculating your exact plant count, preparing the soil for extreme drainage, and committing to a strict annual pruning schedule. You have to treat this project as a piece of living architecture rather than a casual flower bed. The initial planning phase will dictate whether your hedge stays dense and fragrant for a decade or becomes woody and sparse within three years.
Assessing your site and selecting uniform varieties
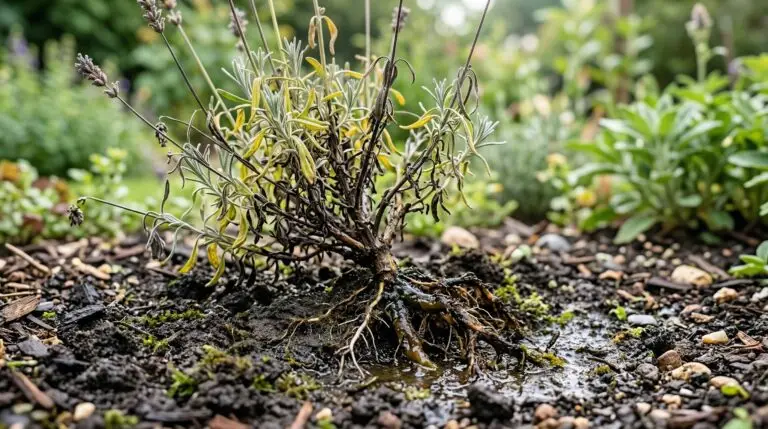
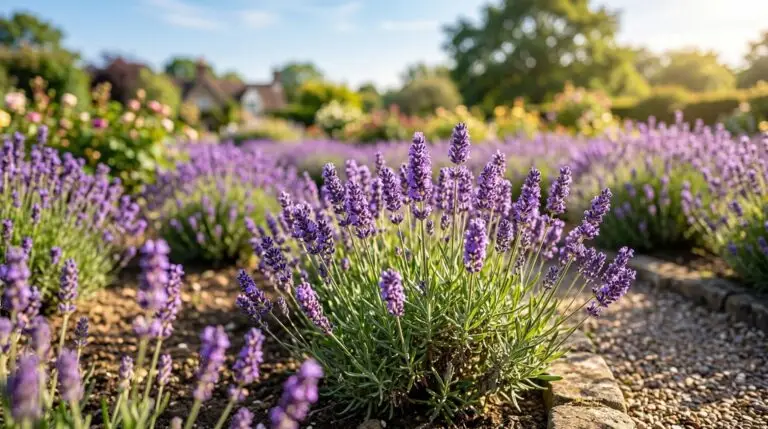
Start by evaluating the physical environment along your intended garden path. Lavender requires at least eight hours of direct, unobstructed sunlight every single day to maintain the tight, compact growth habit necessary for a hedge. You also need to test your soil drainage, as standing water or heavy clay will rot the roots before the plants ever establish. Dig a hole twelve inches deep, fill it with water, and time how long it takes to drain completely. If the water sits for more than an hour, you will need to build raised mounds along your path or choose a more forgiving plant like catmint for your border. The soil should be lean and alkaline, so skip the rich compost and heavy fertilizers that you might normally use for other garden projects.
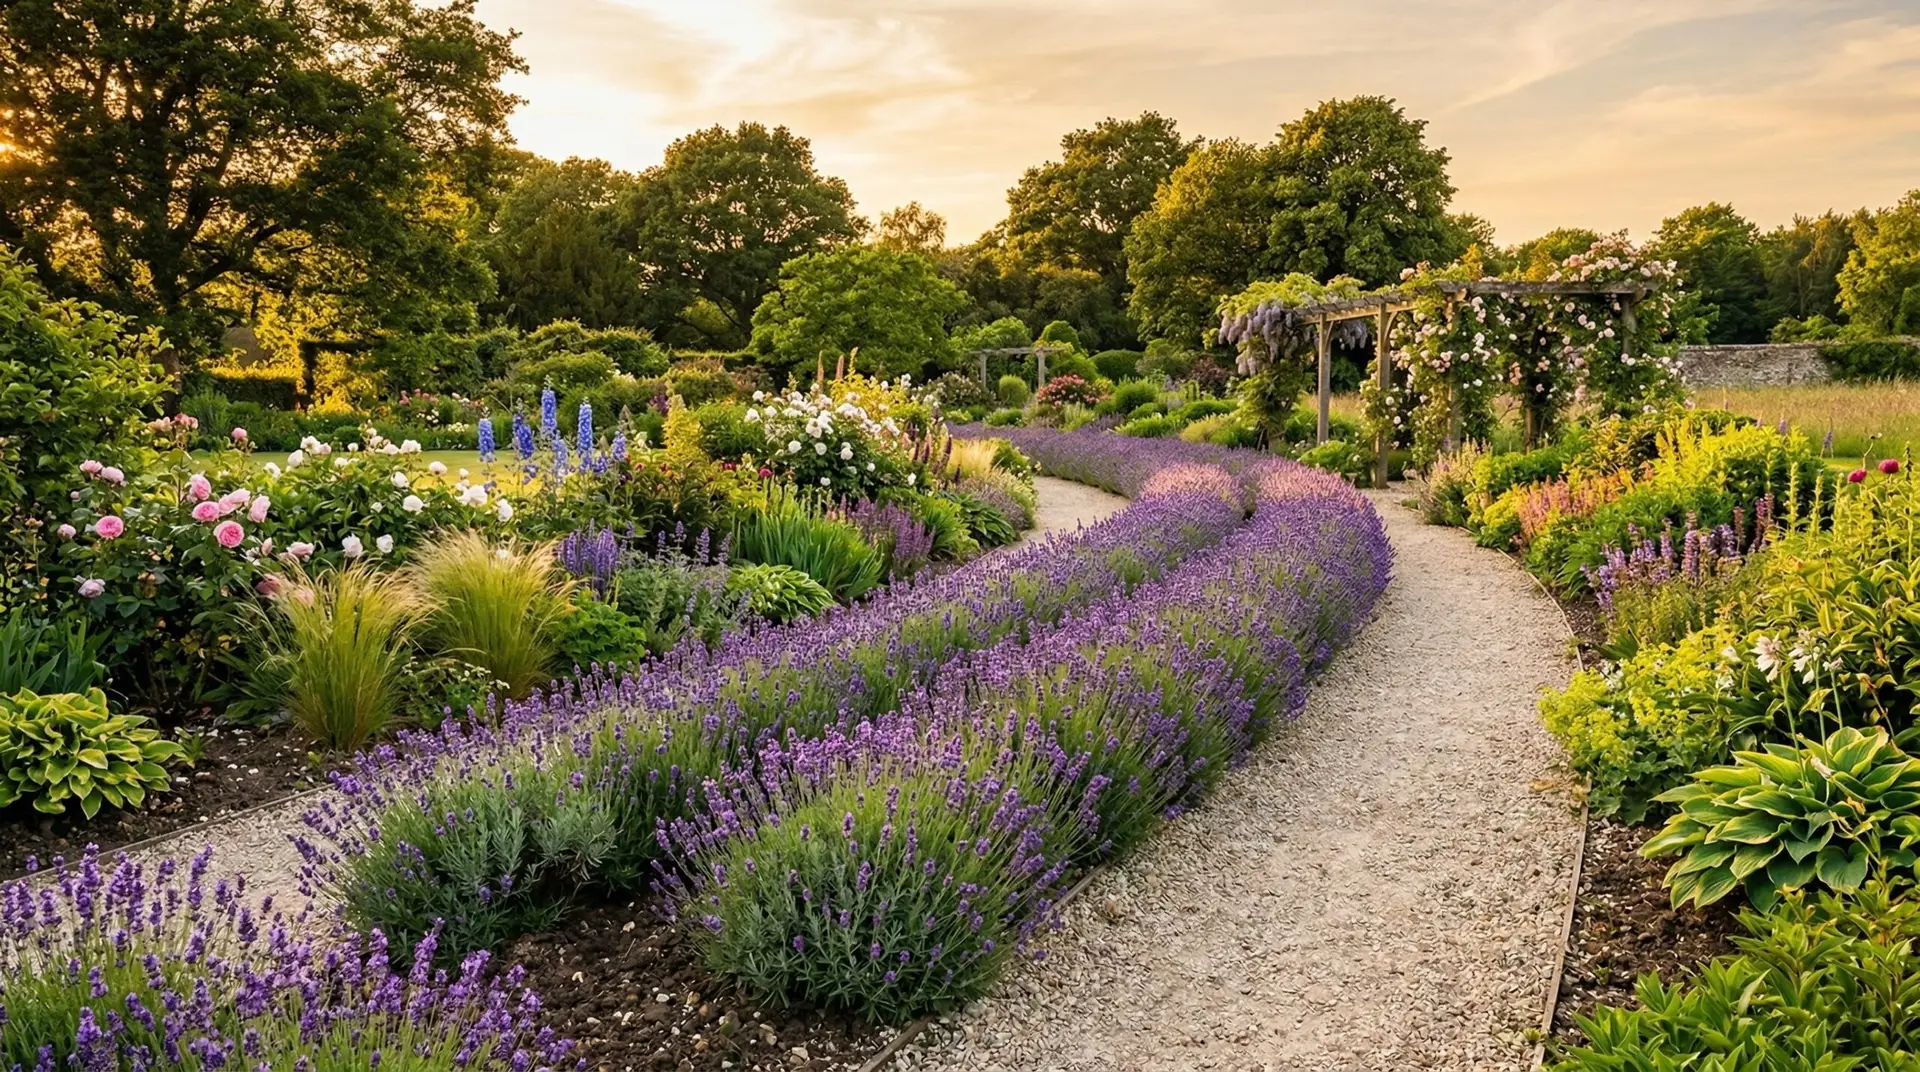
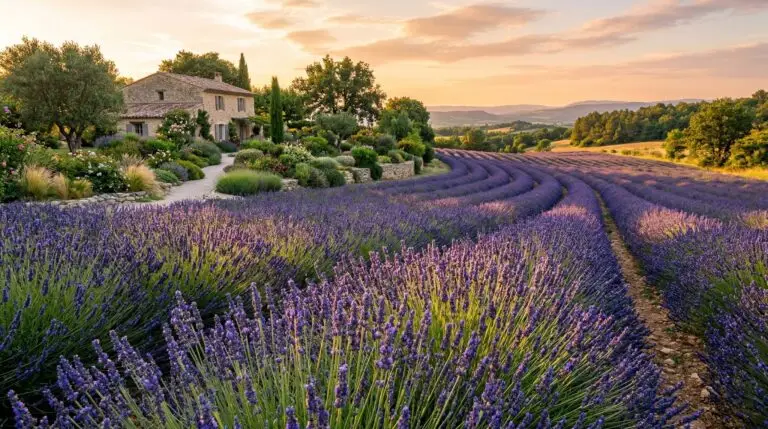
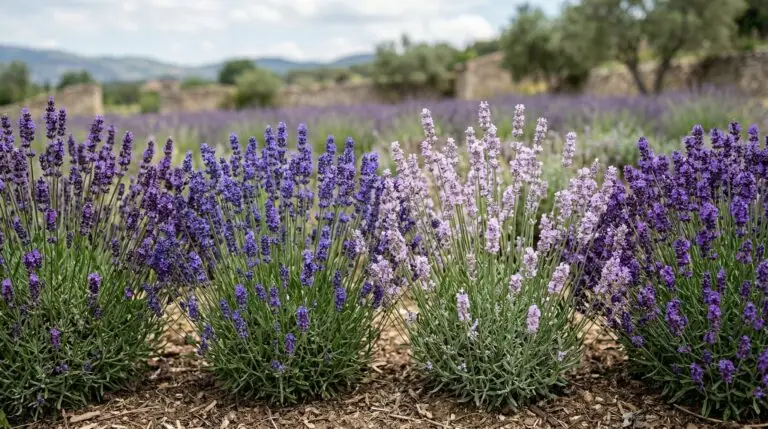
A successful Provence-inspired design relies entirely on uniformity, which means you must select one specific cultivar and use it for the entire length of the path. Mixing English and French types, or even different varieties of the same species, will result in uneven bloom times, different heights, and a messy appearance. For a classic lavender border, English varieties like ‘Hidcote’ or ‘Munstead’ offer excellent cold hardiness and a compact, rounded shape that responds well to shearing. If you live in a warmer climate with high humidity, a lavandin hybrid like ‘Phenomenal’ or ‘Provence’ will tolerate the summer heat much better. You might also consider the color and height of surrounding plants, verifying your hedge harmonizes with background plantings like Russian sage or tall ornamental grasses. Secure your plants from a single grower at the same time so they are all the exact same age and genetic clone.
Calculating spacing and preparing the path edge
Calculating your plant spacing determines both the success of the hedge and your total project budget. To create a continuous, interlocking line of foliage, you need to space the plants closer than you would in a mixed border, typically eighteen to twenty-four inches apart measured from the center of each root ball. Measure the total length of your lavender path in inches and divide by your chosen spacing to find the exact number of plants required. Buying this many plants at once can be expensive, so you may need to source flats of smaller starter plugs rather than buying mature gallon-sized pots. Smaller plants actually adapt better to native soil and will catch up to the larger sizes by their second growing season. Order your plants in late winter to confirm the nursery has enough inventory of your specific chosen variety.
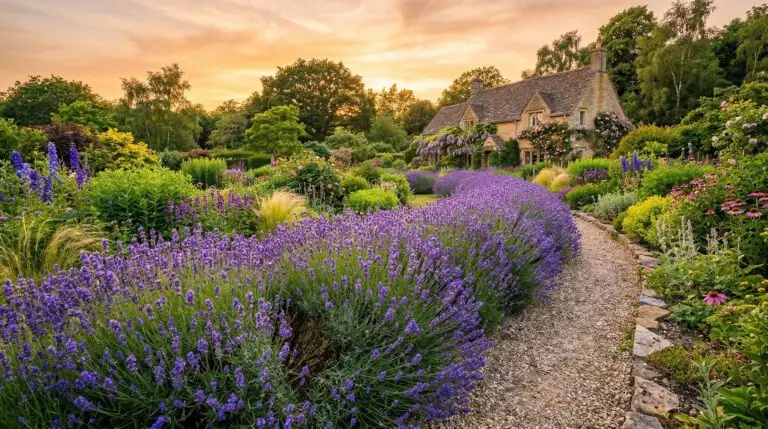
Preparation of the planting trench is the most labor-intensive part of the process, but it is non-negotiable for long-term survival. Dig a continuous trench along the edge of your walkway, making it roughly twice as wide as your expected root balls. If your soil is heavy, incorporate coarse builder’s sand or small gravel into the native dirt to increase the drainage capacity. You should also build the planting area up slightly higher than the surrounding grade, creating a subtle mound that allows excess rain to shed away from the crowns of the plants. Keep the center of the planting line at least twelve inches back from the edge of the hardscape so the mature plants do not completely swallow the walkway. This setback distance is especially relevant if you plan to plant a traditional rose garden behind the hedge, as you need physical space to navigate between the different zones.
Planting timelines and establishment phase
The best time to install your hedge is in early spring, right after the last frost has passed but before the summer heat arrives. This timing gives the roots several months to establish in the cool soil before the plants are stressed by high temperatures and dry conditions. During the first year, your primary focus is root establishment rather than flower production, and you should clip off the first flush of flower buds to direct the plant’s energy downward. You will need to water the new transplants deeply once a week during their first summer, allowing the soil to dry out completely between watering sessions. Do not rely on automated irrigation systems unless you can program a specific zone just for the lavender, as standard lawn sprinklers will keep the foliage too wet and invite fungal diseases. Expect the first year to look somewhat sparse, with the plants finally touching and forming a solid line by the middle of year two.
The annual shearing technique for a tight hedge
The ongoing maintenance commitment for a lavender hedge is highly specific and requires strict adherence to an annual pruning schedule. Without regular shearing, the plants will quickly develop thick, woody centers that split open under their own weight, ruining the clean lines of your path. You must shear the entire hedge back by one-third of its total volume every year in late summer, immediately after the main flush of flowers begins to fade. Use sharp hedge clippers to create a uniform, rounded profile along the entire length of the border, cutting into the green leafy growth but never cutting down into the old, leafless wood. Lavender cannot generate new growth from dead wood, so cutting too deep will leave permanent bare patches in your design.
In colder climates, you should leave this newly pruned shape intact through the winter, as the remaining foliage provides some protection for the crown against freezing winds. In early spring, you can do a minor cleanup clip to remove any winter damage and refine the shape before the new growth begins. Even with perfect maintenance, a lavender hedge has a natural lifespan of roughly eight to ten years before the woody bases become too pronounced and the plants need replacing. Plan to replace the entire hedge at once when this time comes, as patching in new young plants among older ones never yields a uniform look.
To get started on this project this week, grab a tape measure and a notebook and head out to your garden path. Measure the exact length of the space you want to line, and track the sunlight in that specific spot from morning until evening to verify it receives the required eight hours. Dig a small test hole to check your soil drainage, and write down your results. Once you confirm the site conditions are appropriate, calculate your plant count based on twenty-inch spacing and start calling local growers to secure a uniform batch of a single cultivar. Taking these physical measurements now will prevent costly mistakes and set the foundation for a healthy, structured border.
More About Lavender
Lavender flower meaning and why this herb has calmed humanity for thousands of years
Harvesting and drying lavender at the perfect moment for the strongest fragrance
How to grow lavender for fragrant purple spikes and the Mediterranean garden of your dreams
Best lavender varieties from English Hidcote to French Provence and Spanish butterfly types
Pruning lavender at the right time to prevent woody bare stems and keep plants compact
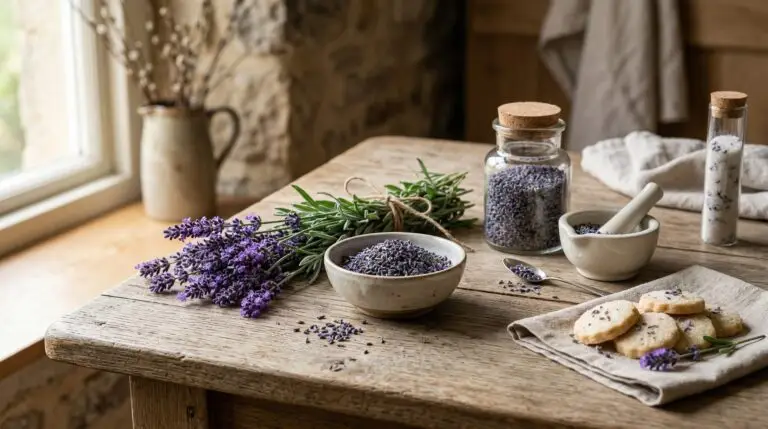
Cooking with lavender from herb-crusted lamb to lavender lemonade and shortbread
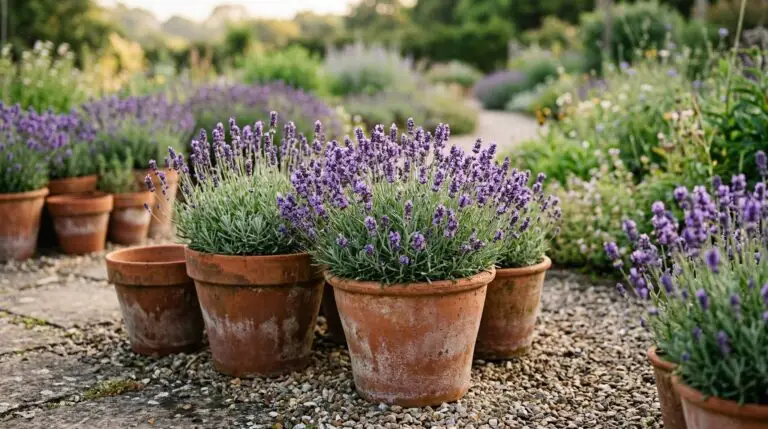
Growing lavender in containers for fragrant patio and balcony gardens

Lavender sachets potpourri and dried flower crafts using your garden harvest