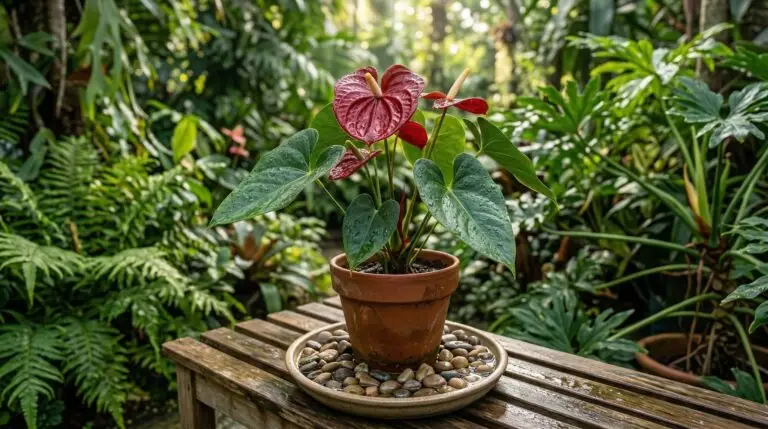
By the time you finish reading, you will understand exactly how to read your plant’s signals and provide a root environment that mimics its natural tropical habitat. Many people look at a potted plant and assume the soil is just a physical anchor to keep the stems standing upright. In reality, the soil is a complex breathing system that supplies both moisture and oxygen to the root zone. Anthuriums are unique because they naturally grow on the sides of trees in tropical forests rather than burying their roots deep in the ground. This means their roots are accustomed to being bathed in humid air rather than packed tightly into dense dirt. When we bring them into our homes, we have to recreate that airy environment in a container. Over time, organic matter breaks down and roots multiply, which gradually chokes off those vital air pockets.
Understanding this wild background changes how we approach the entire process of repotting anthurium plants. We are not just giving the plant a larger container because the leaves got bigger. We are actively restoring the balance of air and moisture that the root system requires to survive. If you have ever tried to grow a houseplant in your indoor garden and watched it slowly decline despite your best watering efforts, compacted soil was likely the culprit. The goal of moving your plant to a new container is to refresh that structural environment before the roots begin to suffocate. This might seem intimidating if you have never inspected a root system before, but learning to read these underground signals is a skill that develops naturally over time.
Reading the signs that your plant needs more space
The most common question beginners ask is how to know when an anthurium actually needs a new container. You might notice that when you water your plant, the liquid runs immediately out of the drainage holes without seeming to soak into the soil. This happens because the root system has grown so dense that it has literally consumed or pushed out the organic material that used to act like a sponge. When there is no soil left to hold the moisture, the water simply bypasses the roots entirely. You might also see thick roots pushing their way out of the bottom drainage holes or circling the top of the soil line. Sometimes, a severely rootbound plant will even begin to lift itself up and out of its own container as the roots coil tightly against the bottom plastic.
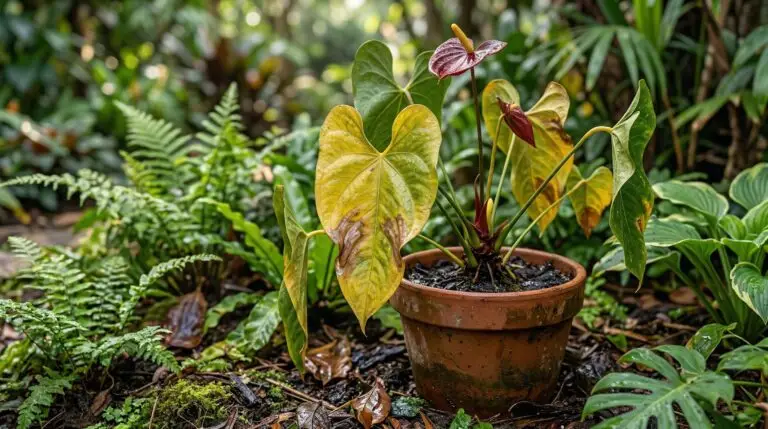
You should also watch for changes in the upper growth of the plant that indicate distress below the surface. If your plant requires water much more frequently than it did last season, the root-to-soil ratio has likely become unbalanced. The leaves might start to look slightly dull or turn pale yellow, not because of a nutrient deficiency, but because the compressed roots can no longer absorb the nutrients you provide. This takes a season or two to get a feel for, and that is completely normal. The best time to check is during the active growing season in spring or early summer, when the plant has plenty of energy to recover from any disruption. Simply slide the plant gently out of its container to look at the root mass, which will tell you everything you need to know.
Choosing the right anthurium pot size and soil mix
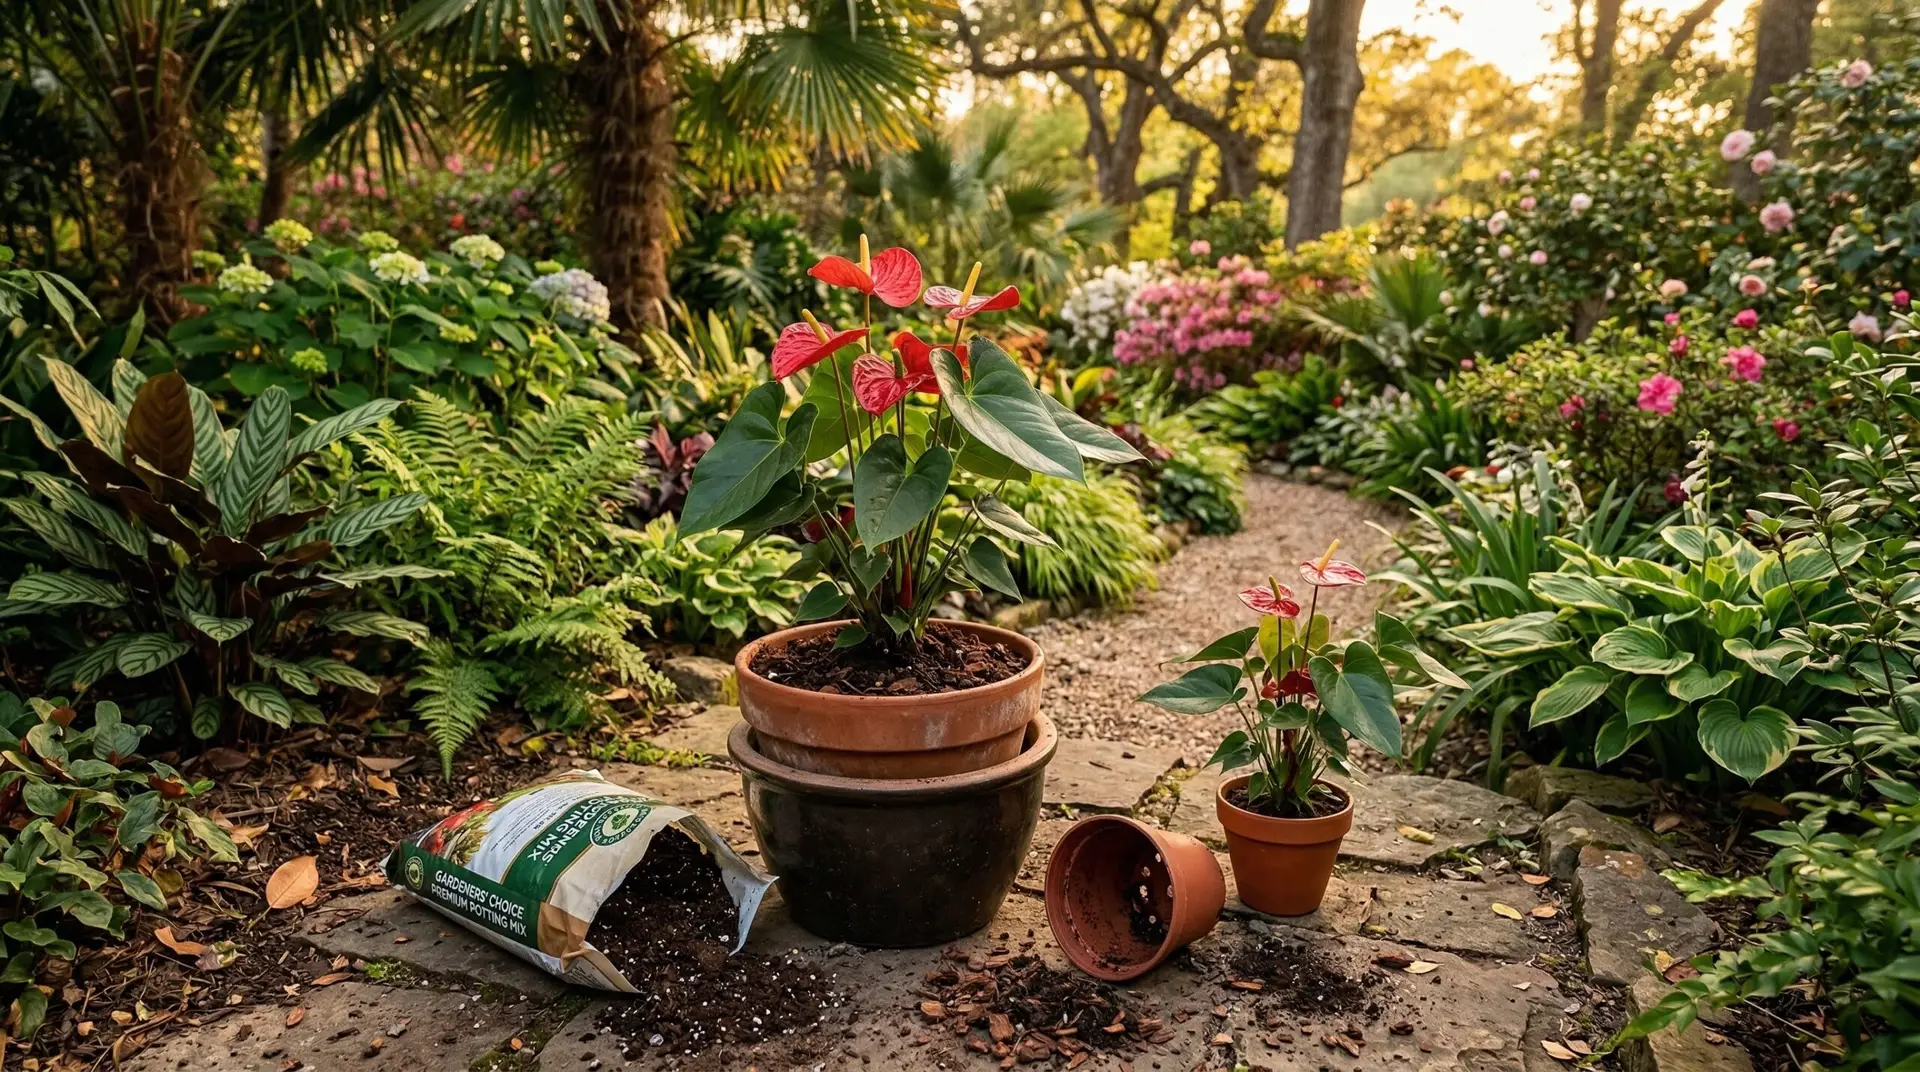
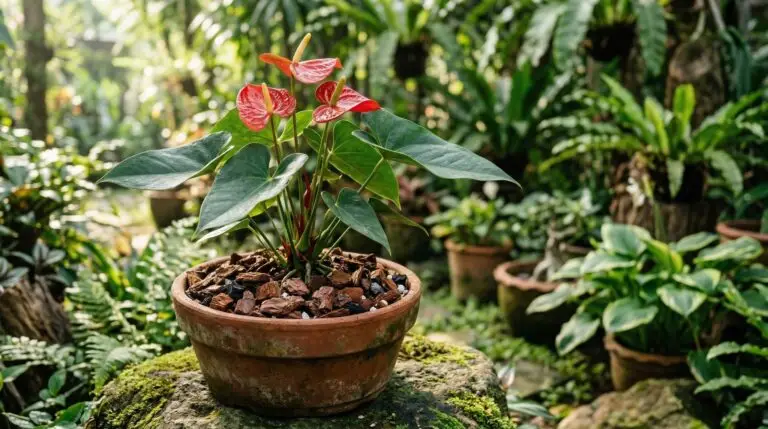
When you confirm that your plant is ready for a change, selecting the proper anthurium pot size is your next major decision. A common mistake is moving a plant into a much larger container with the thought that it will give the roots plenty of room to grow for years. Think of a pot that is too large like wearing a heavy winter coat in the rain, where the excess fabric absorbs and holds far more water than you can handle. That extra volume of soil will stay wet for much longer than the plant can drink it up, which quickly leads to root rot. You should only ever increase the container size by one or two inches in diameter. This provides just enough fresh material to support new growth while ensuring the soil dries out at a safe, predictable rate.
The material you put inside that new pot matters just as much as the size of the container itself. Because these plants naturally cling to tree bark, they despise sitting in heavy, dense potting soil that holds water like a muddy puddle. You need to create a chunky, porous mix that allows water to flow through rapidly while leaving tiny pockets of humid air behind. Blending standard potting soil with generous amounts of orchid bark and perlite creates the perfect texture for these tropical epiphytes. If you have ever cared for a moth orchid, you will recognize this coarse, bark-heavy texture that keeps the roots ventilated. The roots should be able to weave through the gaps in the bark, anchoring the plant while still having access to the oxygen they crave.
Managing roots during the transition
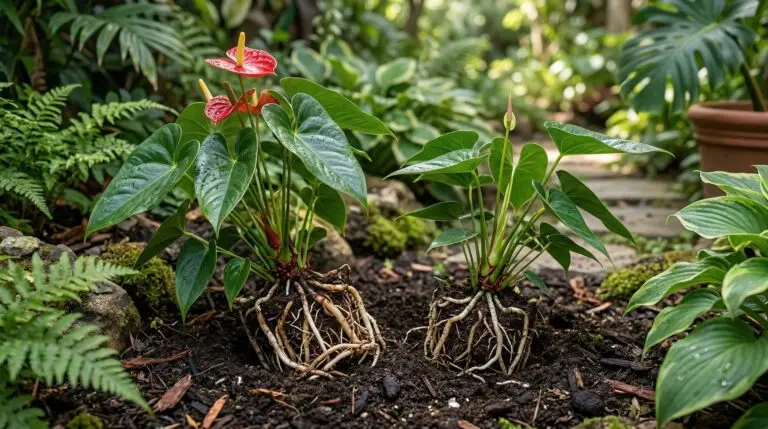
The actual process of an anthurium repot requires a gentle touch and a careful eye for root health. When you pull the plant from its old home, you will likely see a tight network of thick, fleshy roots that resemble thick noodles. Take your time to gently loosen the outer layer of this root ball with your fingers, freeing the roots from their circular pattern. You do not need to remove every speck of the old soil, but you should let any loose, degraded material fall away. If you spot any roots that are mushy, flat, or smell like a swamp, snip them off with sterilized scissors to prevent the spread of decay. Healthy roots will feel firm to the touch, even if they are stained brown from the old potting mix.
During this inspection, you will almost certainly notice thick roots growing from the stem above the soil line. These are called aerial roots, and they often cause confusion for beginners who are unsure if they should bury them or cut them off. In the wild, the plant uses these aerial roots to grab onto tree trunks and absorb moisture directly from the humid jungle air. This might seem contradictory to everything you know about roots living underground, but the reason is simply that the plant is looking for physical stability. When moving the plant to its new container, you can gently guide the lower aerial roots down into the fresh soil mix. Leave the higher ones alone to absorb humidity from the air, just as they would in their natural environment.
Helping your plant settle into its new home
Once your plant is situated in its fresh soil and appropriately sized container, the immediate aftercare determines how quickly it will resume growing. Give the soil a thorough watering immediately after potting to settle the chunky bark mix around the roots and eliminate any massive air voids. After this initial soaking, you need to exercise patience and hold back on the watering can for a while. The roots have just experienced a significant disruption, and microscopic root hairs that absorb water have likely been damaged. The plant will temporarily consume less water than usual while it focuses its energy on repairing its root system. Similar to how a begonia needs careful moisture management after a disturbance, your plant needs time to reestablish its drinking habits.
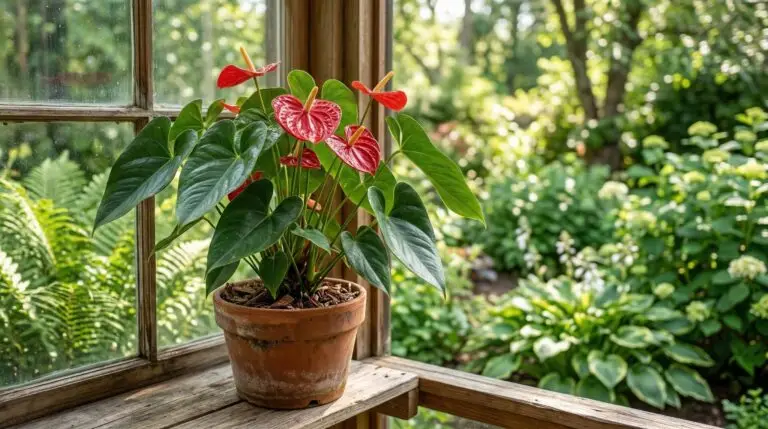
Do not be alarmed if the plant looks a bit tired or drops an older leaf in the weeks following the transition. This temporary pause in growth is the plant intelligently reallocating its resources downward to establish a strong foundation in the new soil. Keep the container in a warm spot with bright, indirect light, but protect it from any harsh, direct sun that would cause unnecessary stress. Avoid adding any fertilizer for at least a month, as the fresh soil contains enough nutrients and fertilizer salts could burn the sensitive, healing roots. Once you see a new leaf begin to unfurl from the center of the plant, you will know the root system has successfully adapted to its new environment. The core principle to remember is that repotting is not a mechanical chore to check off a list, but a way to periodically restore the airy, breathable foundation that allows your plant to thrive.
More About Anthurium
Anthurium versus peace lily and which tropical houseplant suits your home better
Anthurium flower meaning and why it is the perfect gift for lasting love
Best soil mix for anthurium plants that prevents root rot and promotes growth
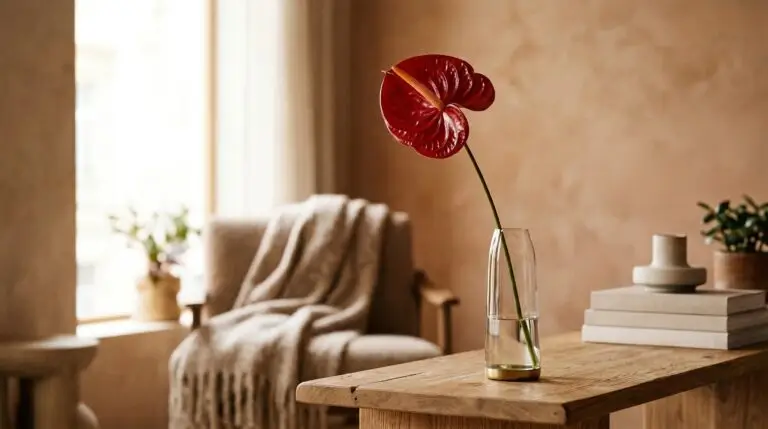
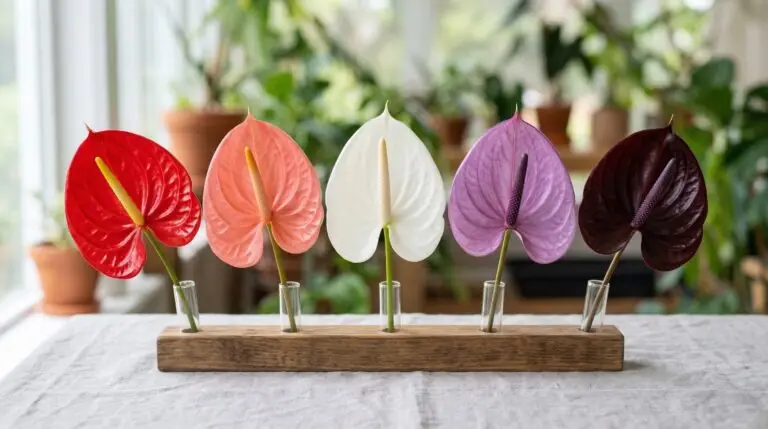
Using anthurium flowers in modern minimalist home decor and arrangements
How to care for anthurium houseplants so they bloom all year long
Why your anthurium leaves are turning yellow and brown and what to do about it
How to propagate anthurium by division and stem cuttings for more plants