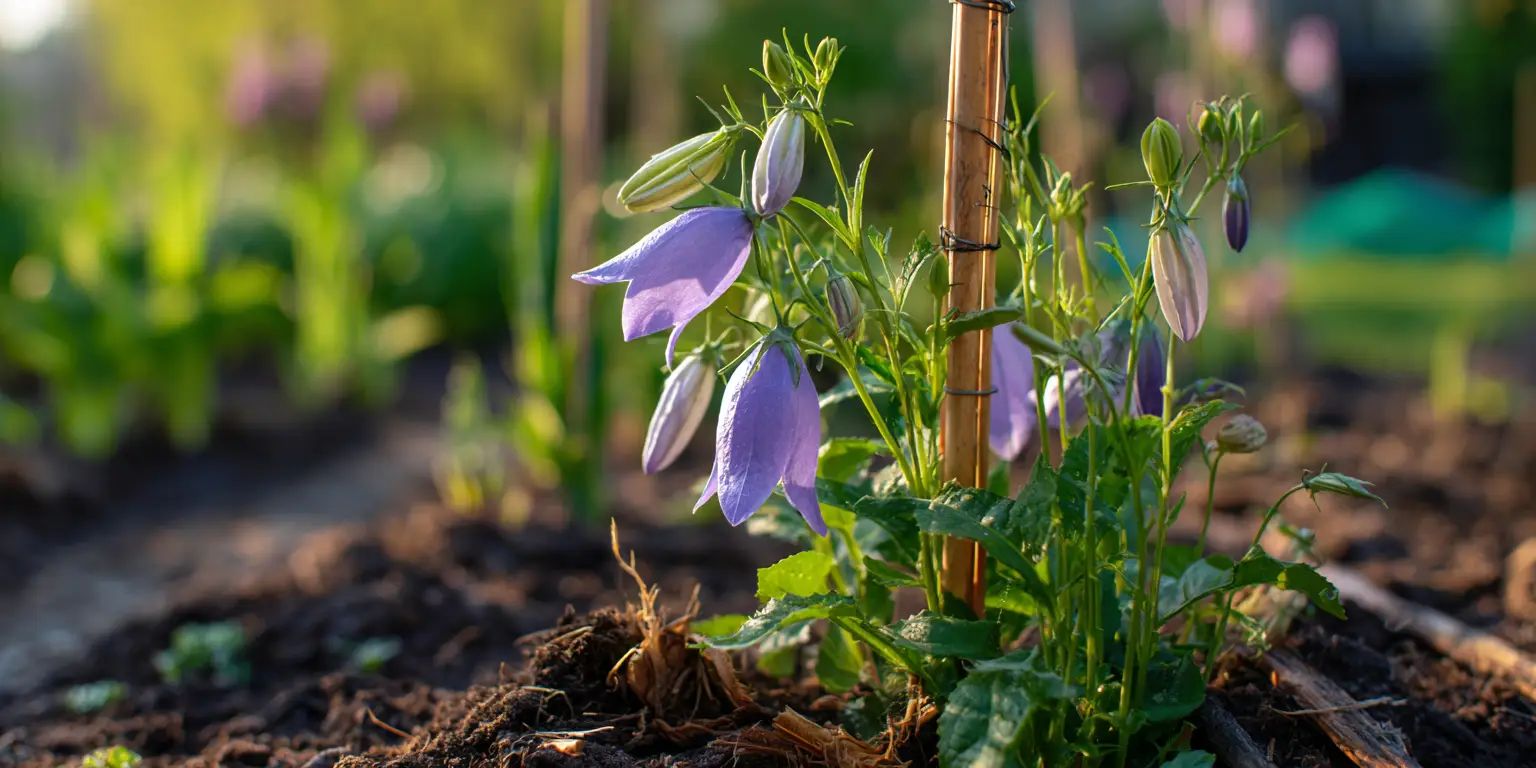
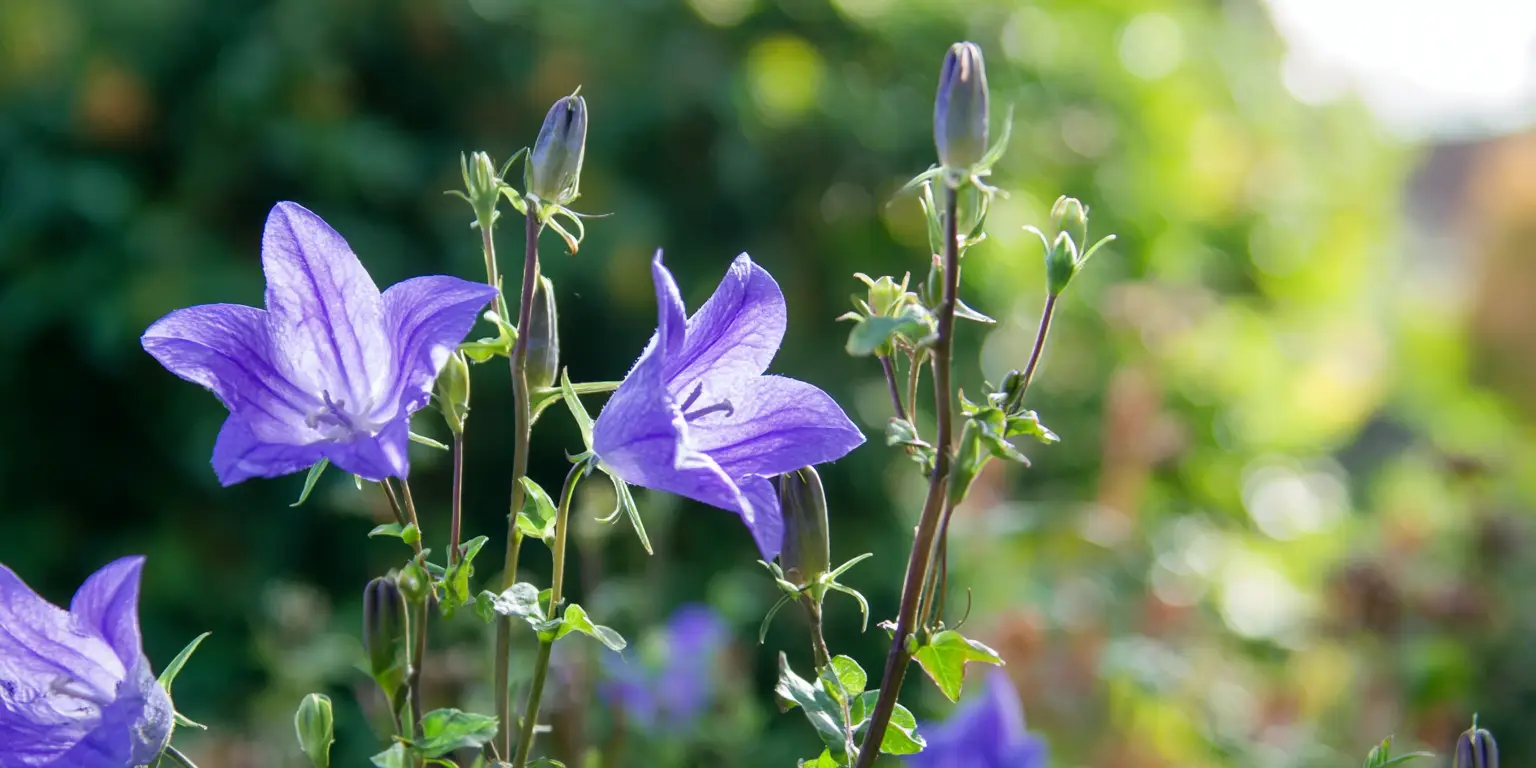
Bellflower is the common name for species in the genus Campanula. The accepted botanical name on first mention is Campanula spp. Gardeners most often meet several species and garden forms, including Canterbury bells (Campanula medium), Carpathian bellflower (C. carpatica), clustered bellflower (C. glomerata), peachleaf bellflower (C. persicifolia), and harebell (C. rotundifolia). All share open star to bell shaped blooms in shades of blue, purple, white, and pink on neat mounds or upright stalks. Some are long lived perennials, some are biennials that bloom in their second year, and a few are short lived perennials that self sow in friendly sites.
Hardiness overview. Many Campanula are hardy in USDA Zones 3 to 8. A few extend into Zone 9 in cooler coastal or mountain microclimates. Biennial Canterbury bells are usually grown as cool season bedding in Zones 5 to 8. Always check the tag for the specific species you plant because vigor and winter tolerance vary.
Ideal sunlight. Bellflowers bloom best with full sun to partial sun. Aim for 6 hours of direct light where summers are temperate. In hot summer areas, give afternoon shade and morning sun to reduce stress and to prevent scorching.
Snapshot of success. Choose a site with well drained soil and neutral to slightly alkaline pH. Plant at the same depth as the nursery pot and space to allow airflow. Water deeply during the first growing season, then water during dry spells. Deadhead to extend bloom and shear after the first flush to tidy plants and encourage rebloom. With correct siting and modest feeding, Bellflower will supply dependable color and pollinator appeal with modest care. This is the heart of good bellflower care.
Soil & Bed Preparation
Texture and drainage. Bellflowers dislike saturated soil. They thrive in loams that drain in a timely way yet hold steady moisture. Heavy clay can be improved with coarse compost and fine bark. Light sand benefits from compost to increase water holding capacity. Raised beds help where drainage is poor or where summer rains are frequent.
Organic matter target. Work 2 to 3 inches of compost into the top 8 to 10 inches of soil before planting. For long term soil health, aim for about 3 to 5 percent organic matter in typical mineral garden soils. Compost improves tilth and moderates moisture without creating soggy pockets.
pH range. Many Campanula prefer neutral to slightly alkaline soil. A workable range is pH 6.2 to 7.5, with an ideal target near 6.8 to 7.2. A few species tolerate slightly acidic conditions, but color and vigor often improve as you approach neutral.
How to test and correct. Use a lab soil test every 2 to 3 years. If pH is low, add finely ground limestone at label rates and retest the following season. If pH is high and your plants show iron chlorosis, topdress with compost, water with rainwater when possible, and avoid overliming. Elemental sulfur can shift pH down on high pH soils, but change slowly and retest.
Raised beds versus in ground. Raised beds offer faster spring warm up, better drainage, and clear edge control for short lived or spreading species. In ground beds buffer summer heat better and are superior in windy or exposed sites because they dry more slowly. Where rainfall is heavy, raised beds are often the easier choice for bellflower care.
Drainage Test and pH Targets
- Dig a hole 12 inches deep and 12 inches wide. Fill with water and let it drain completely.
- Refill and time the drainage. Good drainage is 1 to 2 inches of drop per hour. If the water stands for more than 6 hours, build a raised bed 6 to 10 inches tall or choose a different site.
- Use a simple test kit to estimate pH. Confirm with a lab test before making large corrections.
- Target pH 6.8 to 7.2 for most bellflowers. Maintain with limestone if needed and by avoiding acidifying fertilizers.
Planting Calendar by USDA Zone
Bellflowers include hardy perennials and biennials, so timing varies by climate and by plant type. Use these windows as a practical guide. When in doubt, plant so roots can establish in cool weather with regular moisture.
Zones 3 to 4
- Perennial container plants. Plant late spring after soils warm and after the last frost. The target window is late May to June. Fall planting risks frost heave.
- Divisions or bare root starts. Divide and replant in very early spring as growth begins. Finish by late spring so roots settle before warm weather.
- Biennial Canterbury bells from transplants. Plant after last frost for bloom the following summer. Sow indoors 8 to 10 weeks before last frost, then harden off and set out.
- Seed outdoors. Direct sow very shallowly in late spring. Keep evenly moist until established.
Zones 5 to 6
- Perennial container plants. Plant spring after last frost or plant in early fall. The fall window is about 4 to 6 weeks before the ground freezes so roots knit in.
- Divisions or bare root starts. Best in early spring or early fall with steady moisture.
- Biennial Canterbury bells. For a classic June display, sow seeds outdoors in late spring to early summer for fall transplanting. Overwinter the leafy rosettes for second year bloom.
- Special notes for hot humid summers. In humid regions, prioritize spring planting and choose sites with afternoon shade. Increase spacing to keep leaves dry.
Zones 7 to 8
- Perennial container plants. Favor fall planting once heat breaks. Plant from late September to November where winters are mild. Spring planting also works from late February to March.
- Divisions or bare root starts. Divide in fall to avoid summer stress.
- Biennials. Start indoors midsummer and transplant to the garden in fall for spring to early summer bloom.
- Coastal or high elevation microclimates. These areas allow wider windows. Avoid summer planting during heat waves or in reflected heat near pavement.
Zone 9 and mild coastal pockets
- Species selection is key. Choose heat tolerant forms such as C. poscharskyana or C. portenschlagiana and site in bright morning sun with afternoon shade.
- Planting window. Plant fall through winter when soil is cool and moist. Avoid late spring to summer planting.
- Arid and desert edges. Use containers with rapid drainage. Provide morning sun and filtered light in the afternoon. Increase mulch and monitor soil moisture closely.
General frost based timing for tender stages
- Seedlings and young transplants. Set out after the last frost in spring and finish planting 6 to 8 weeks before the first fall frost if doing autumn work.
- First year perennials. Protect from early hard freezes with 2 to 3 inches of mulch after the soil cools.
Planting: Depth & Spacing
Bellflowers are not bulbs or corms. Most gardeners plant from containers, divisions, or seed. Depth and spacing matter because crowns are sensitive to burying and to poor air movement.
Bare root and divisions
- When. Early spring or early fall in most zones.
- Depth. Set the crown at the soil surface so the juncture of roots and stems is level with the surrounding soil. Do not bury the crown.
- Backfill. Use excavated soil amended with compost only if your soil is very lean. Firm gently to remove air pockets.
- Water in. Water to settle soil and add more soil if it subsides.
- Spacing for airflow.
- Compact species such as C. carpatica or C. portenschlagiana: 12 to 15 inches apart (30 to 38 cm).
- Medium upright species such as C. persicifolia: 15 to 18 inches apart (38 to 46 cm).
- Robust clumpers such as C. glomerata: 18 to 24 inches apart (46 to 61 cm).
- Row spacing. For cutting rows or mass plantings, leave 24 to 30 inches between rows (61 to 76 cm) for access and airflow.
- Transplant shock minimization. Plant on a cool cloudy day, water before and after planting, and shade with a lightweight cover for 3 to 4 days in hot spells. Do not fertilize at planting.
Container grown plants
- Depth. Plant at the same depth as the nursery pot. The potting mix line should match the finished soil line.
- Root preparation. Tease lightly if roots circle. Avoid aggressive teasing which can stall growth.
- Spacing. Follow the spacing guide above for habit. Crowding reduces flowering and invites mildew.
- Acclimation. If the plant was grown in a greenhouse, harden off for 7 to 10 days. Increase outdoor time a little each day before planting.
Seeds
- Sowing indoors. Start 8 to 10 weeks before your last frost. Sow on the surface because seeds need light to germinate. A thin dusting of vermiculite helps retain moisture. Maintain 65 to 70 degrees Fahrenheit (18 to 21 degrees Celsius).
- Direct sowing. Sow very shallowly in late spring in Zones 3 to 6 or in fall in Zones 7 to 9. Keep evenly moist until true leaves appear.
- Transplanting seedlings. Handle by the leaves, not the stems. Set at the same depth with the crown level and water to settle.
Species to avoid planting in beds
Creeping bellflower (Campanula rapunculoides) spreads by deep roots and is difficult to remove once established. Avoid adding it to mixed beds or choose a container to confine growth.
Watering & Mulching
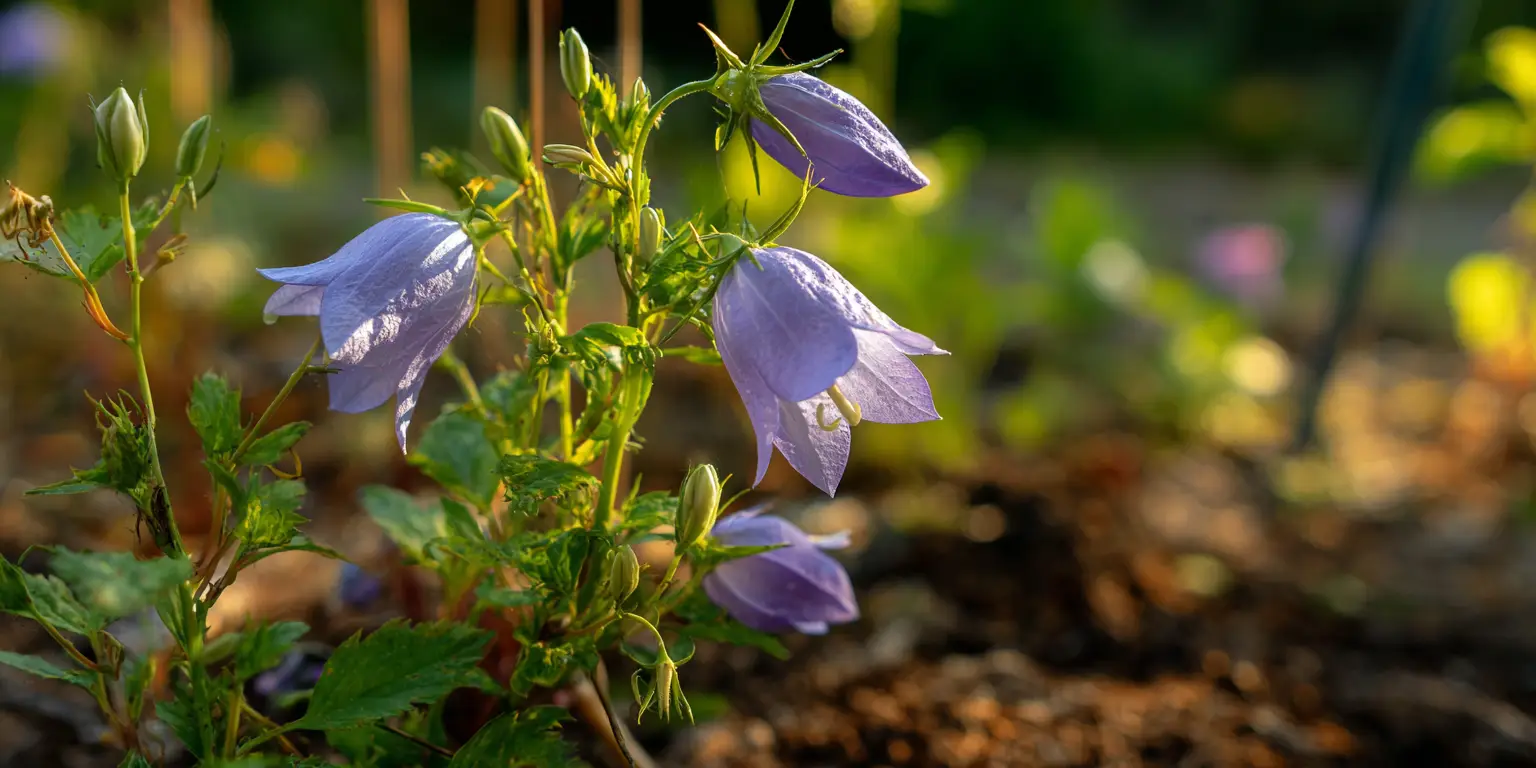
Establishment watering. For the first growing season, provide about 1 inch of water per week from rain or irrigation. In sandy soils or during heat, plan on 1.5 inches. Water deeply to 6 to 8 inches so roots chase moisture downward.
Mature schedule. After the first year, most bellflowers tolerate short dry periods but bloom better with steady moisture. Check soil 2 inches down. If it is dry, water. In summer dry spells, water once or twice a week depending on soil and heat.
Heat spikes and prolonged drought. During a heat wave, water early in the morning so foliage dries quickly. Give a slow soak around the root zone. A temporary shade cloth on the hottest afternoons reduces stress and improves bud retention.
Mulch types and thickness. Apply 2 to 3 inches of shredded bark, pine needles, or leaf mold around plants, keeping a 1 to 2 inch gap from the crown. Mulch reduces weeds, moderates soil temperature, and protects against freeze to thaw heaving in winter.
Preventing crown or root rot. Keep crowns at soil level and avoid mounded mulch against stems. Water at the base, not over the foliage, especially in humid climates. Improve drainage with raised beds if soil stays wet.
Water quality and salinity. Avoid softened water because sodium can build up in soil and harm structure. Hard water is usually acceptable for bellflowers and may help maintain a near neutral pH. When irrigation water is very alkaline and leaves yellow between the veins, switch to harvested rainwater and test soil pH.
Feeding
When to feed. Use a soil test to decide. In average garden soils, a single spring feeding is enough. Skip fertilizer on newly planted bellflowers until you see new growth. Avoid late summer nitrogen in cold climates because lush growth can be injured by early frost.
N P K guidance. Bellflowers respond well to balanced, modest formulas such as 5 to 10 to 5, 5 to 5 to 5, or up to 10 to 10 to 10. For gardens, broadcast a slow release balanced fertilizer at the label rate in early spring and lightly scratch it into the top inch of soil. For containers, use a slow release fertilizer labeled for flowering perennials or supplement with a half strength liquid feed every 4 to 6 weeks during active growth.
Organic options. Topdress with 1 inch of finished compost in spring. A handful of composted poultry manure per plant can supply nutrients slowly. Alfalfa meal and kelp meal are useful gentle sources. The goal is steady moderate growth, not soft rank foliage.
When to skip fertilizer. If plants flower well, show good color, and have sturdy stems, do not add extra fertilizer. If plants flop or show abundant leaves with few buds, reduce nitrogen the next season. Recheck pH and organic matter every 2 to 3 years and adjust rather than guessing.
Pruning & Support
Deadheading to extend bloom. Remove spent blooms regularly. On upright types, snip single stalks as they fade. On mounded or carpeting types such as C. carpatica and C. portenschlagiana, shear lightly after the first flush to encourage a fresh mound of foliage and a second round of flowers.
Seasonal cleanups. In late fall, allow some leaves to remain as winter protection where winters are severe. In early spring, cut back dead stems to the basal rosette. Thin weak or dead shoots to keep the center open.
Structural support. Tall bellflowers such as C. persicifolia can lean after storms. A discreet ring or a pair of slender stakes installed early in the season keeps stems upright. Space plants to reduce competition for light to minimize leaning.
Tool hygiene to limit disease. Clean pruners often. A quick dip in 70 percent isopropyl alcohol or a spray of disinfectant between plants reduces the spread of fungal spores and bacterial issues. Keep mulch off crowns and water at soil level to limit leaf wetness.
Common pests and problems to watch. Slugs and snails nibble on young foliage in cool wet springs. Use traps, hand picking, or barriers and keep mulch thin around crowns. Powdery mildew can appear in tight plantings during humid spells. Increase spacing, improve airflow, and shear lightly after bloom to renew foliage. Avoid overhead water in the evening.
Overwintering
Mulch strategy. After the soil cools in late fall, add 2 to 3 inches of organic mulch around the root zone. In Zones 3 to 4, increase to 3 to 4 inches to limit freeze to thaw heaving. Keep mulch pulled back from the crown by 1 to 2 inches.
Freeze to thaw management. Where winters bounce above and below freezing, check plants after thaws and press any lifted crowns back into firm contact with soil. Add a dusting of compost and re mulch.
Rodent protection. In vole prone areas, make a cylinder of half inch hardware cloth and set it around young clumps from late fall to early spring. Remove once growth resumes.
Container plants. Move pots to a protected zone out of the wind. An unheated garage, a cold frame, or against a north wall with the pot wrapped in burlap and leaves works well. Water just enough to keep the potting mix barely moist. Large containers survive winter better because the root ball is buffered. A 5 gallon pot or larger is ideal for tall types.
Tender or borderline species. In Zones 7 to 9 with wet winters, excellent drainage is more important than extra mulch. In the coldest zones, treat short lived types as reseeding perennials and let some seed heads ripen.
Growing Environments
In the ground. Choose full sun to partial shade. Space plants generously to allow air movement. Avoid spots with reflected heat from pavement or stone in hot climates. In windy sites, plant near low shrubs that break the wind without casting deep shade.
Containers. Bellflowers can be excellent container plants. Use at least 2 to 3 gallons of volume for compact forms such as C. carpatica and 5 gallons for upright types such as C. persicifolia or C. glomerata. That is roughly 7.6 to 11.4 liters for compact forms and about 19 liters for tall types. Use a well drained soilless mix with added perlite or pine bark fines for structure. Ensure drainage holes are clear and elevate pots on feet so water exits freely. Water when the top inch of mix is dry to the touch.
Microclimate tips.
- In hot regions, site where plants receive morning sun and light afternoon shade.
- In coastal climates, wind dries leaves and buds. Use a sheltering fence or a low hedge.
- Near south facing walls, reflected heat can stress plants. Add a stone or mulch pathway to redirect heat or plant 12 to 18 inches away from the wall.
Irrigation methods. Drip lines or soaker hoses are ideal for beds. They keep leaves dry and deliver water at a gentle rate. For containers, water until it drains from the bottom and pour off any standing water in saucers.
Companion Planting & Design
Color partners that extend bloom. Bellflowers deliver strong blue to purple tones and clean whites. Pair with silver foliage to cool summer borders or with soft yellows to brighten shade. Good partners include salvias, catmints, geums, low grasses, and dwarf daylilies. To continue a cool palette, browse ideas under blue flowers, white flowers, and purple flowers.
Plants that hide dieback. After the first flush, some species pause before rebloom. Interplant with low mounding companions such as lady’s mantle, small heucheras, or thyme to mask gaps. Where spring color is the goal, combine bellflowers with daffodils. Fading bulb foliage blends into fresh bellflower leaves.
Pollinator friendly choices. Single flowered forms draw bees and small pollinators. Avoid heavy double forms if pollinator support is a priority. Provide staggered bloom with companions like lavender and roses to keep nectar and pollen available through summer.
Airflow and spacing in mixed borders. Keep bellflower clumps an arm’s width from bulky shrubs such as hydrangea macrophylla in humid areas so leaves dry quickly. In dry climates, the light dapple from shrubs can reduce heat stress without creating damp shade.
Design for cottage, meadow, and formal beds.
- In cottage borders, mingle bellflowers with tulips and old garden roses for a layered bloom.
- In looser meadow inspired plantings, weave small clumps through low grasses and intersperse with yarrow and coreopsis for sunny sparkle.
- For a restrained formal edge, repeat tidy mounds of C. carpatica along a path, spacing evenly and clipping lightly after bloom for a clean line.
Wedding and cutting garden notes. Upright C. persicifolia and Canterbury bells make graceful stems for arrangements and for garden celebrations. See the wedding flowers guide for color stories and seasonal planning ideas.
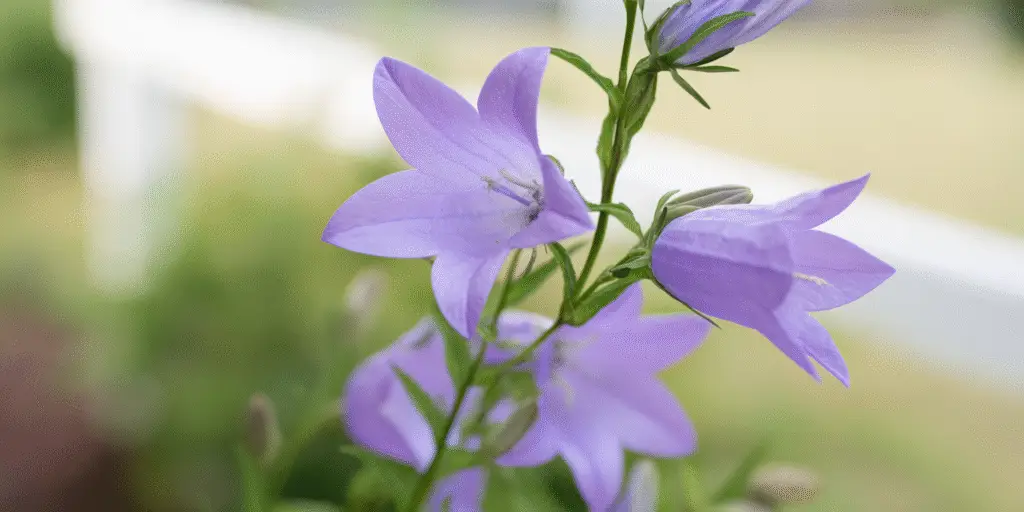
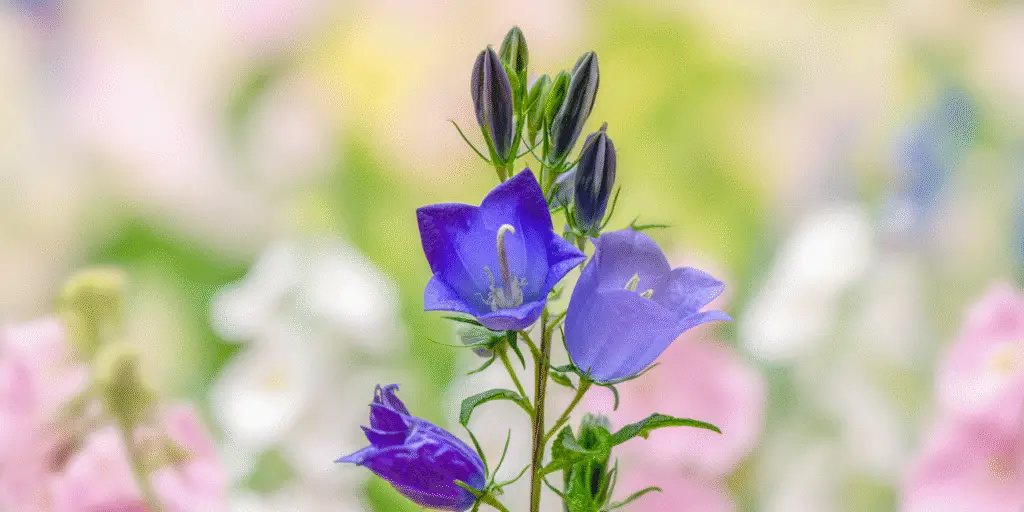
Peach leaved Bellflower
Canterbury Bells
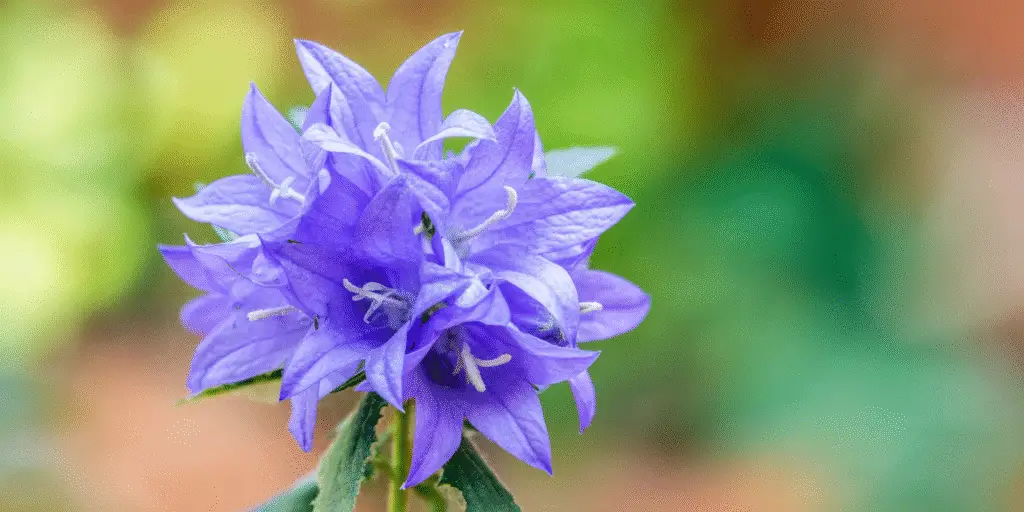
Clustered Bellflower
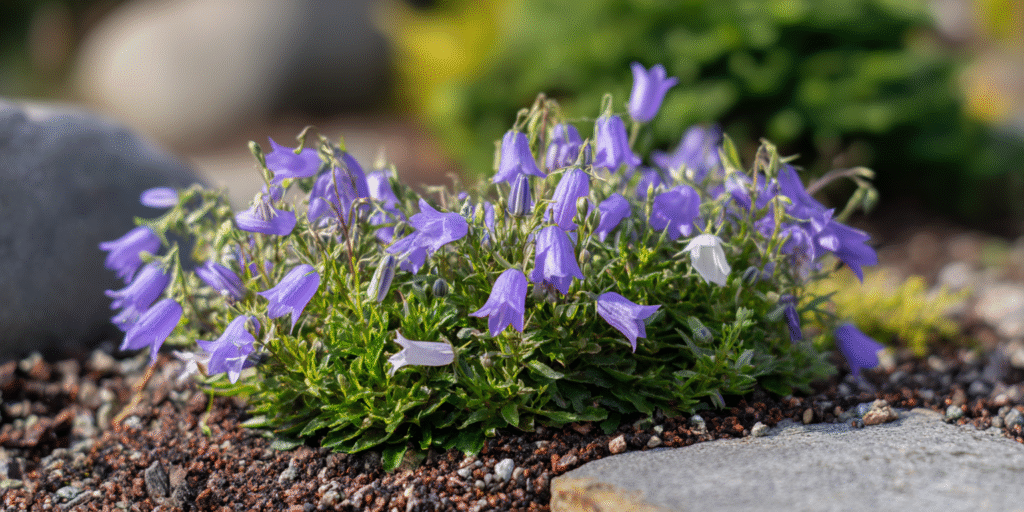
Carpathian Bellflower

Dalmatian Bellflower
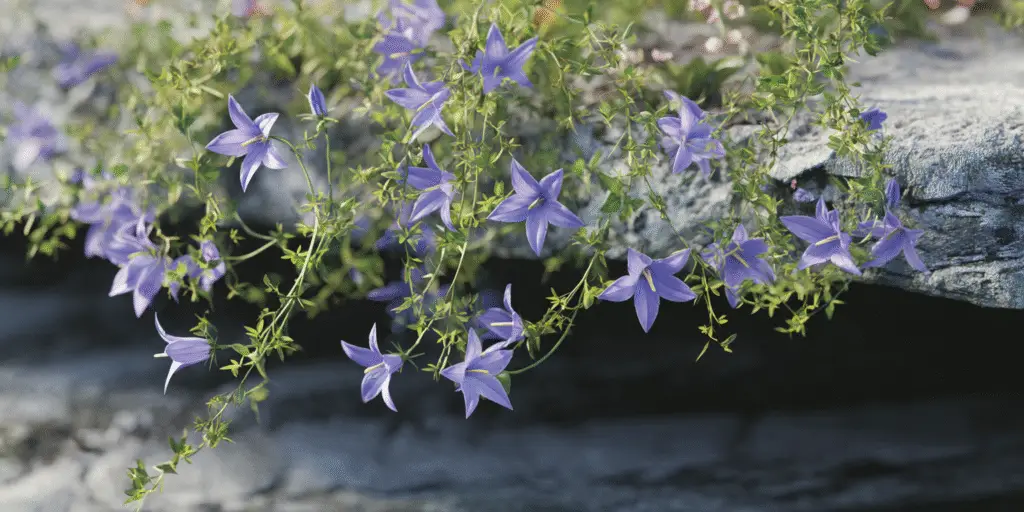
Serbian Bellflower
Peach leaved Bellflower
Canterbury Bells
Clustered Bellflower
Carpathian Bellflower
Dalmatian Bellflower
Serbian Bellflower
References
- North Carolina State Extension Gardener Plant Toolbox. Campanula carpatica.
- North Carolina State Extension Gardener Plant Toolbox. Campanula persicifolia.
- North Carolina State Extension Gardener Plant Toolbox. Campanula medium Canterbury bells.
Enjoying our flower guides? Add YourFlowersGuide as a preferred source on Google. It helps more readers find us.
Add to Preferred Sources