
By the end of this growing season, you will look at a fading flower patch not as an ending, but as a quiet factory working to produce your entire garden for next year. When a cosmos plant senses the days getting shorter, it stops putting energy into making colorful petals and redirects all its resources into creating seeds. Understanding how to step into this cycle allows you to collect those seeds before they scatter in the wind. You will soon see that saving cosmos seeds is simply a matter of learning the visual language the plant uses to tell you its work is finished. Once you understand what to look for, you will never need to buy these seeds again.
Contents 4 sections
Understanding the anatomy of a fading flower
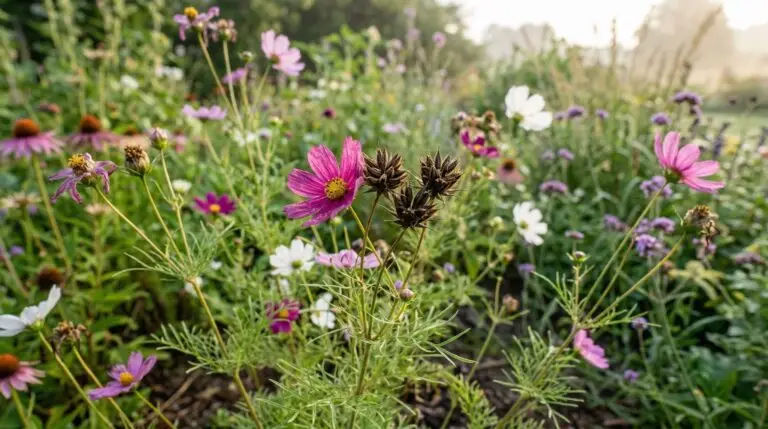
To collect seeds successfully, we first need to understand exactly what we are looking at when a flower finishes blooming. When the bright petals of a cosmos drop away, they leave behind a small, button-like center that might look like a dried up husk. Over the next few weeks, that center begins to swell and push out a cluster of spiky, needle-like shapes. This might seem contradictory if you are used to round, bead-like seeds, but those long spikes are actually the cosmos seeds themselves. Think of the seed head as a tiny, inside-out umbrella where each spike is a separate seed attached to the center base. Recognizing this shape is the foundational step in cosmos seed collecting.
A common point of confusion for beginners is telling the difference between the actual seeds and the leftover flower parts, which gardeners call chaff. The seeds are the solid, distinct spikes that form a starburst pattern, while the chaff is the papery, crumbling material that sits underneath them. If you look closely, you will notice that each individual seed has a slightly thicker end where it attaches to the plant and a pointed tip at the top. The plant builds them this way so they can eventually detach and stick lightly to passing animals or catch the wind. You might notice a similar structural strategy if you have spent time collecting marigold seeds, which also form long, needle-like shapes rather than round kernels. Taking a moment to gently pull apart a dried flower head will help your eyes adjust to finding the actual seeds hidden inside the papery debris.
Reading the signals for harvest time
Knowing when to harvest is entirely about letting the plant finish its job of packing nutrients into the seed casing. If you pick the seeds while they are still green or pale yellow, the tiny plant embryo inside will not have enough stored food to survive the winter. We want to wait until the seeds turn a dark brown, deep gray, or almost black, which tells us the connection between the plant and the seed has naturally sealed off. The seeds should look dry and feel hard to the touch, almost like tiny pieces of wood. This takes a season or two to get a feel for, and that is completely normal as you learn to read the specific changes in your own garden. You are waiting for the exact moment when the seeds are fully mature but before a strong breeze knocks them to the ground.
The most reliable way to test for readiness is what experienced gardeners call the touch test. When you gently brush your thumb across the top of the starburst cluster, the seeds should release and fall into your hand with almost no resistance. If you have to tug or pull to get the seed free from the base, the plant is still feeding it and you should wait a few more days. Think of it like picking a ripe apple, where a simple twist is all that is needed to separate the fruit from the branch. You will find that seeds on the same plant ripen at different times, so you can make several passes through your garden over a few weeks. Keep a small paper cup or bowl handy as you walk through the garden, gently tickling the dark seed heads and catching the ones that are ready to let go.
The science of drying and storing seeds
Once you bring your harvest indoors, you might be tempted to put the seeds straight into a jar or envelope, but there is one more crucial step. Even though the seeds feel dry on the outside, they often hold a tiny amount of internal moisture from the morning dew or the plant itself. If you seal them up immediately, that trapped moisture will create a humid environment that invites mold to destroy the seed embryo. To prevent this, spread your collected seeds out on a paper plate, a piece of newspaper, or a screen in a dry, room-temperature spot out of direct sunlight. Let them sit there for about a week to allow any residual moisture to evaporate completely into the air. This curing process is a standard practice for many garden favorites, and you would follow the exact same drying routine before storing sunflower seeds or any other large blooms.
Proper storage is about keeping the sleeping seed in a state of suspended animation until spring arrives. Seeds wake up and begin to sprout when they are exposed to three things: moisture, warmth, and light. Therefore, to keep them dormant, we need to provide the exact opposite conditions by storing them in a dark, cool, and perfectly dry place. Paper envelopes are much better than plastic bags for storage because paper breathes, allowing any tiny fluctuations in humidity to escape rather than condensing on the seeds. Label your envelopes with the date and the type of flower, then place them in a cool closet or a dedicated seed box. When stored this way, you will have healthy, viable cosmos seeds for next year and often for several years beyond that.
Expecting the unexpected with hybrid plants
As you prepare your envelopes, it helps to understand a bit about plant genetics to know what will actually grow from your saved seeds. Cosmos are highly attractive to bees and butterflies, which spend their days flying from one flower to another, mixing pollen across your entire garden. Because of this constant cross-pollination, the seeds you collect from a bright magenta flower might contain the genetic instructions for a pale pink or pure white bloom. This might seem frustrating if you want an exact replica of a specific plant, but it is actually the mechanism that creates wonderful new variations. If you also grow zinnias nearby, you have likely noticed how their offspring can surprise you with unexpected colors and petal shapes the following year. Embracing this unpredictability turns your garden into a living laboratory where every spring brings a slightly different display.
The exception to this rule involves understanding the difference between heirloom varieties and modern hybrids. If you originally planted seeds labeled as an open-pollinated heirloom variety, and they were the only type of cosmos in your neighborhood, the offspring will look very much like the parent. However, if you started with a highly bred hybrid plant from a garden center, the seeds will revert to the traits of their older ancestors. The resulting plants might be taller, have different foliage, or produce smaller flowers than the parent plant you collected from. This is simply the plant expressing its deep genetic history rather than the specific traits a breeder selected for one generation. Knowing this helps set the right expectations, allowing you to appreciate the flowers that emerge rather than wondering what went wrong.
The core principle to take away is that saving seeds is an exercise in observation and patience rather than complicated technique. You are simply watching for the plant to finish its natural reproductive cycle, waiting for the visual cues of dark color and easy release, and then preserving that dormant life in a cool, dry place. By taking the time to understand why the seeds need to dry on the stem and how to protect them from moisture indoors, you remove all the guesswork from the process. This knowledge transforms a fading autumn garden from a chore to be cleaned up into a rich harvest of possibilities. Next spring, when you press those dry, needle-like spikes into the warming soil, you will fully understand the continuous loop that keeps a garden blooming year after year.
More About Cosmos
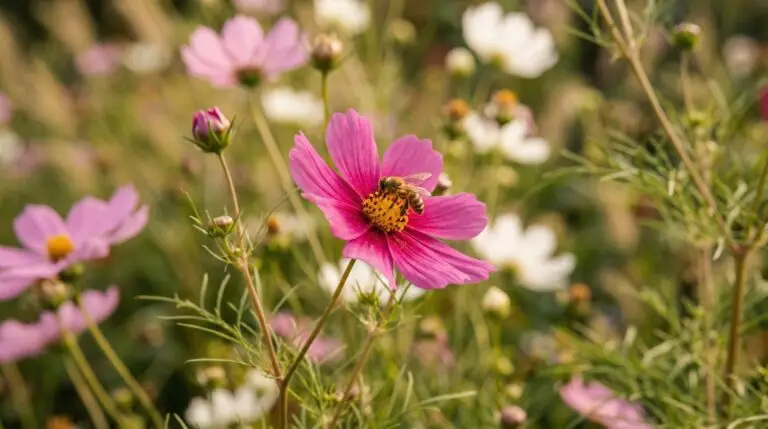
Cosmos for pollinators and why butterflies and bees cannot resist these flowers
Why cosmos grows tall and leggy and how to get compact bushy plants instead
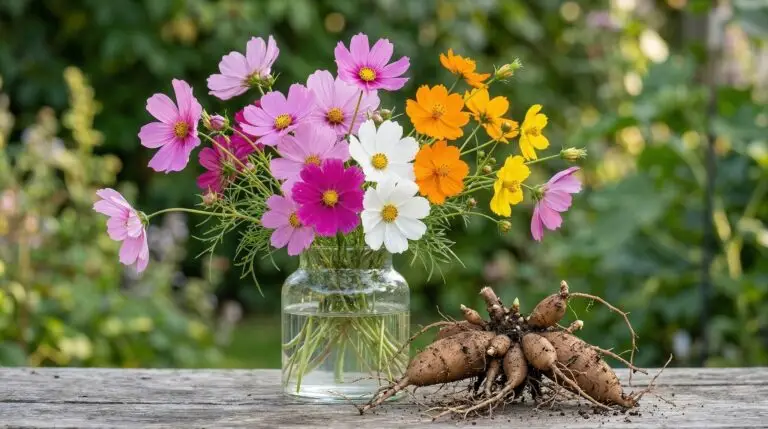
Chocolate cosmos the rare perennial with flowers that smell like dark chocolate
Cosmos as the perfect cut flower for beginners who want armloads of bouquets

Creating a cosmos flower field effect in your backyard for photogenic garden magic
Growing cosmos in containers and hanging baskets for balcony flower gardens
How to grow cosmos from seed for effortless clouds of color all summer long
Best cosmos varieties from classic Sensation to chocolate-scented Cosmos atrosanguineus
Enjoying our flower guides? Add YourFlowersGuide as a preferred source on Google. It helps more readers find us.
Add to Preferred Sources